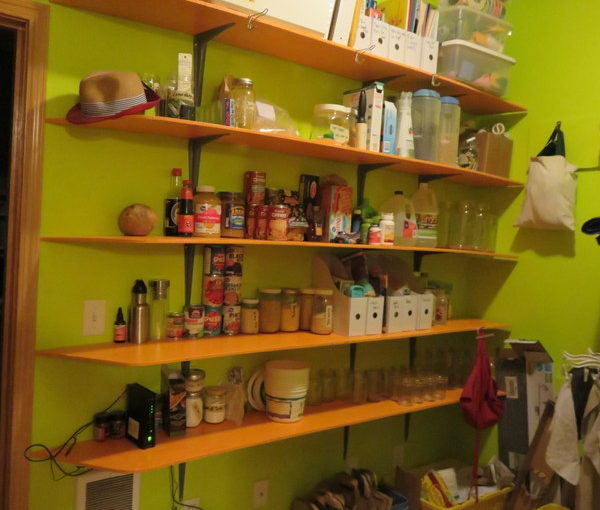
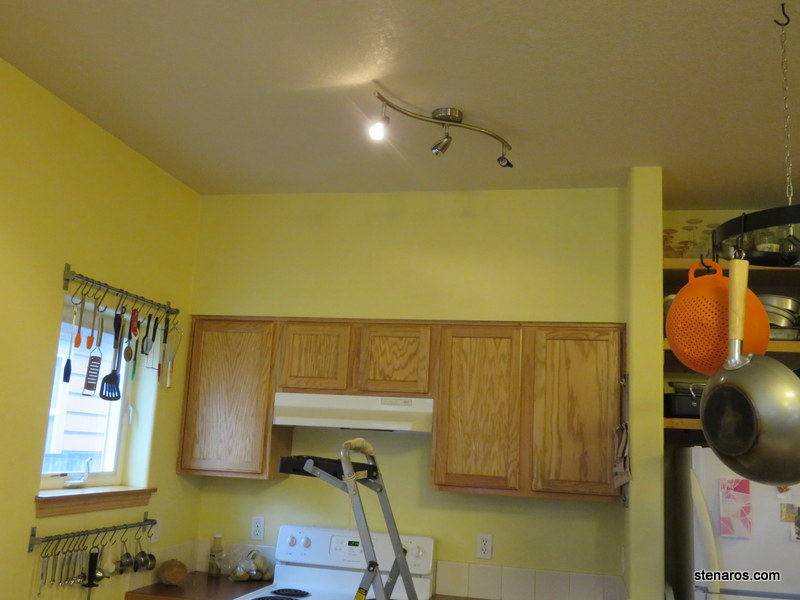
Here is the “before” shot: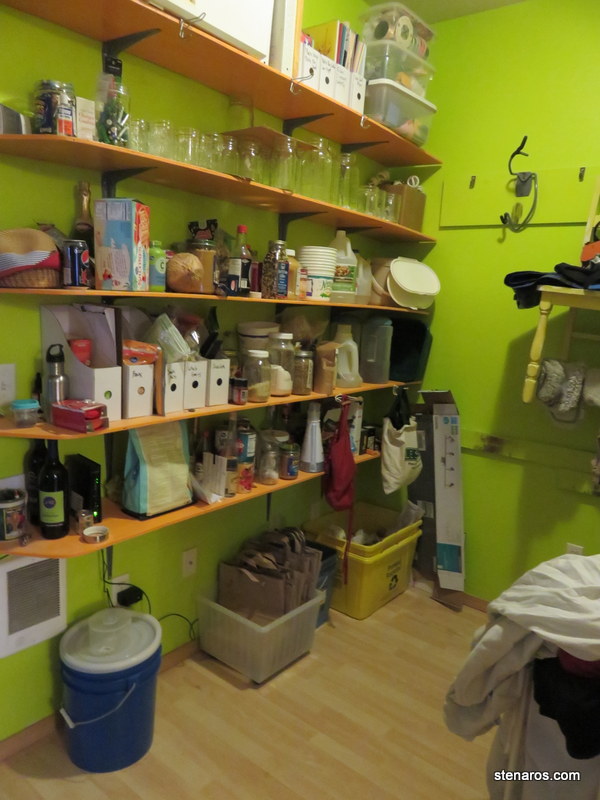
And here is the “after” shot: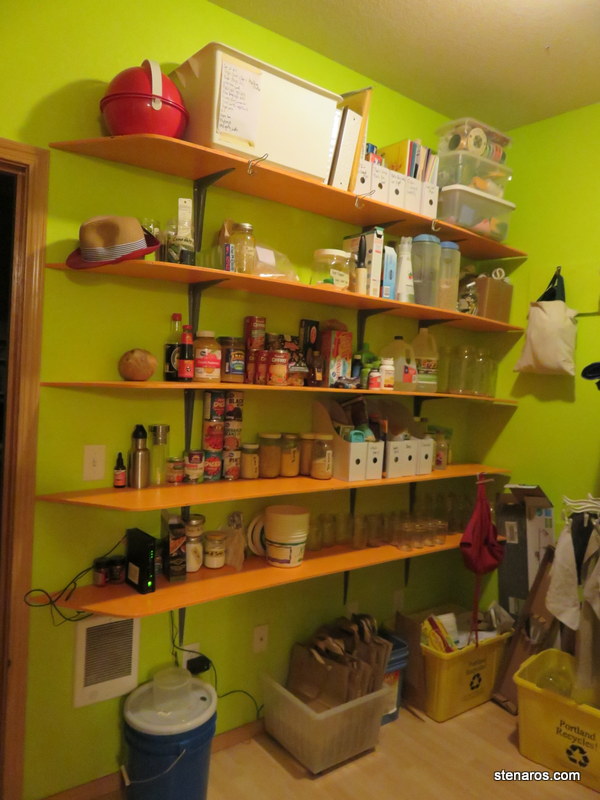 Ahhh! So much nicer!
Here is the “before” shot:
And here is the “after” shot:Ahhh! So much nicer!
Today was a day to get things done. And I did!
I hung the first of two bike hangers on the back porch. This gets my bike out of our laundry/pantry area. We have plans to also hang Matt’s bike from above. But the ladder in combination with my height was not tall enough to do that project, so that will have to wait until Matt is home.
This picture shows off what part of the paint job didn’t get done. This summer, when they repainted our house, they did not paint the surrounds around the doors, or the doors. I’ve got it on the project list, but I don’t know if it will ever get done because I hate painting. Also because anything with doors means leaving the doors open until the paint dries. Which is more complicated with the cats.
The new bike changes the view from my desk. 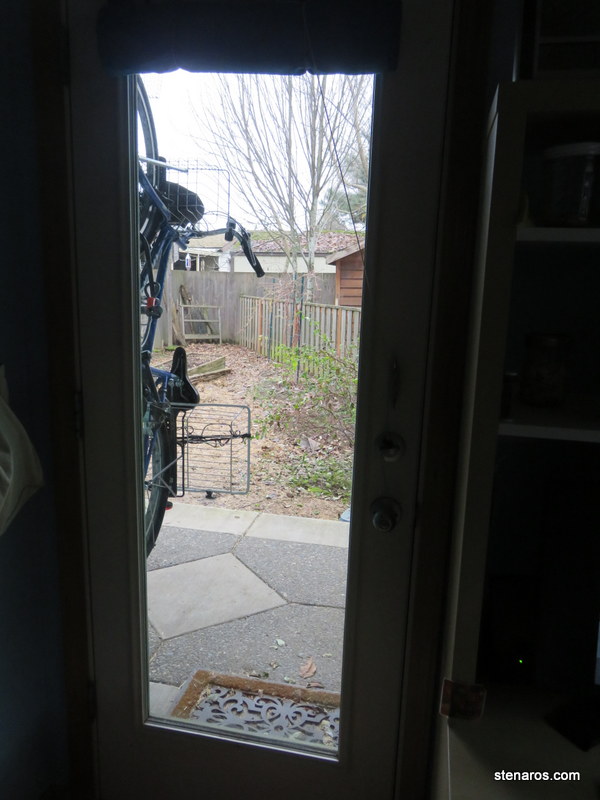
Now I just have to put the pantry in order.
I took this octopus hanger out of the closet and put it closer to the washer. I will hang my washcloths from it.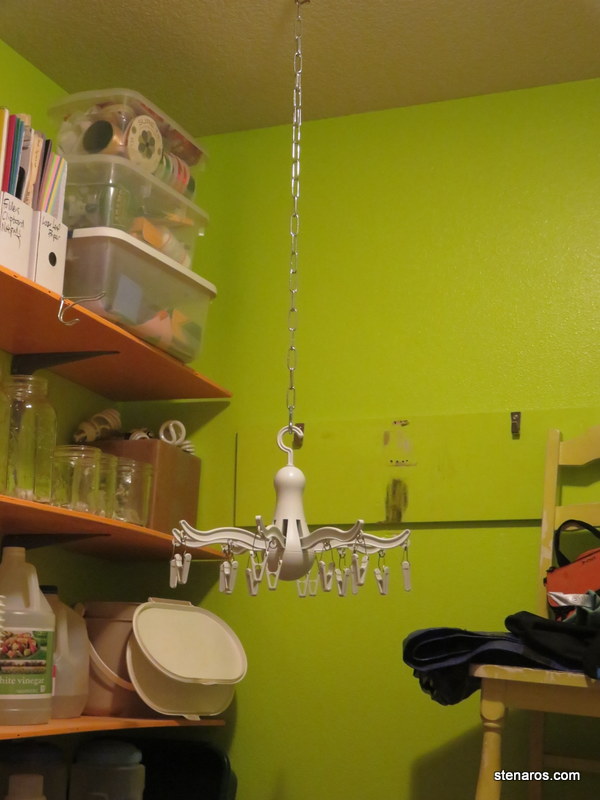
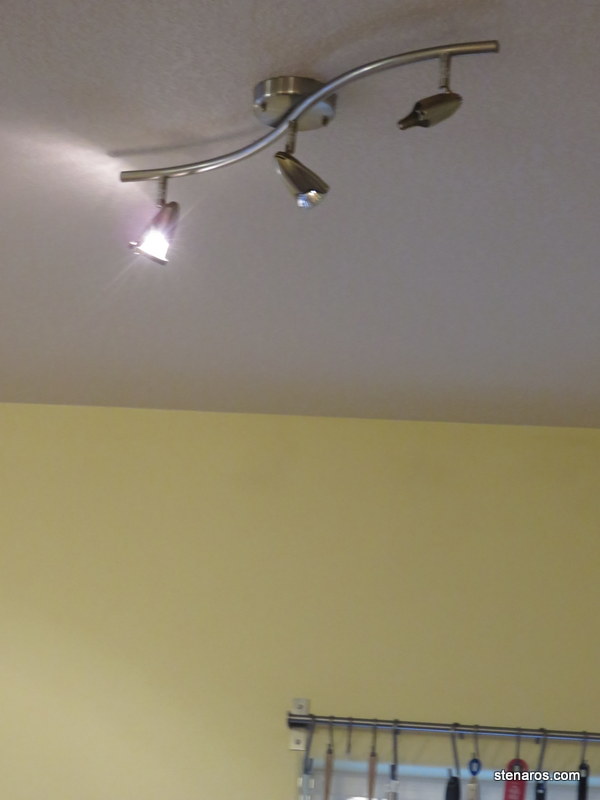
Our kitchen light wasn’t working. We were down to one working light in the fixture. Time for a new kitchen light.
This is not the best picture, but here is the new fixture I installed. I love that it has LED lights, so we don’t have to change them. We also gained a light with the new fixture. (Four instead of three.)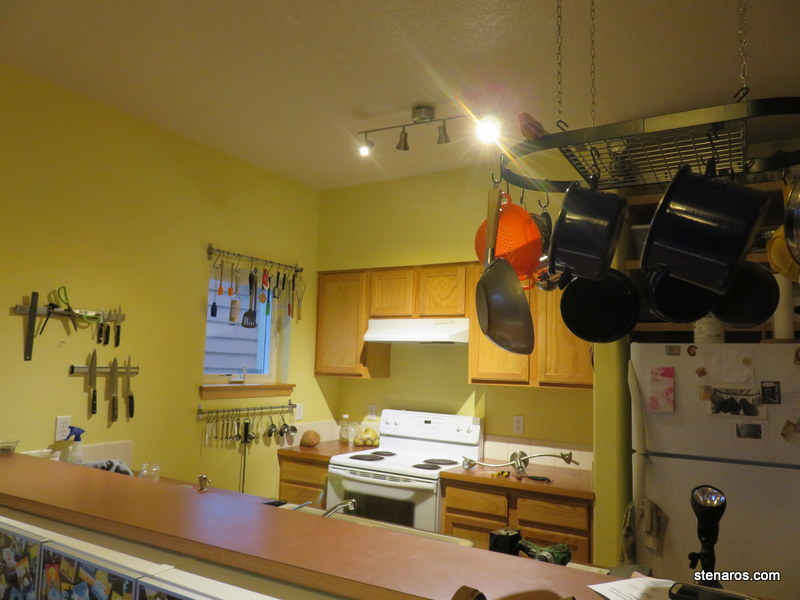
In the fashion of all projects, there was a trip to the hardware store. I enjoyed coming across this truck, with an improvised–yet decorated–tailgate.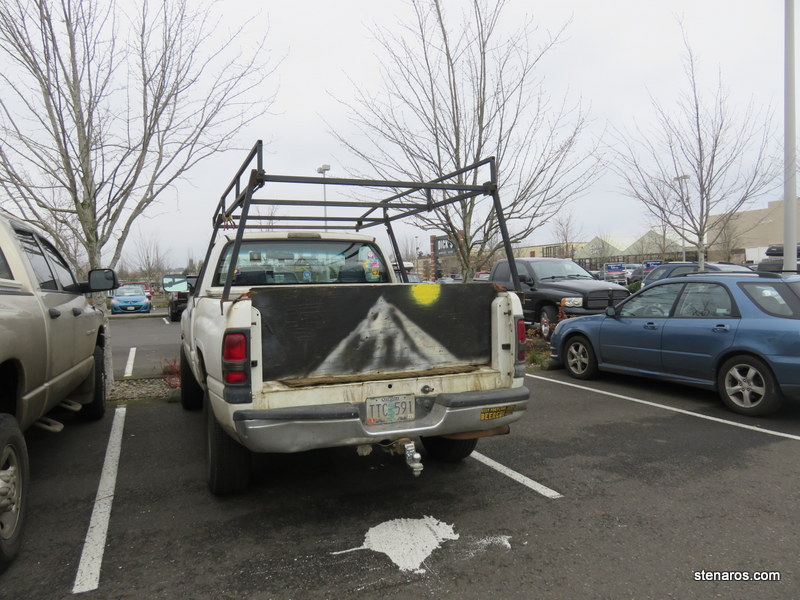
The same truck also had this improvised locking system.
It was a good day of projects.

I am thrilled at how this turned out. This quilt square may propel me to actually finish this project, rather than abandon it. It will still take probably 10 years.
I’m pleased with how it turned out.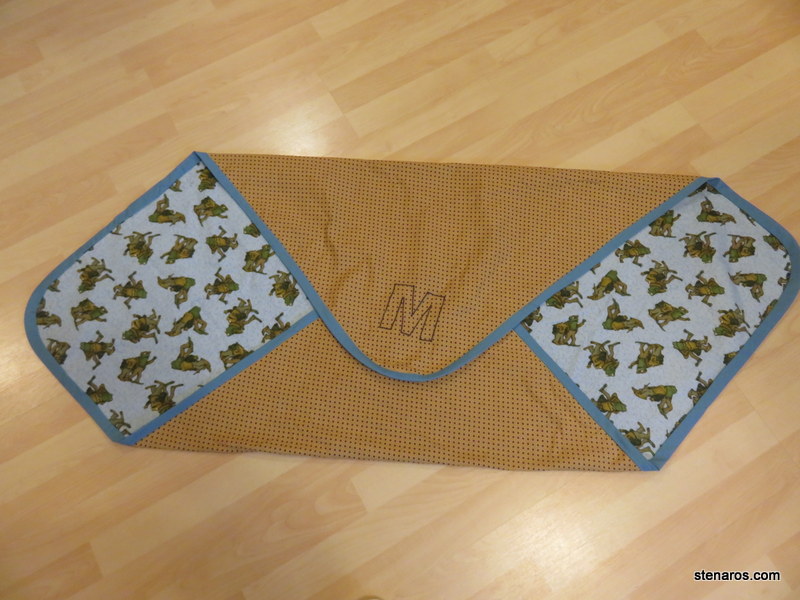
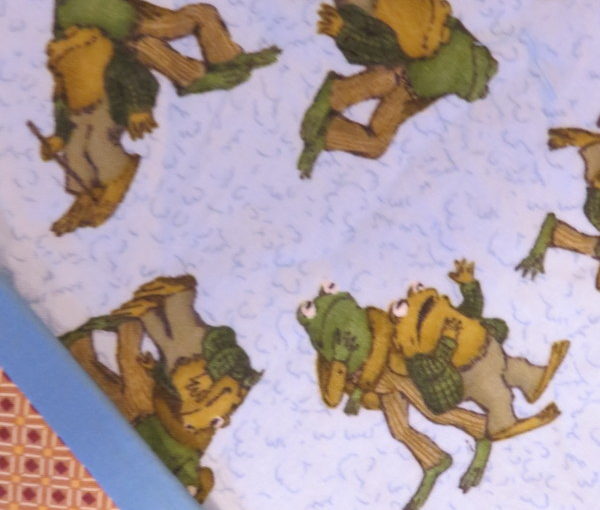
I think most of the thanks goes to Friend Julie, who paired Frog and Toad with a pattern I never would have picked, but which looks amazing. 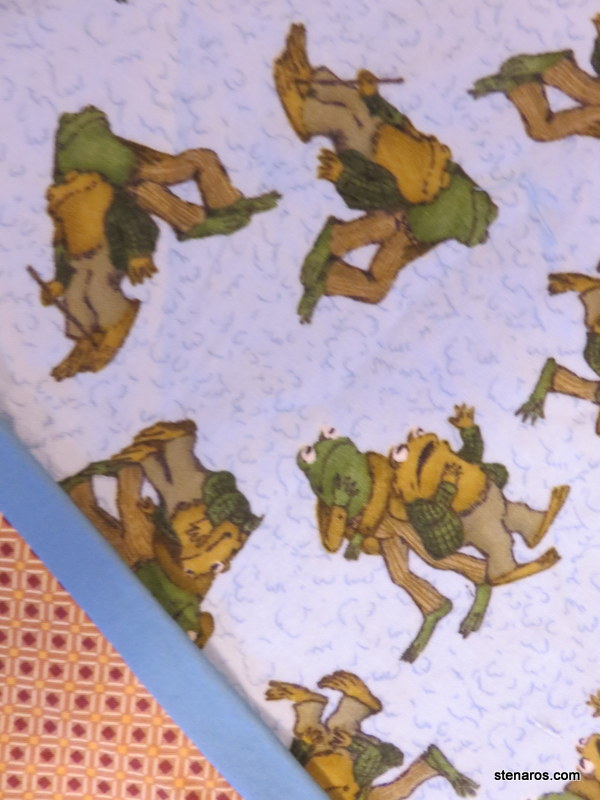
Note that Baby M was born several weeks ago. At least I’m finishing Baby M’s present when he’s still a baby.
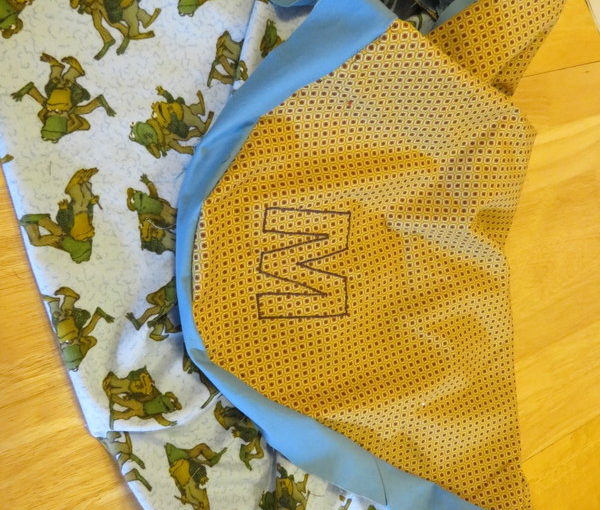
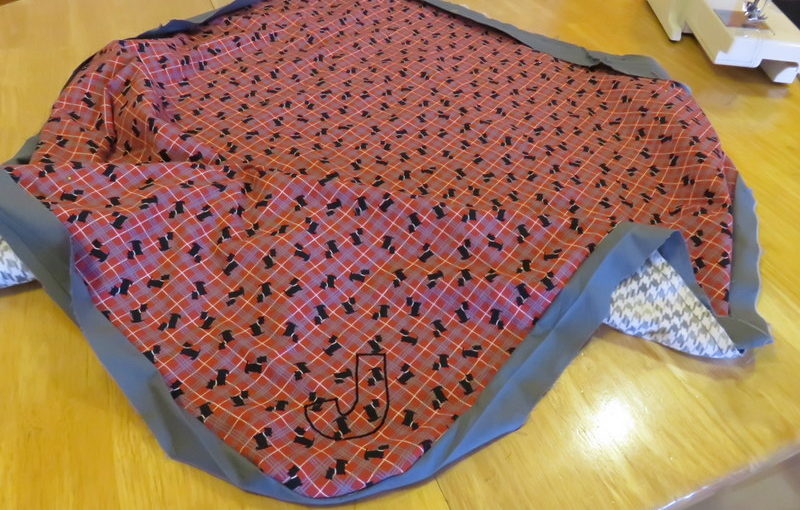
I forgot to check my joining before I started attaching the binding. Bad news. The wrong side was on the outside. Time for some seam ripper action.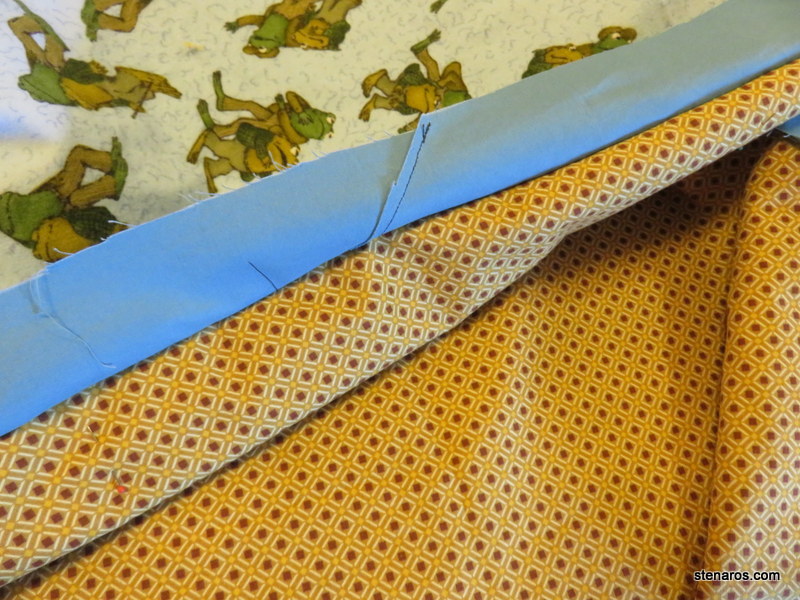

Seam ripping aside, I think it’s going to look very nice when done.
I think this turned out really well and am forever thankful friend Julie came along to assist in material selection.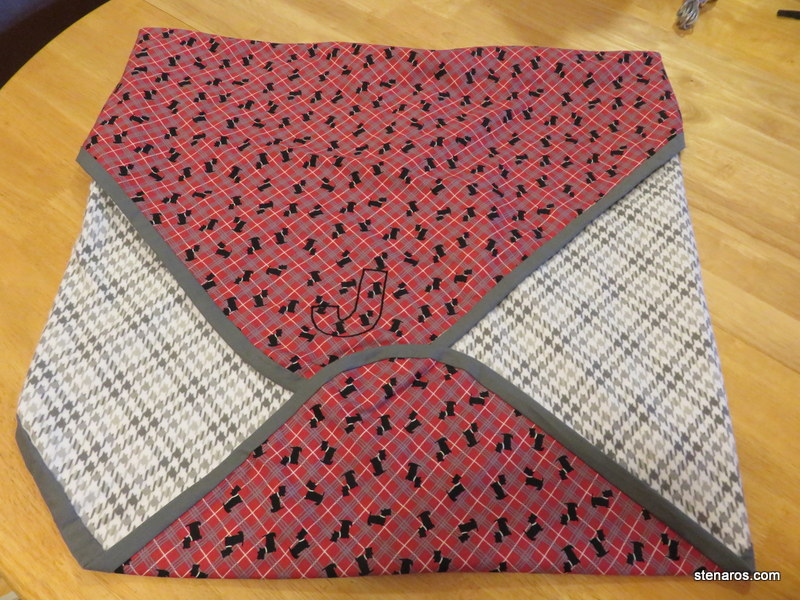
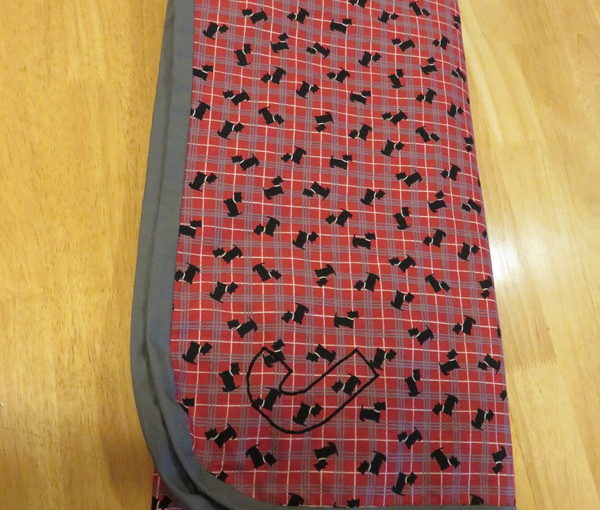
I made a baby blanket last summer and I hand-monogrammed it using satin stitch and guess what? I’m not doing that again. It takes too long, plus I’m guessing most of the monogram has frayed away by this point. But I love a good monogram. So it’s time to learn to machine monogram. Because I’ve got two baby blankets to make.
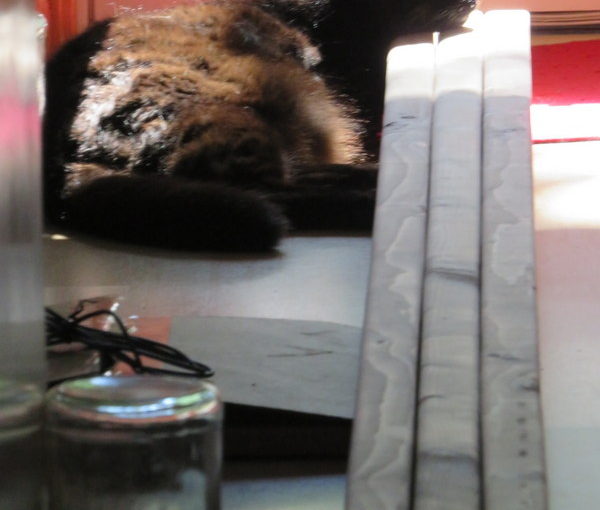
I decided to practice on a sheet. I found the style of letter I wanted, printed it very big, cut it out and then used tracing paper to transfer the outline to the sheet. You can also see in this picture I was listening to a podcast via my Bluetooth speaker, I was planning a hike (blue book) and there was something going on with those light bulbs.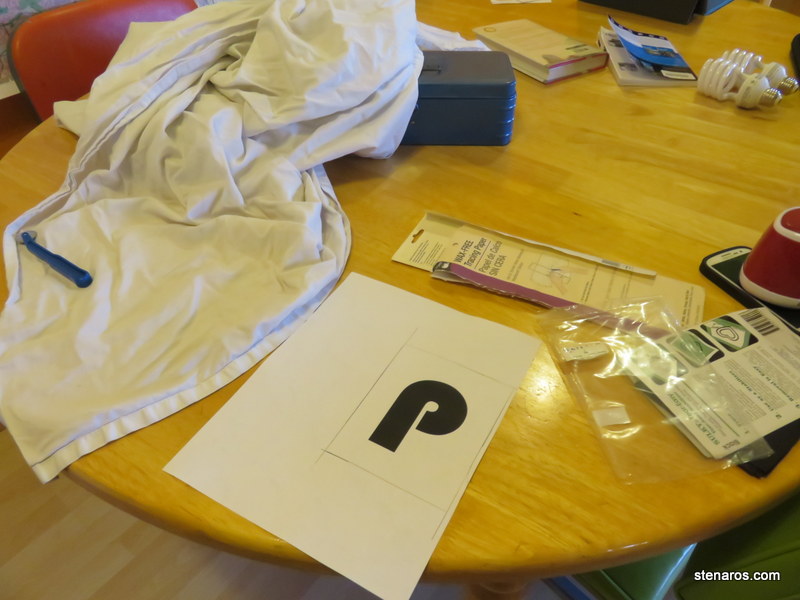
I bought some backing, which is sitting on the table in the above picture, right next to the phone, and it worked like a charm. I also googled to find the proper kind of thread to use for machine monogramming. It’s a different kind than for all-purpose sewing. As you can see, there are some shaky places, but overall it turned out okay. You can also see the short line of stitches I made along the edge when I wasn’t quite sure what stitch width and length I should use.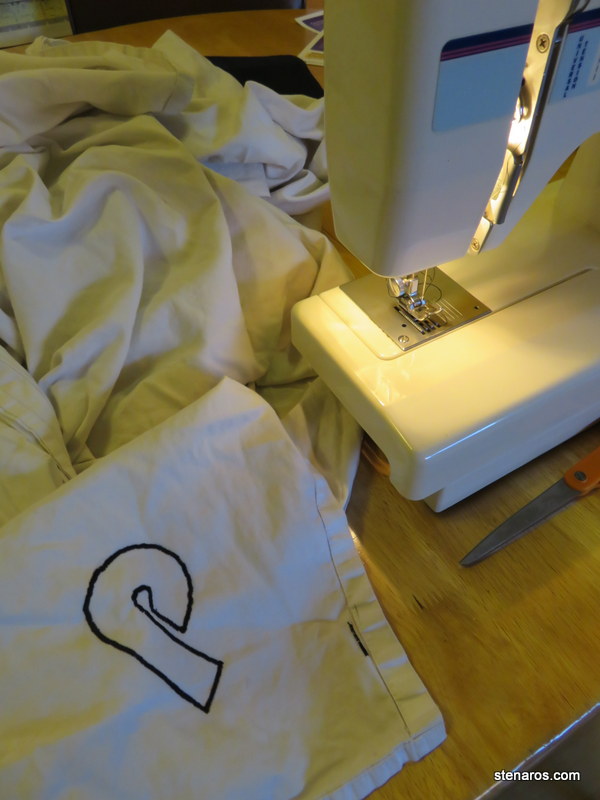
Confident (enough) in my skills, I monogrammed the two pieces of material. Again, not the best job, but livable.
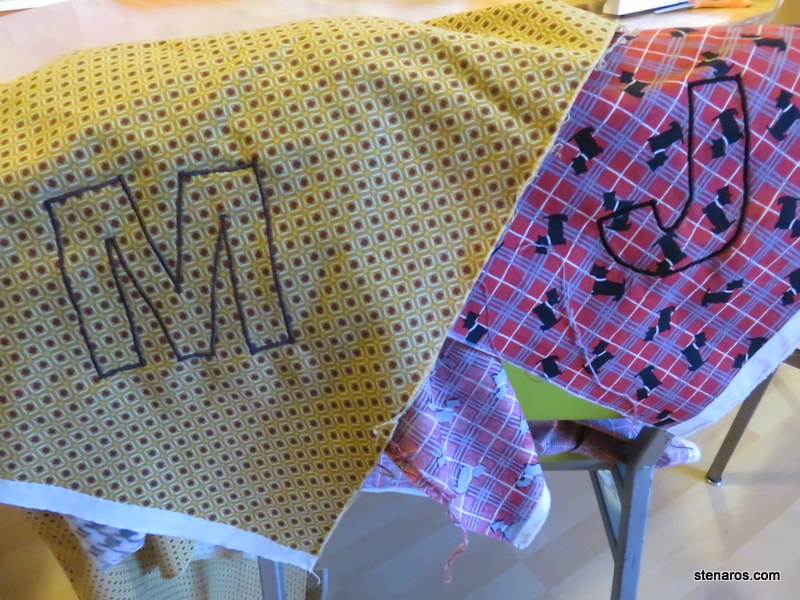
“But wait!” I hear you wondering. “What if the people you are making the blankets for see this post? Won’t the surprise be ruined?” This is the plus of having a blog with very few readers. Neither recipient of a blanket reads this blog, thus the secret is safe with us.
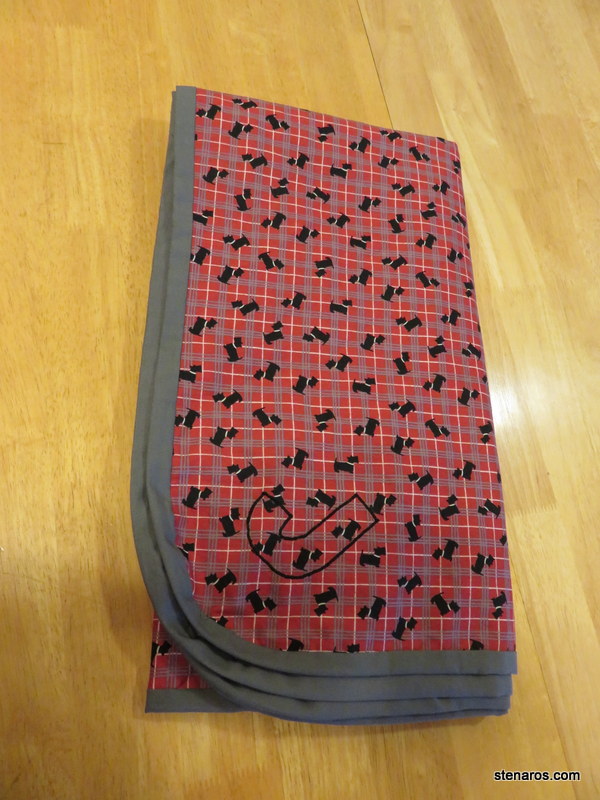
Buoyed by that success I continued on with sewing the blanket for baby J and made it through all the steps but the tacking of the binding, which will be done while watching movies. 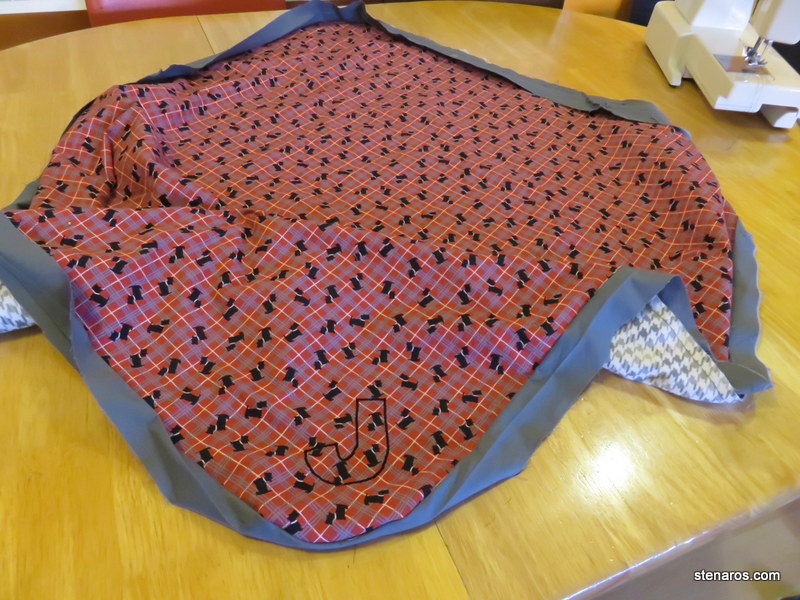
I’m pretty excited about how good this project looks. (And thanks to friend Julie who wandered the fabric store for a very long time until we found exactly the right front/back combo.)
Every spring I develop an obsession (or two.) It happens when the days get longer and I have much more energy and suddenly I’m compelled to MAKE something, dammit. In 2016, this time of year coincided with my reading of Spark Joy, which is book two of Marie Kondo’s quest to change your life through tidying. Somewhere in the pages of Spark Joy Kondo said you should make an effort to live the way you’ve always wanted to.
And I thought: reverse loft bed!
I’ve been thinking of the reverse loft bed off and on for years now. After college, I designed and built a loft bed, but I didn’t love it. It wasn’t any fun having to climb down the ladder in the middle of the night to go to the bathroom. I’m more of a roll-out-and-shuffle kind of girl.
But what if you put the bed on the bottom and put the loft space on top? Various permutations of this concept have been thought through and discarded, partially because it’s a big project and partially because I kept getting stuck on the fact that if I did built this, I would not have access to one side of my bed. This would make it very hard to make the bed and I already hate making the bed now.
But this time I had a breakthrough realization: trundle bed! What if the bed was tucked neatly away under the loft structure and when it came time to strip the sheets and remake the bed, you could slide the bed out, giving access to both sides? Brilliant!
So here’s what I’m thinking. Visualize with me. Close to the ground would be the trundle bed structure that would hold my mattress. Above it would rise the loft structure, essentially giving me a rectangle of elevated floor about four feet off the ground. My desk would go on top and there would possibly be room for a small lounging chair. The bed part would slide out of the loft structure for the above mentioned bed-making reasons. There would be curtains around the two open sides of the bed area, so my sleeping space would be a cozy cave. I’m a fan of small sleeping spaces. In one place I lived, I slept in my closet.
I did some research, and while I didn’t ever find any evidence on the internet of anyone building a reverse loft bed, (this was the closest thing I found to the concept) I did find a lot of information about loft beds and trundle beds and this project now seemed doable.
The plus of the trundle bed concept is that I could build this project in stages. First would come the trundle bed part and then, having that finished product, I could design the loft space around it.
With all systems go, I started sketching and figuring and setting my plan in motion. And then I realized I needed to accommodate the cats.
The cats currently have a perch in the window. Right now, it’s easy for them to get to because they jump from the bed to the perch. Once the whole project is done, I will remove the perch because the window sill will be about six inches off the loft floor. But in the interim, when I make the trundle bed, the mattress would be significantly lower and I’m worried that the 12-year-old cat would not be able to make the jump.
So I decided to build the ladder first. And build it I did this weekend out of 2x4s.
Here’s the completed ladder: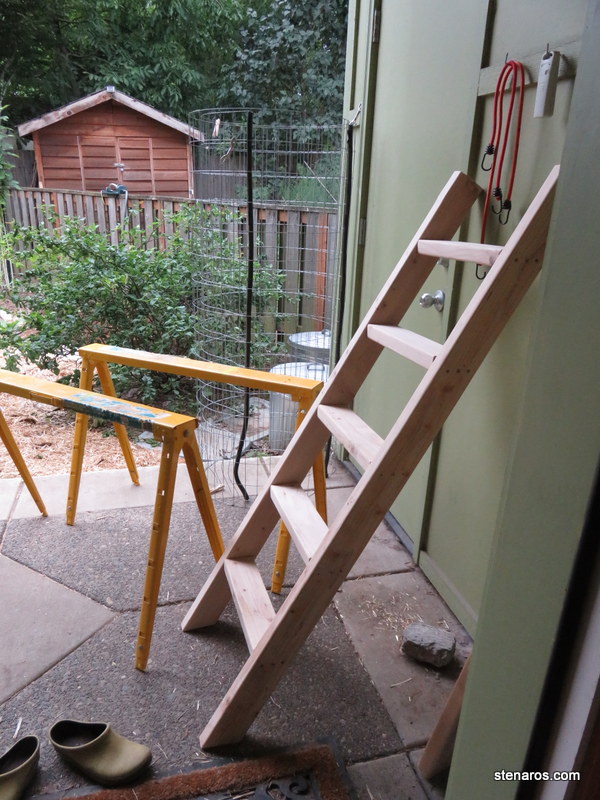
Here is where it goes for now: 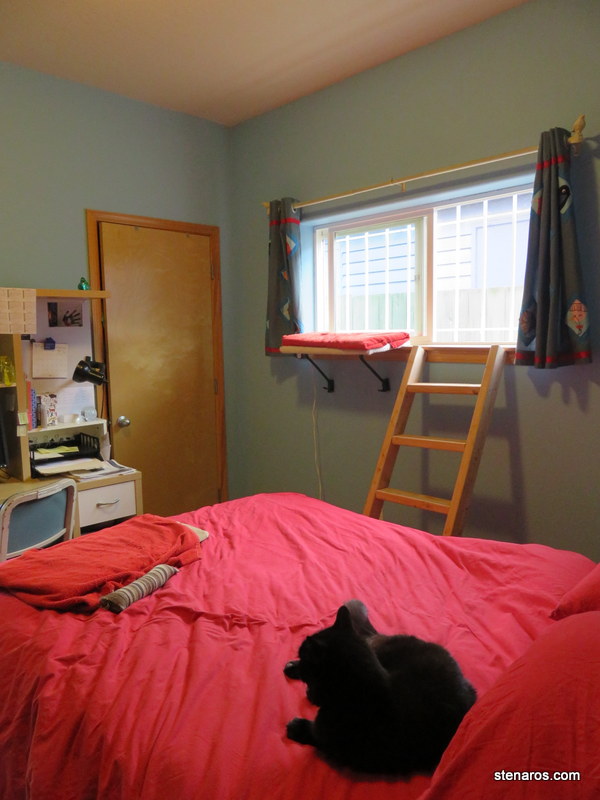
And here is me attempting to lure my cats onto the ladder.
Phase 2 will be building the trundle bed and will commence soon (hopefully).
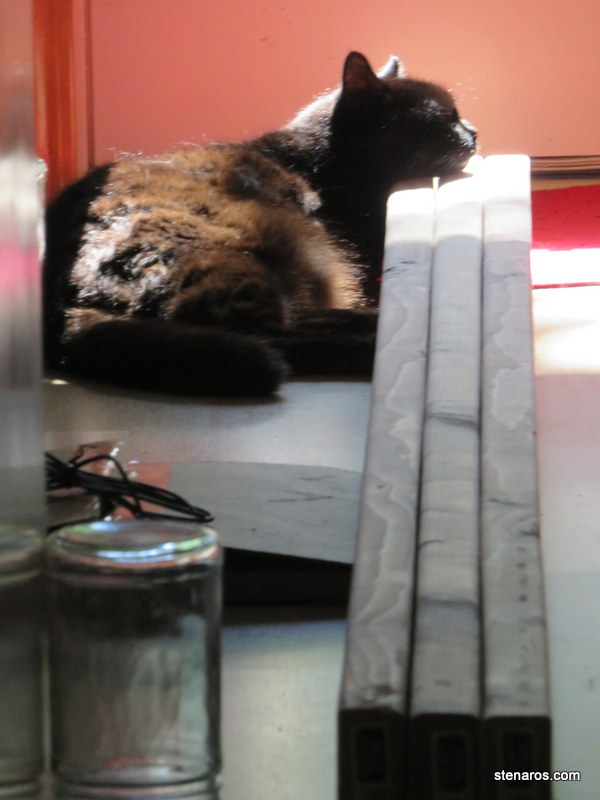
Three two-by-fours waiting to be transformed into a ladder don’t escape Sentinel’s notice. And what better way to welcome them to the household than to use them as a pillow?
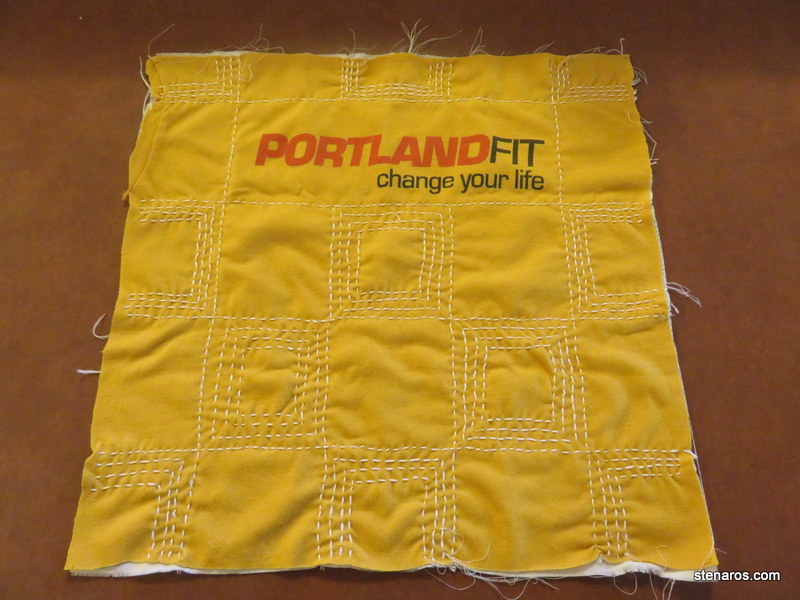
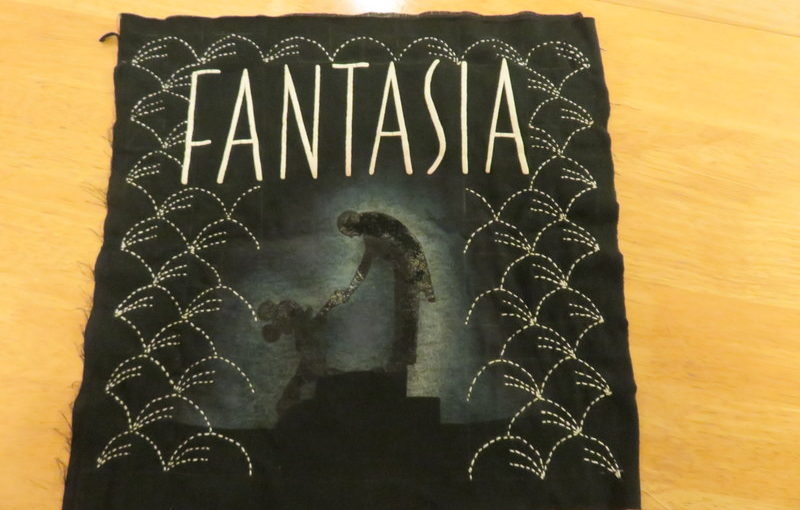
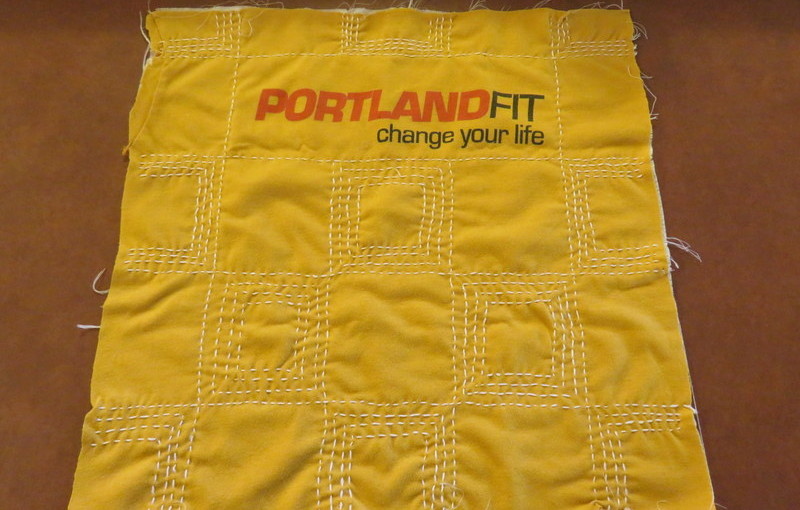
I have completed my first block in my t-quilt. Doing this block of Sashiko embroidery has taught me that this will be a very, very long project. This t-shirt is five movies worth of work time. Knowing that, I have sorted and prioritized my t-shirts and will first embroider the shirts from high school and college. Which means this is really block zero and the next shirt I do will be the first block in the t-quilt. If and when I finish that quilt I will start on the post-college t-shirts.
I’m pretty happy how this turned out. It doesn’t look super professional, but it’s doing what it should, namely holding the stretchy t-shirt to the solid block of fabric behind it.

