The New Work From Home Space

This three-day weekend, my last until Memorial Day, was spent getting the new work-from-home space in order.

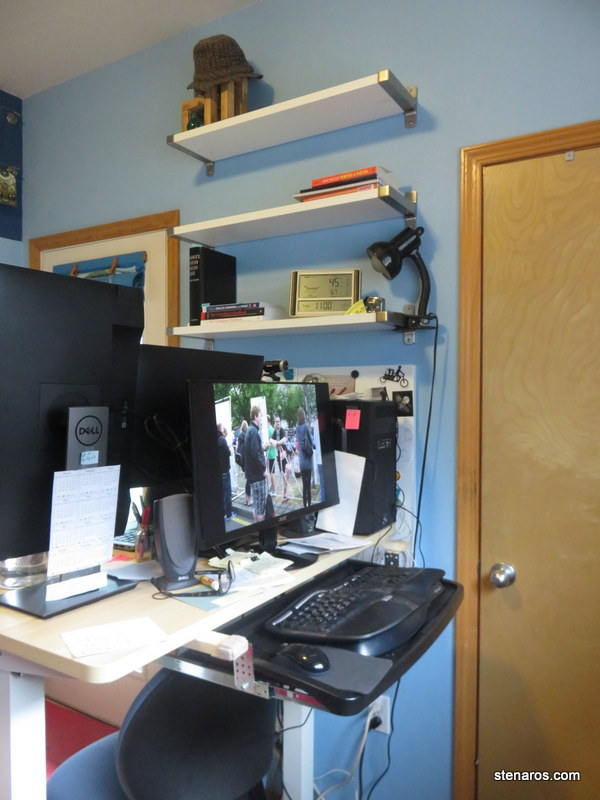
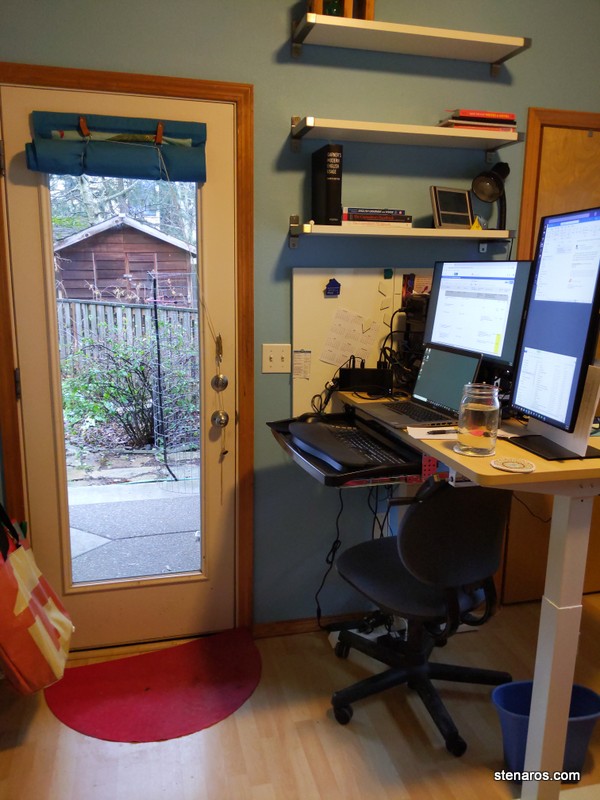
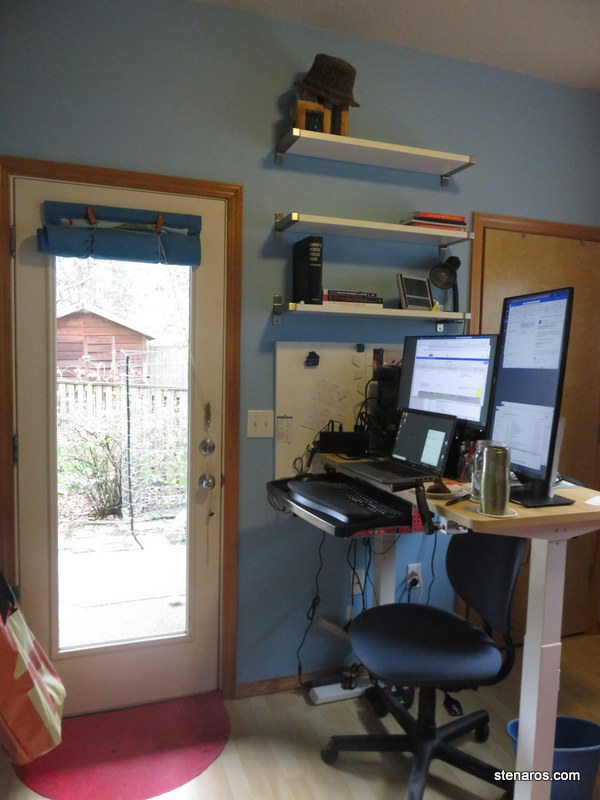
I installed shelves and bulletin boards and assembled my new desk. It’s an adjustable standing desk, and here you can see it from the working side.

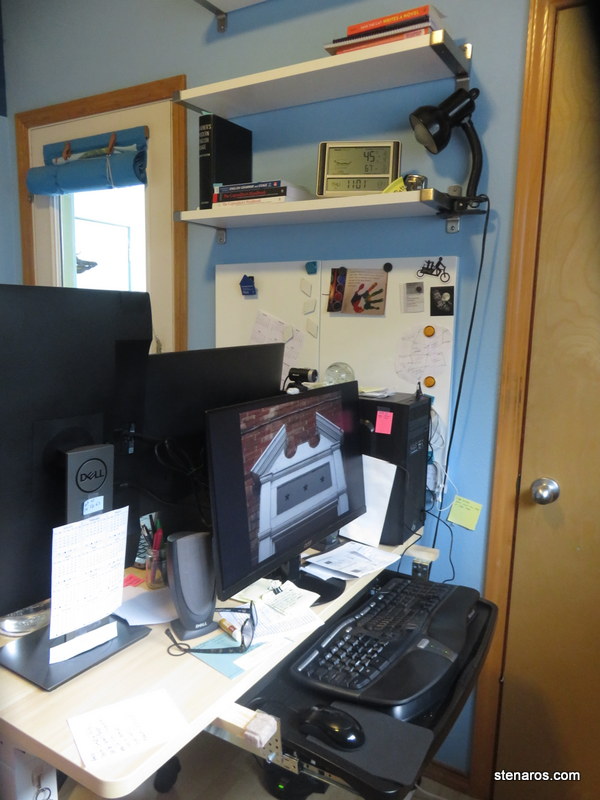
Here is the at-home side.

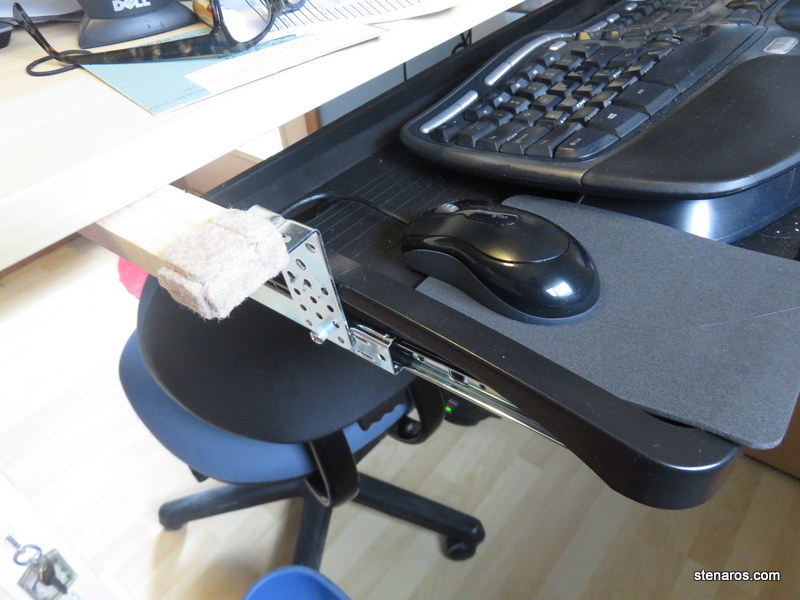
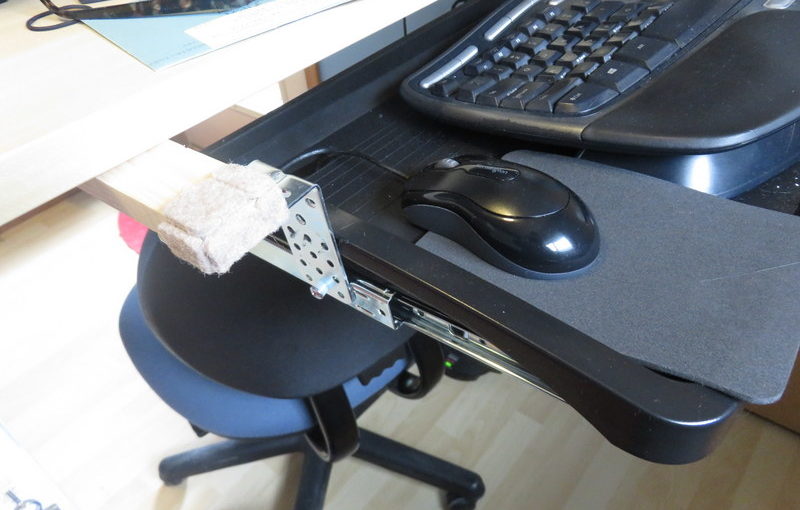
I bought two keyboard trays, one for working, one for personal use. But I forgot to check to see if they would both fit under the desk. They did not. I engineered this solution, buying a length of wood, cutting it into two pieces and offsetting those pieces from the for-work keyboard tray. It worked.

What didn’t work was not accounting for the crank handle on this side. I ended up moving the keyboard over far to the left. In that position, I have just enough space to turn the crank fully. Here’s the desk in the seated position.

Installing those keyboard trays was a two-person job. They were really wiggly. Luckily, Matt came and held the brackets steady while I screwed in the screws.

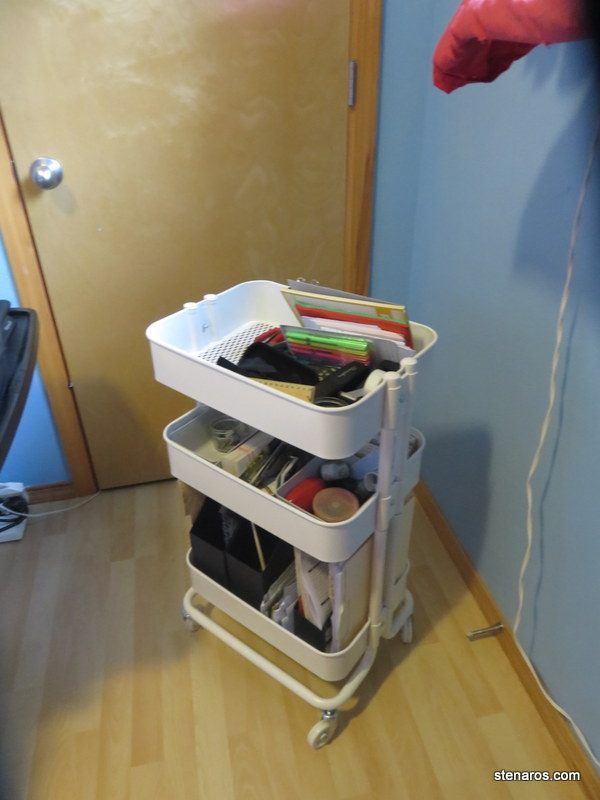
I have no more desk drawers and my shelves don’t put things in easy reach, so I bought this caddy at Ikea. It can roll to either side of the desk.

If I want, I can store the chair and the Ikea caddy under the desk itself.

I ordered bookends from Etsy. Those will be shipped.

I’m glad I could make both sides work and I’m looking forward to seeing how the new setup works from day to day.
I Build Some Shelves For Above-Washer Storage

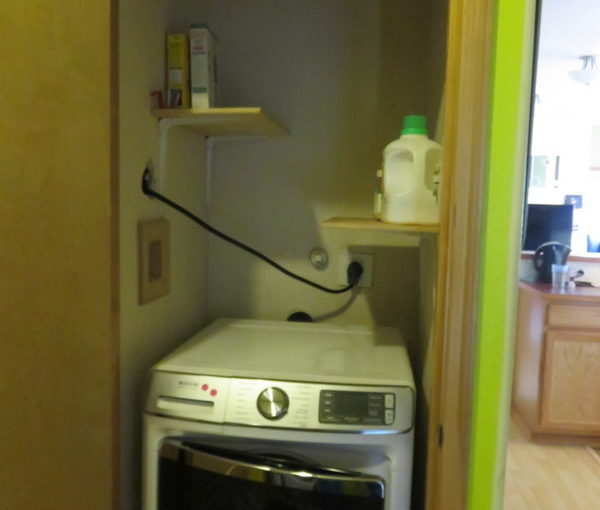
Et voila! Shelves. I cut a leftover piece of wood from the dryer platform in half (with a handsaw balanced on top of my recycling bins because I was too lazy to get everything out that was needed for the circular saw), installed four of those handy braces I’ve been using forever, did some drilling, and now there are shelves where there once were none.

Here’s a close-up view.

In keeping with my laziness, I’m not going to paint them. The bare wood fits with the utilitarian nature of the laundry area.

Washer and Dryer Project: Completed

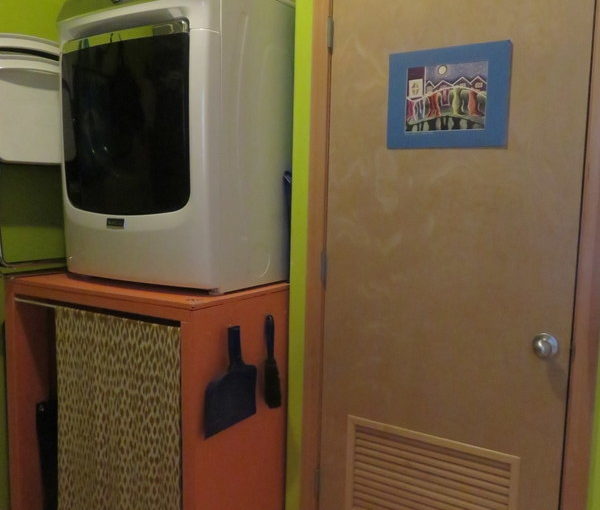
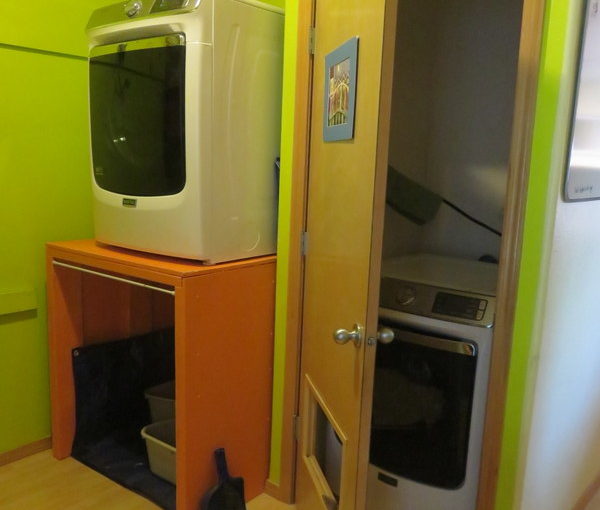
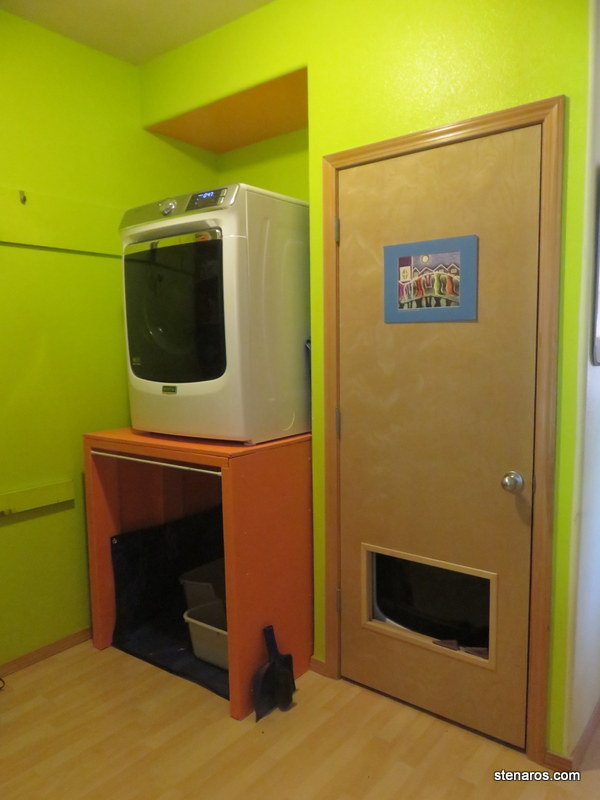
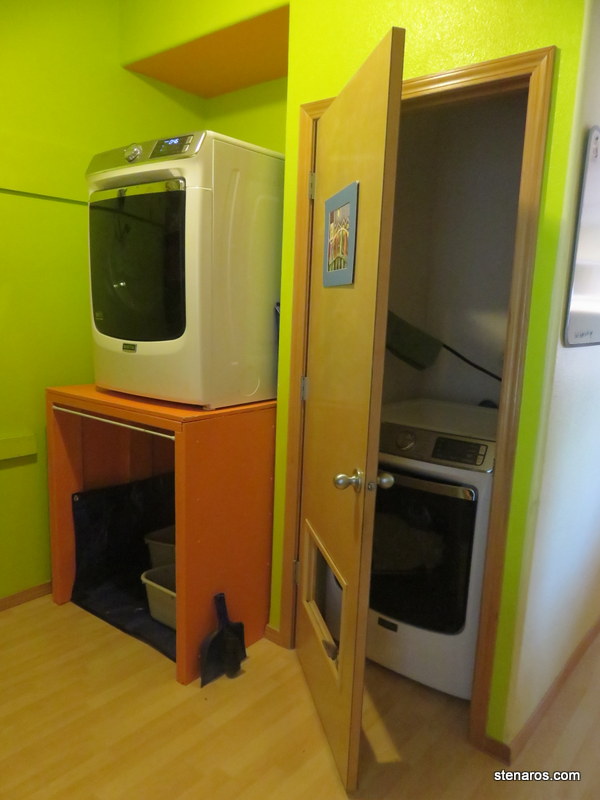
I have replaced the vent in the door (which was harder than most steps in this project due to screws not wanting to line up correctly) and found a curtain to go in front of the litter boxes.

Aside from the general awesomeness of this project, I think it’s the curtain that gives me the most pleasure. I found it at SCRAP in the material section. I couldn’t find a price, but I liked the look, so into my basket it went. At the register, I discovered it was $20, and when I hesitated, the clerk said, “How about ten?” I happily agreed.

When I got home, I checked to see if I could drape it over the rod, rather than sewing it into a curtain. It fit perfectly. I think the pattern is top-notch. Yet another big win from SCRAP.

The End of Grandpa’s Overalls

When my grandfather died in 1991, he left behind a few pairs of overalls. I’ve been wearing this pair when working on projects since the 90s. However, I’ve finally split through the seams in the crotch (which you can see if you look closely at our celebratory post finishing the pedestal.) It’s time to cut these overalls up for other uses. Sentinel, as usual, supervises.

On the big, you can see not only the logo, but the dark green from painting my mom’s house, the dark blue from Matt’s bedroom, the orange from painting the pedestal, the bright green from the wall in the pantry and some white that was probably the primer I put on the pedestal.

In my photos from the time of film cameras, there’s a picture of me circa 1998 wearing these overalls and posing with the loft bed I built. They’ve been a good companion as I have completed projects.

An Embroidery Report

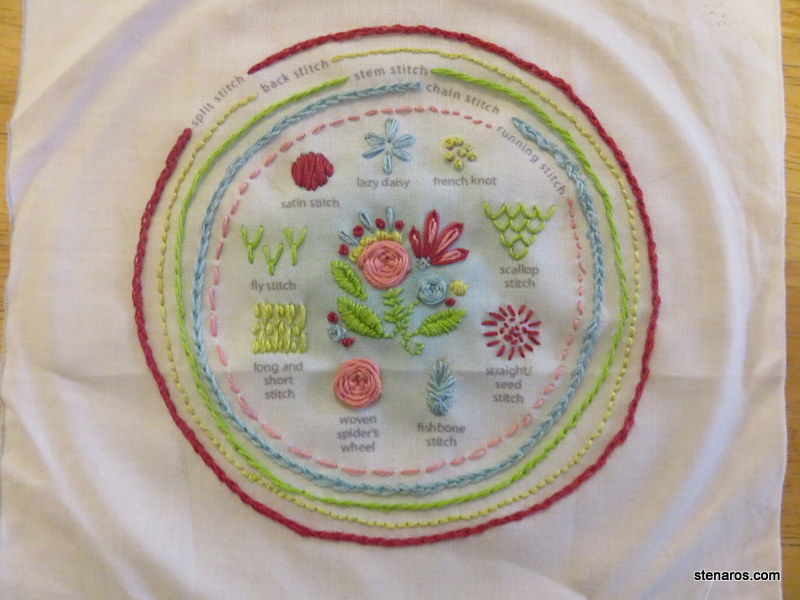
I finished my first sampler from LittleDear. I really love it. The “spring” colors Aimee sent me in the sewing kit are just my type, and I enjoyed doing the stiches. I think the sampler looks pretty, too. I need to work on my satin stich and the fishbone stich was mostly a disaster. But look how pretty that woven spider’s wheel turned out!

This is also from LittleDear. It’s the first of two mandala-inspired patterns. I thought the colors looked great here too!

Now, whatsoever shall I do with these?

The Washer and Dryer are in Their Places

The repair man has returned and this time he brought along a lifting companion. I loved our repair man. I explained the deal, and he, looking amused, said, “I think this is going to work.” And it did.

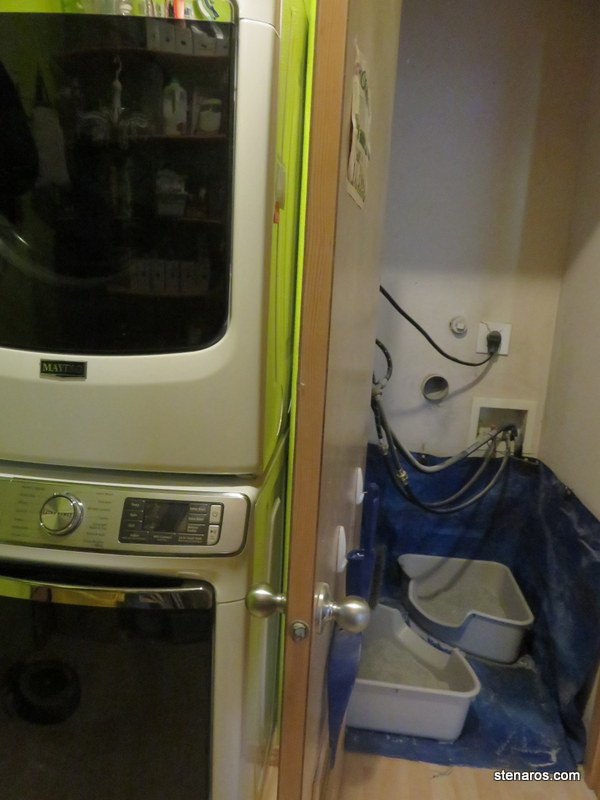
We still need to put the vent part of the door back. I took it out when that area became the cat litter box area, but I saved it and I just need to screw it back into place. I also need to find some sort of curtain. Laundry tends to fall from the dryer right into the litter box area.

I also want to put a few shelves above the washer.

But it’s nice to have a fully working washer again. And I quite like how this has all turned out.

Laundry Area Rehab. The Before

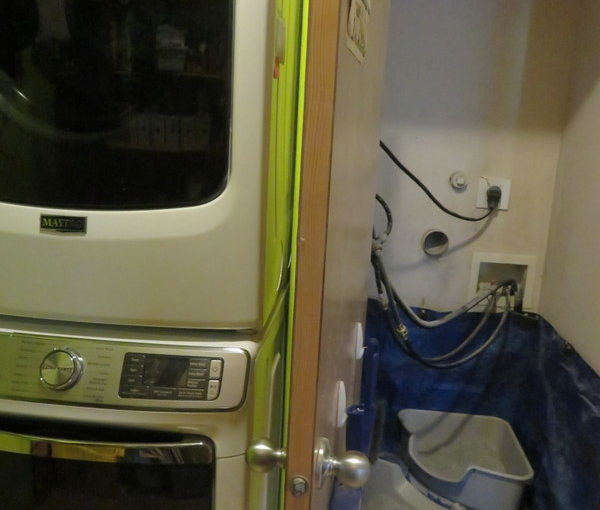
Our top-of-the-line washer has pooped out just a few months after the one-year warranty expired. Maytag has agreed to cover the cost of parts and labor to fix it and the repair man pointed out that maybe moving the washer and dryer back into the closet would be better for the washer.

However, that move would make a problem for the dryer. The reason we moved the unit out of the closet was because it was hard to vent.

There is also the matter of the cats’ litter boxes. If we separate the unit and put the washer in the closet (thus getting rid of that multiple chained hoses situation) and the dryer on the ground in the not-closet, where will the cats’ litter boxes go?

The solution came to me while I was in a half-awake state on Friday morning and I spent a few hours sketching out the plan. We just needed to build a pedestal for the dryer to sit on, but one that was high enough for the cats’ litter boxes to fit under. Luckily, the manufacturer-created pedestals are ridiculously expensive and several people had made their own and put their building process online, so I had some guidance.

On Saturday morning, I went to buy the supplies. That part didn’t go smoothly because though I had measured the Honda Civic to ensure that plywood cut in half would fit into the back seat (it would!) I neglected to measure the opening to the back seat. It was not big enough for the plywood to fit, as I found when I went to load up the car. Thankfully Laurie and Burt have a truck and Matt went to borrow it.

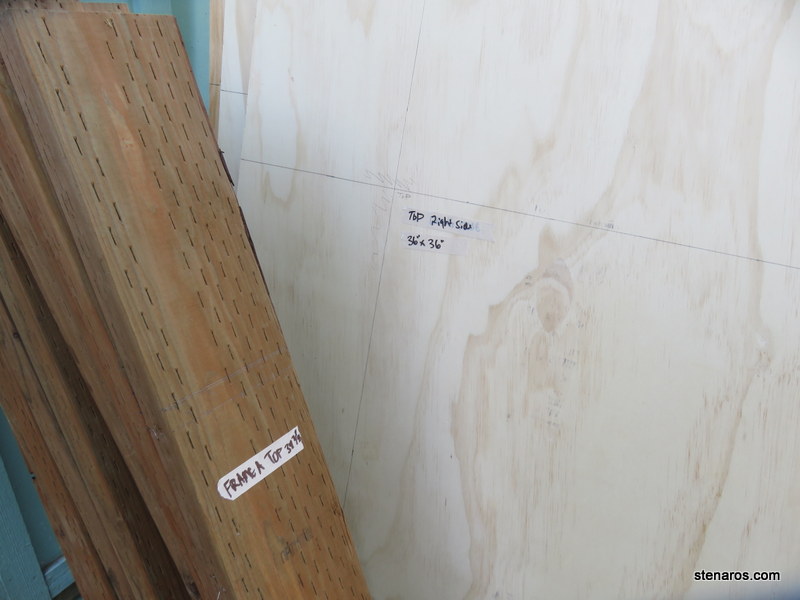
After that, I came home and made this as close to an Ikea project as I could.

You can see my labels and marks. Everything is premeasured and we will tackle this tomorrow. Hopefully we can get the platform built in time to get it ready for when the repair man comes back to install the new parts.

Bad Spellers Shirt for T-Quilt

While waiting for my embroidery supplies to ship, I finished this square in the long-delayed t-quilt. I like how this turned out. I just wish I could do sashiko without hurting my thumbs. Perhaps there is a YouTube tutorial?

In another 15–20 years, I’ll get this t-quilt done.

p.s. I’ve just noticed that the top row has stitches between each hexagon and I did not add them in for the bottom row. Perhaps I will go back and do that. Someday.