Part of my mission at Fabric Depot was to research coat options. I need a new coat and I have thoughts of sewing one. Here are my criteria: at least thigh length, has a hood, hourglass-shaped (or some such shaping around the waist), easy to sew, can do autumn and winter. It seems that this is a difficult combo to come by. Let’s rank the contenders and see how things come out.
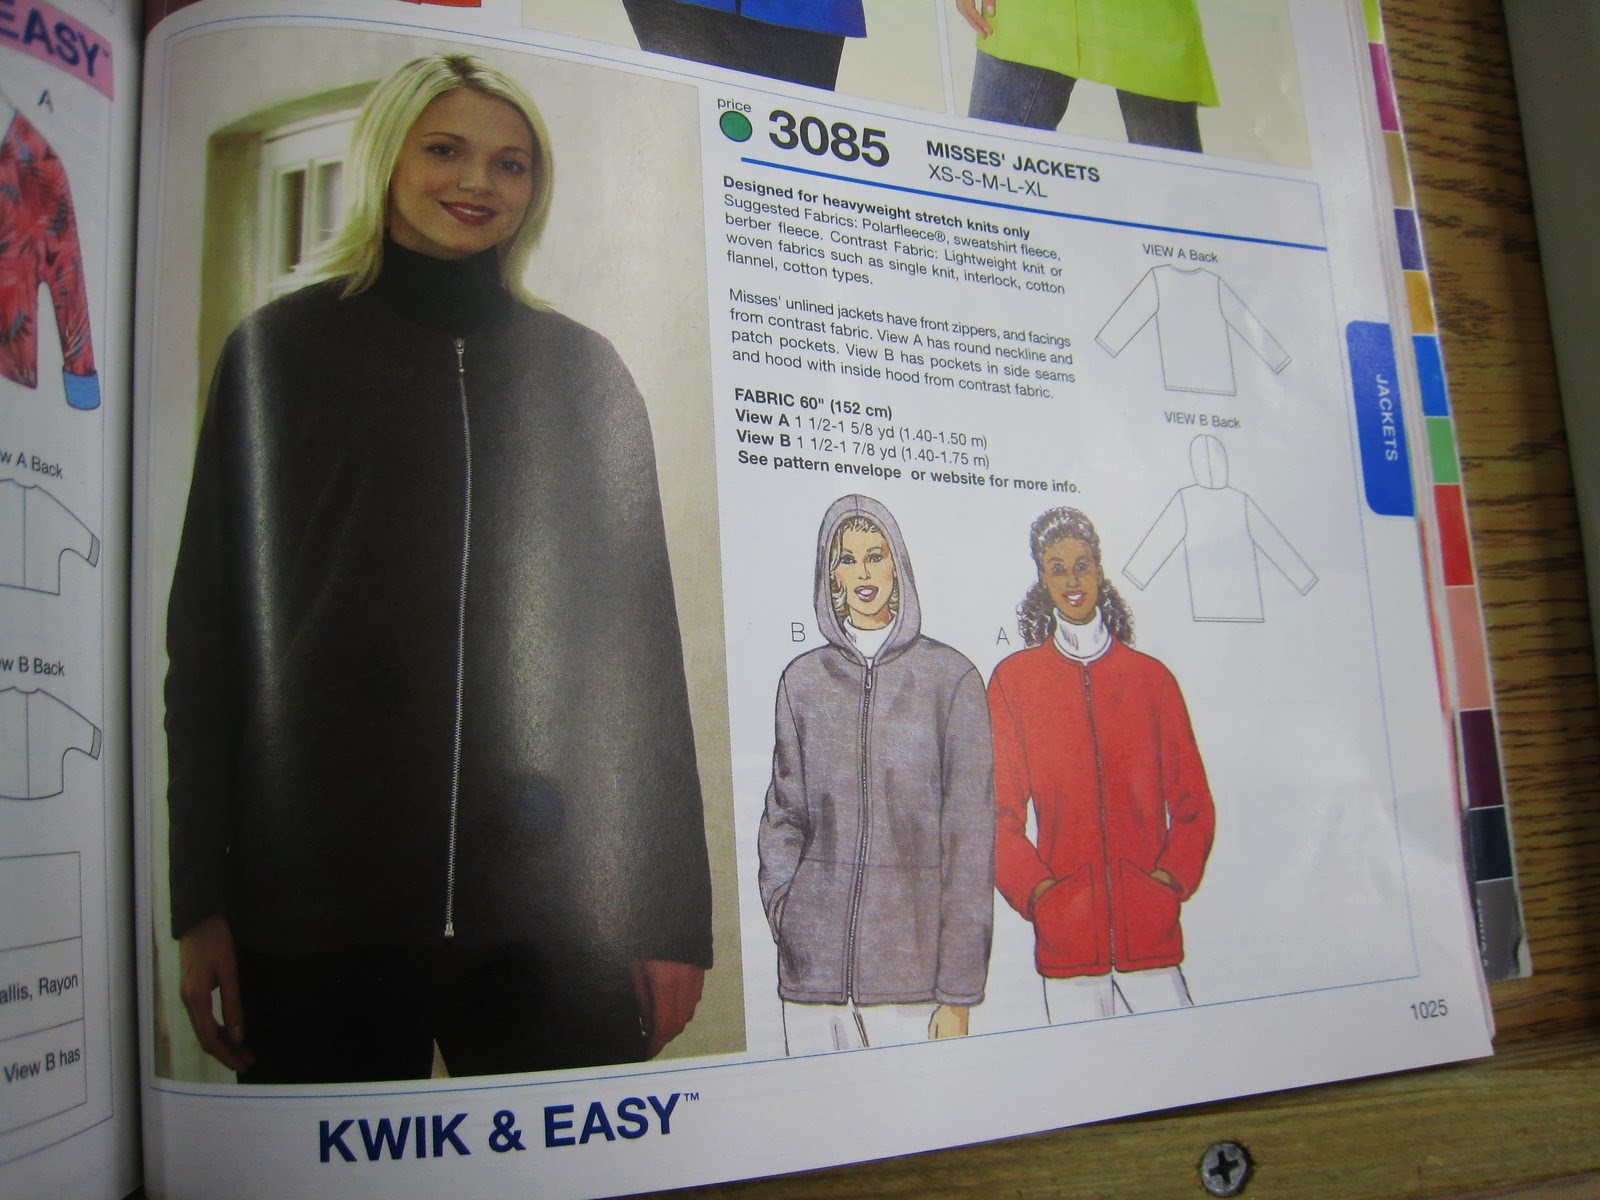
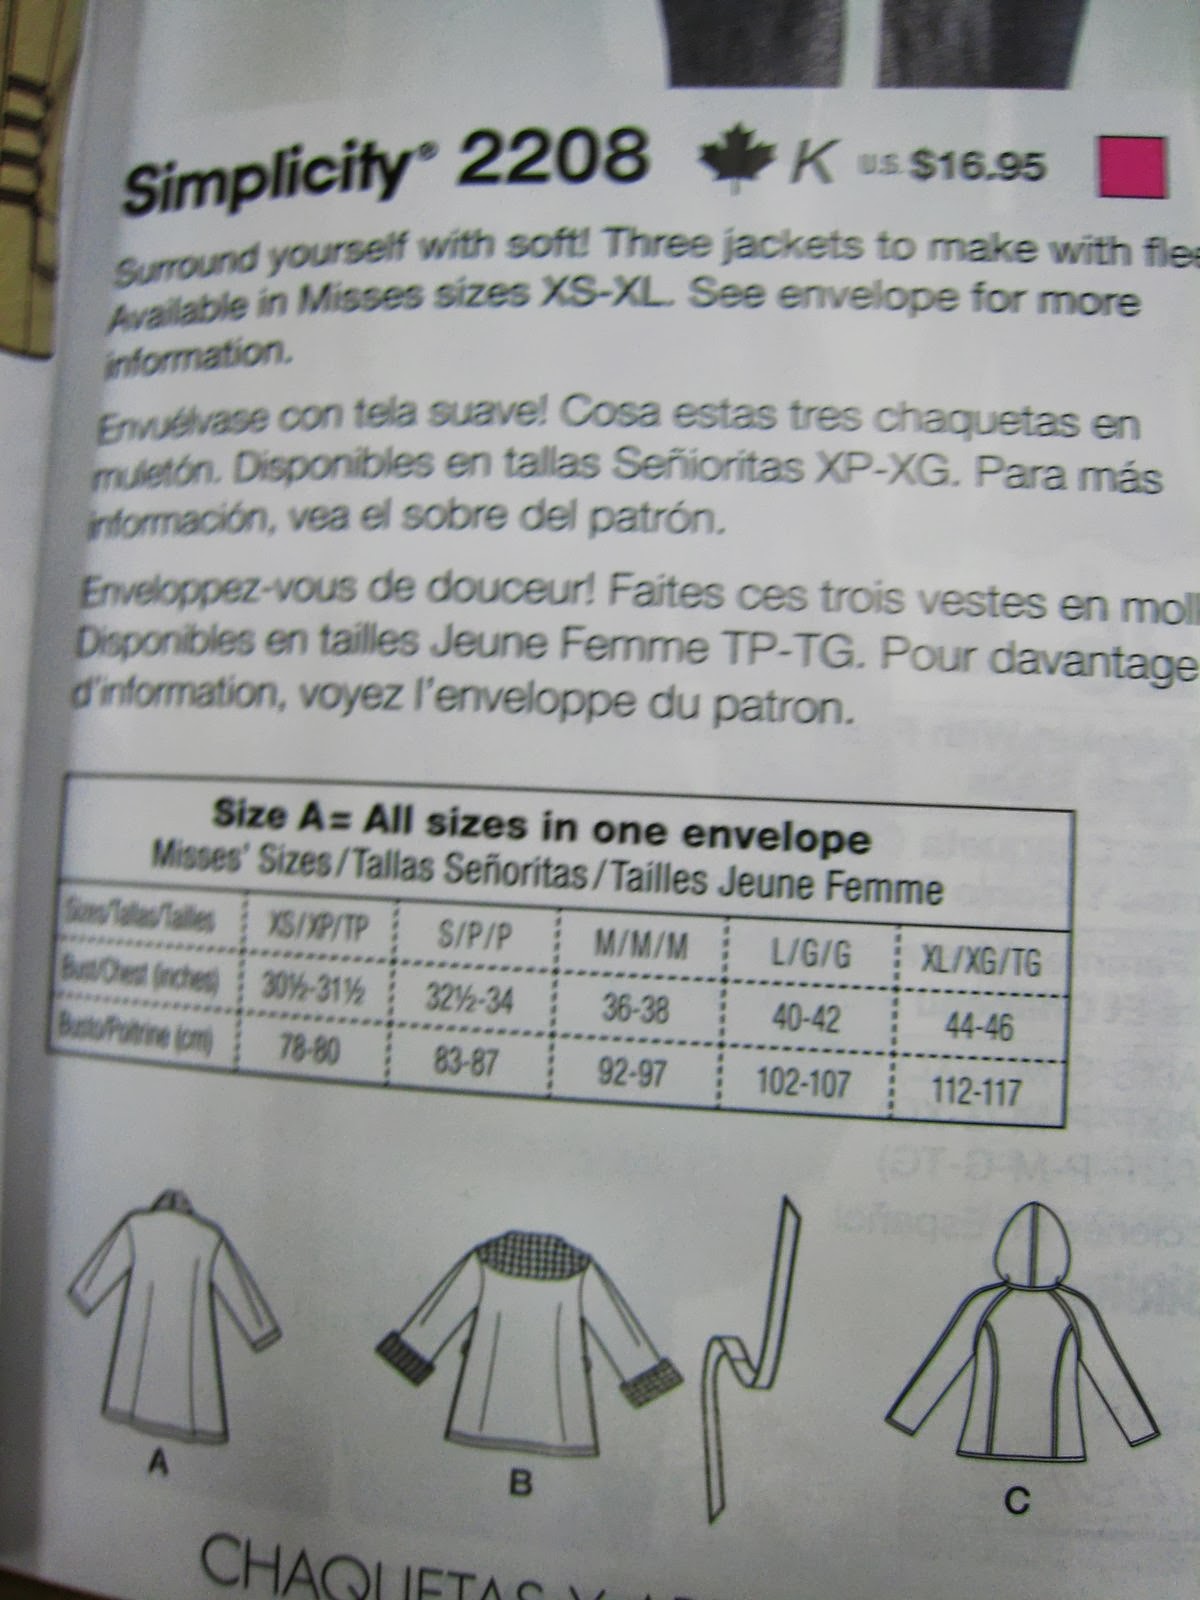
Length: Yes
Hood: Yes
Hourglass: No
Easy: No information
Autumn/Winter: Yes
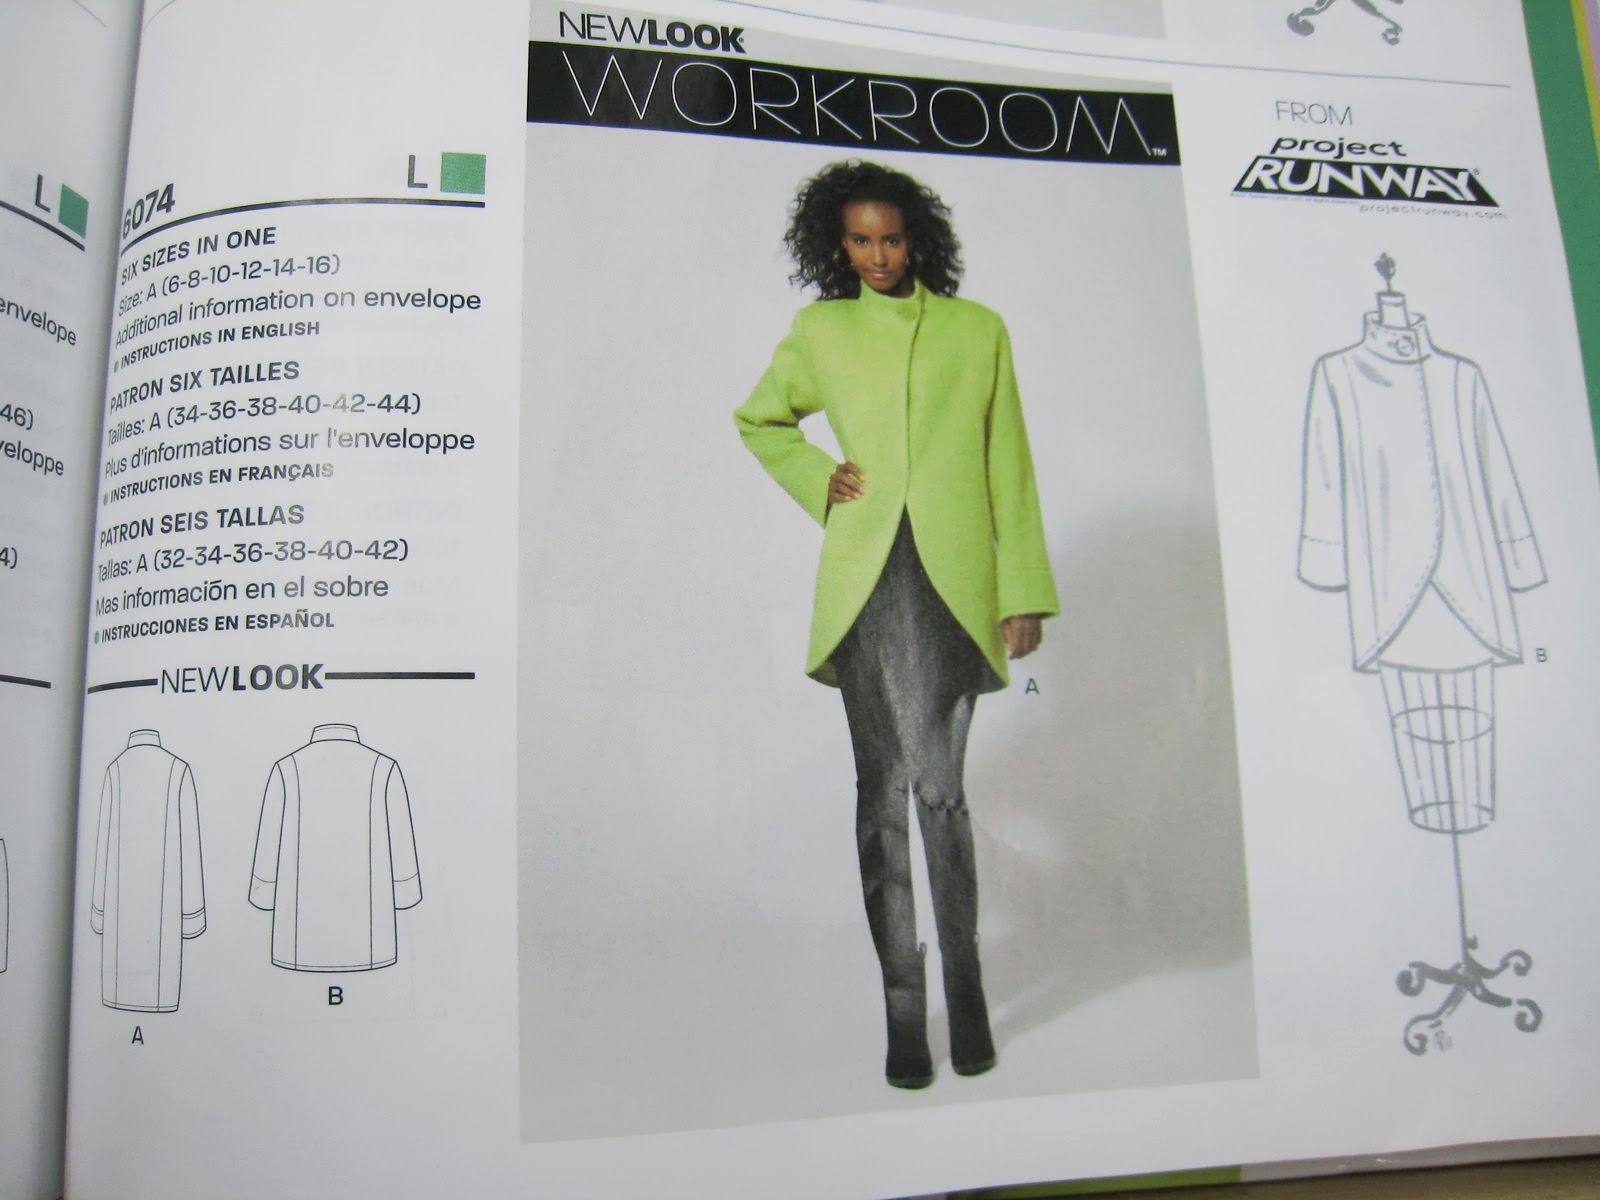
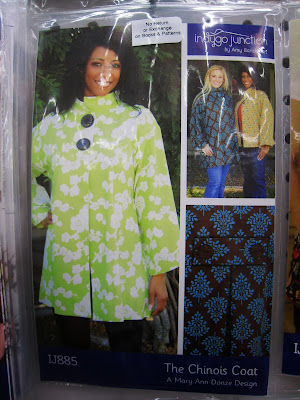
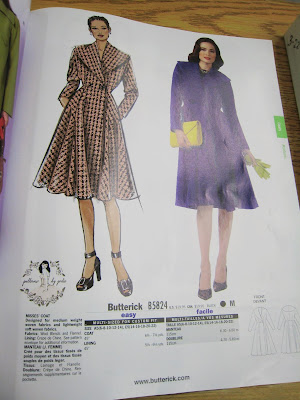
I’m looking at the upper right corner version.

Length: Yes
Hood: Yes
Hourglass: Not really
Easy: No information
Autumn/Winter: Yes

Length: Yes
Hood: No
Hourglass: No
Easy: Yes
Autumn/Winter: Yes

Length: Yes
Hood: No
Hourglass: No
Easy: No information
Autumn/Winter: Yes
Length: Yes
Hood: No
Hourglass: No
Easy: no information
Autumn/Winter: Yes
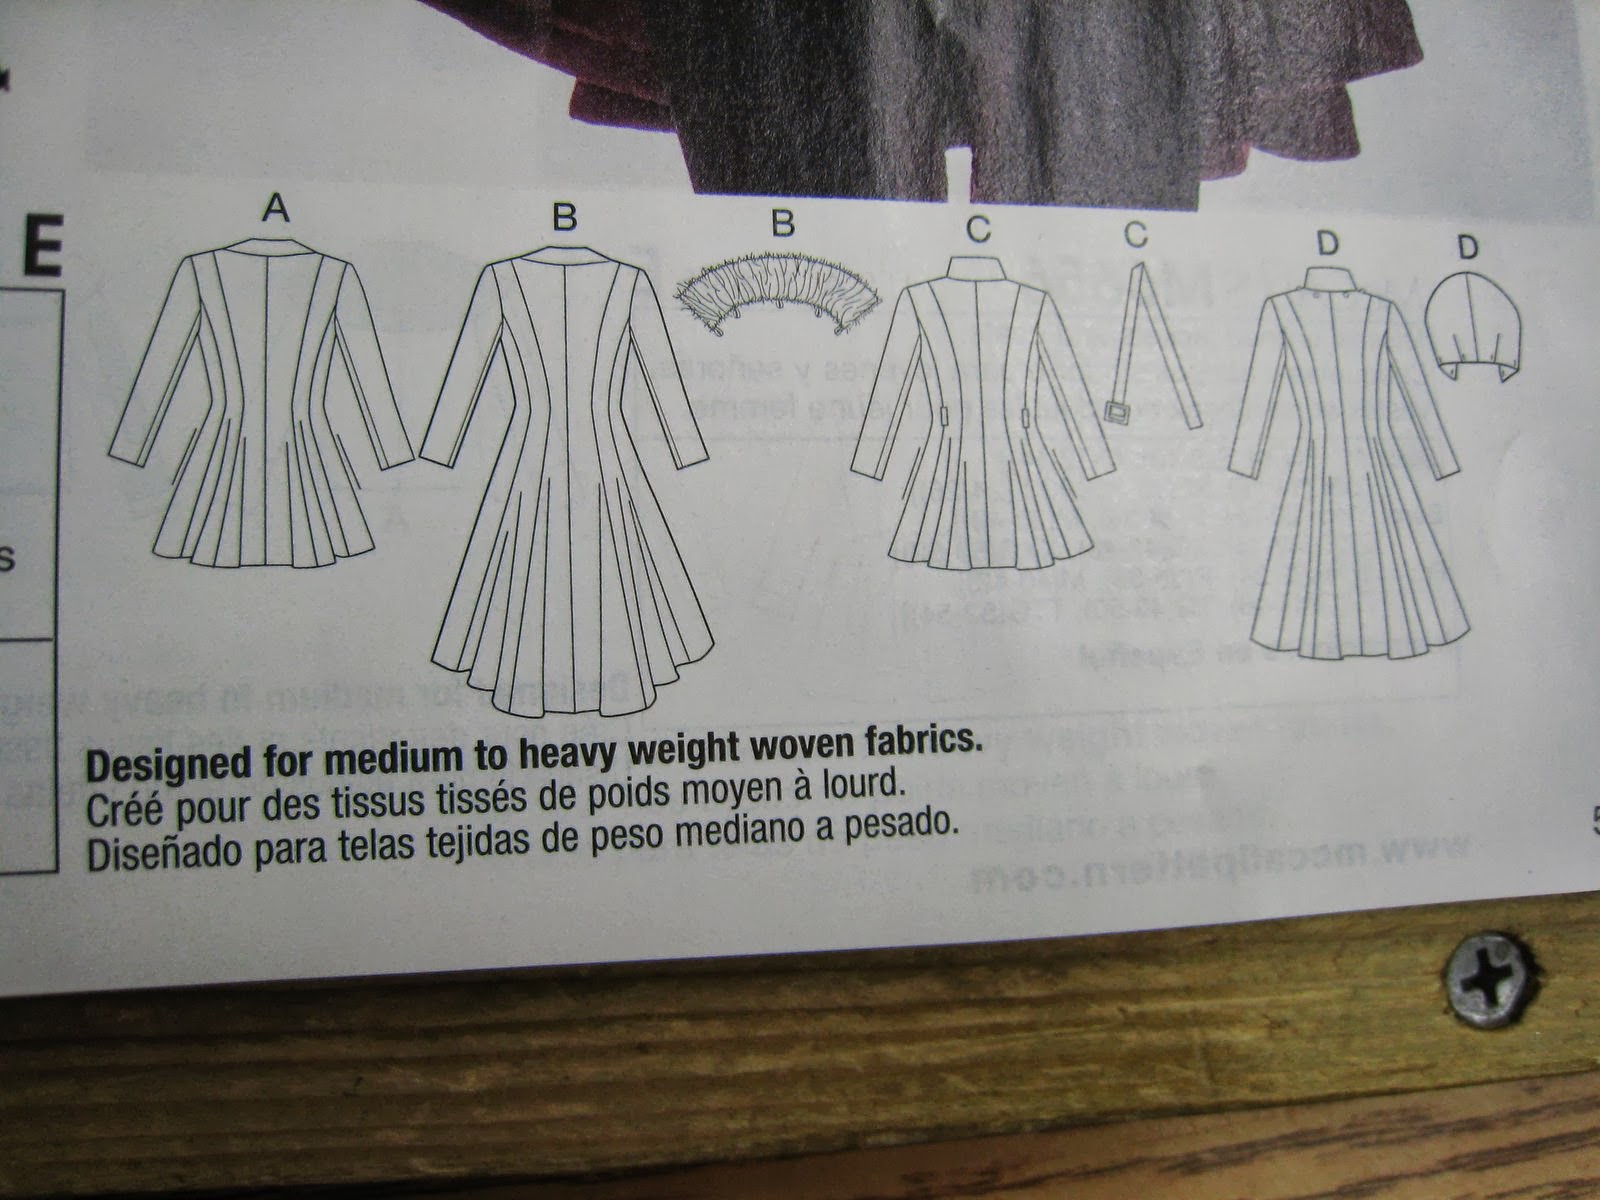
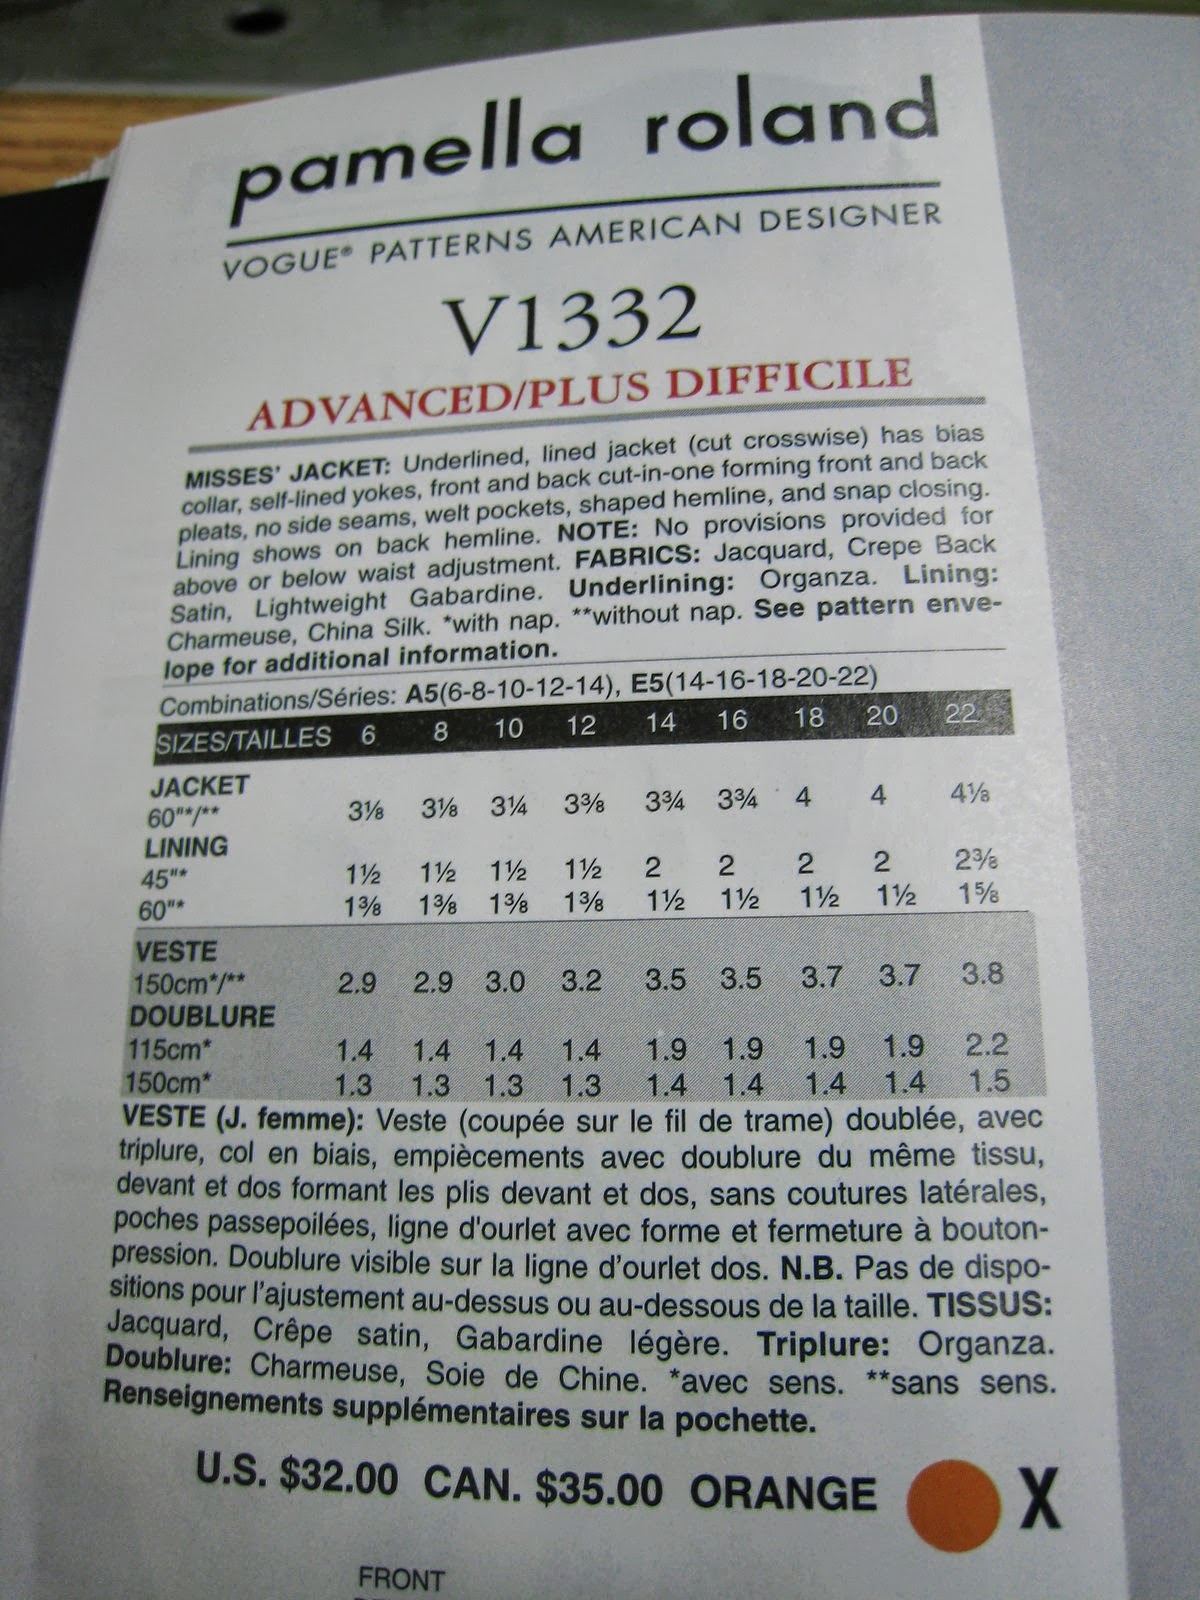
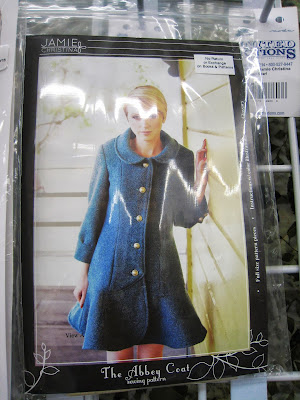
Length: Yes
Hood: No
Hourglass: Yes
Easy: No info, but one commenter rates it difficult, but great for advanced sewers.
Autumn/Winter: No
(I love this one the best, but I can tell it isn’t going to make the cut)
Length: Yes
Hood: Yes
Hourglass: Sort of?
Easy: I’m guessing not as it is Burda Style
Autumn/Winter: No.

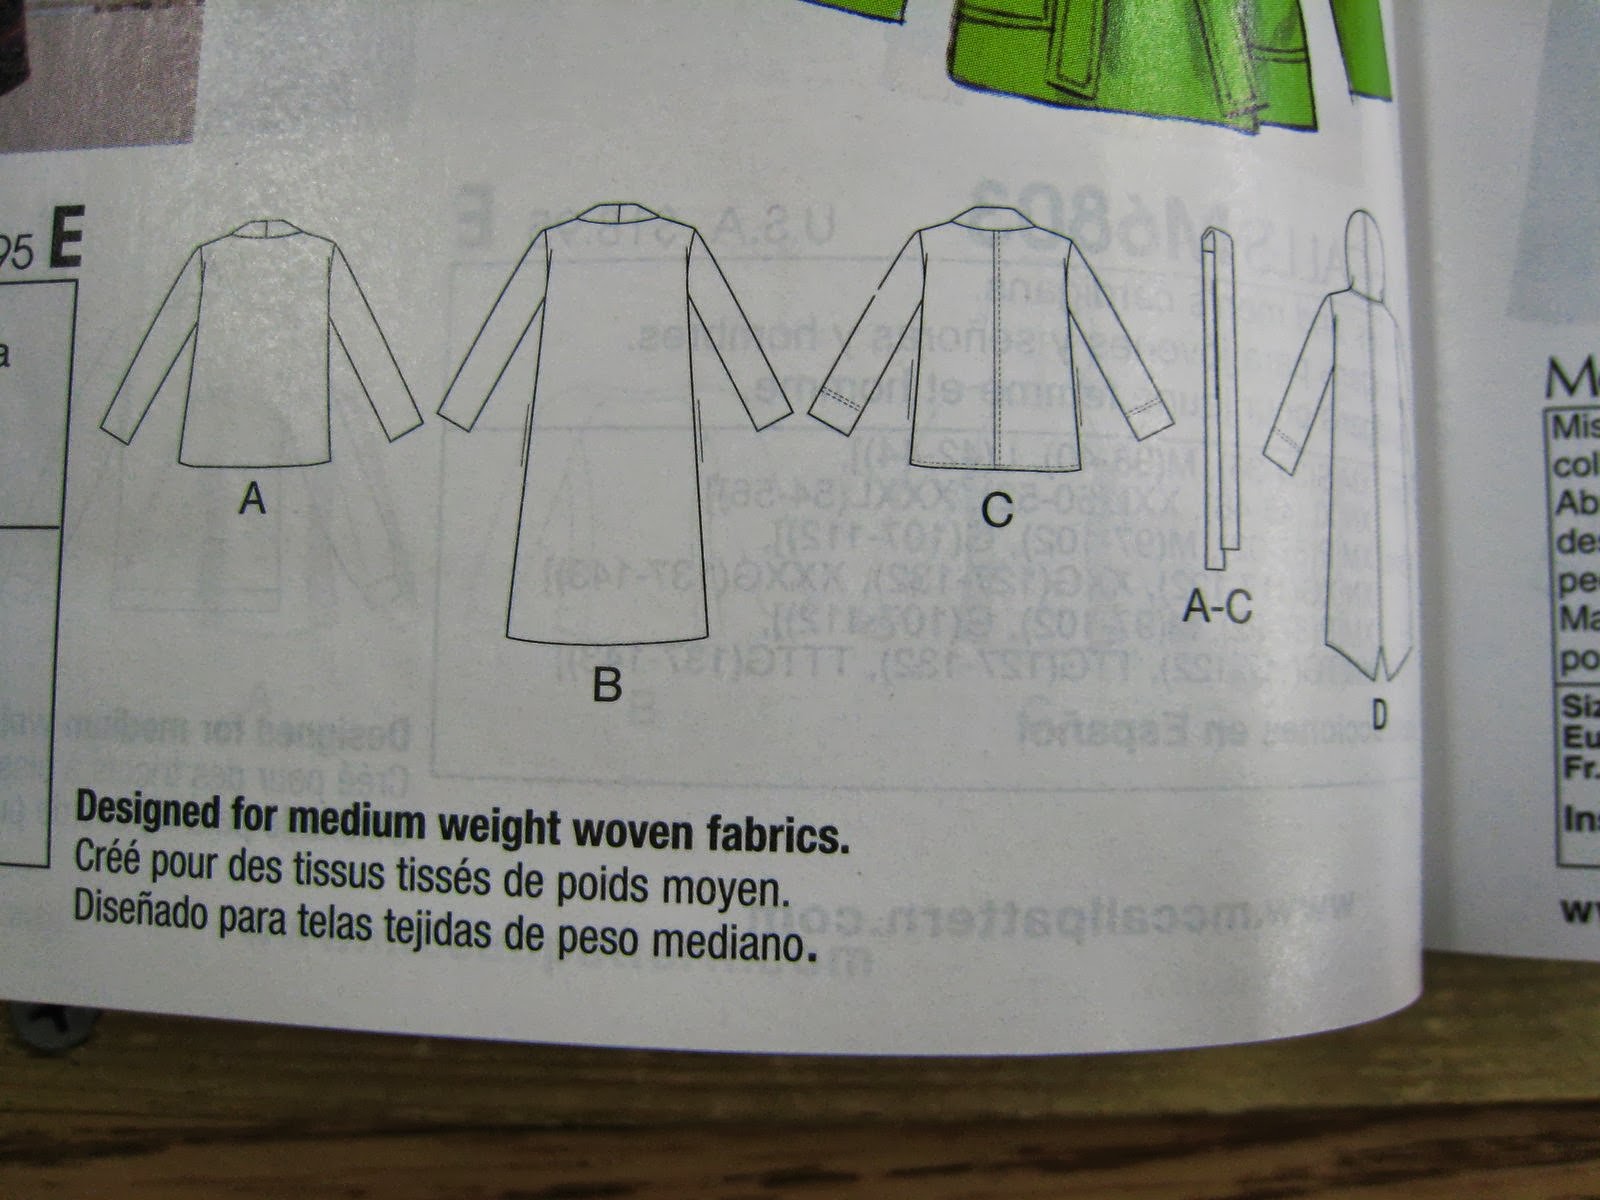
Length: Yes
Hood: No
Hourglass: Yes
Easy: Yes
Autumn/Winter: Yes, if I made it out of a light fabric.
(This has the advantage of being a Pattern by Gertie. I’m a fan of Gertie.)
Length: Yes
Hood: No
Hourglass: No
Easy: Yes
Autumn/Winter: Yes

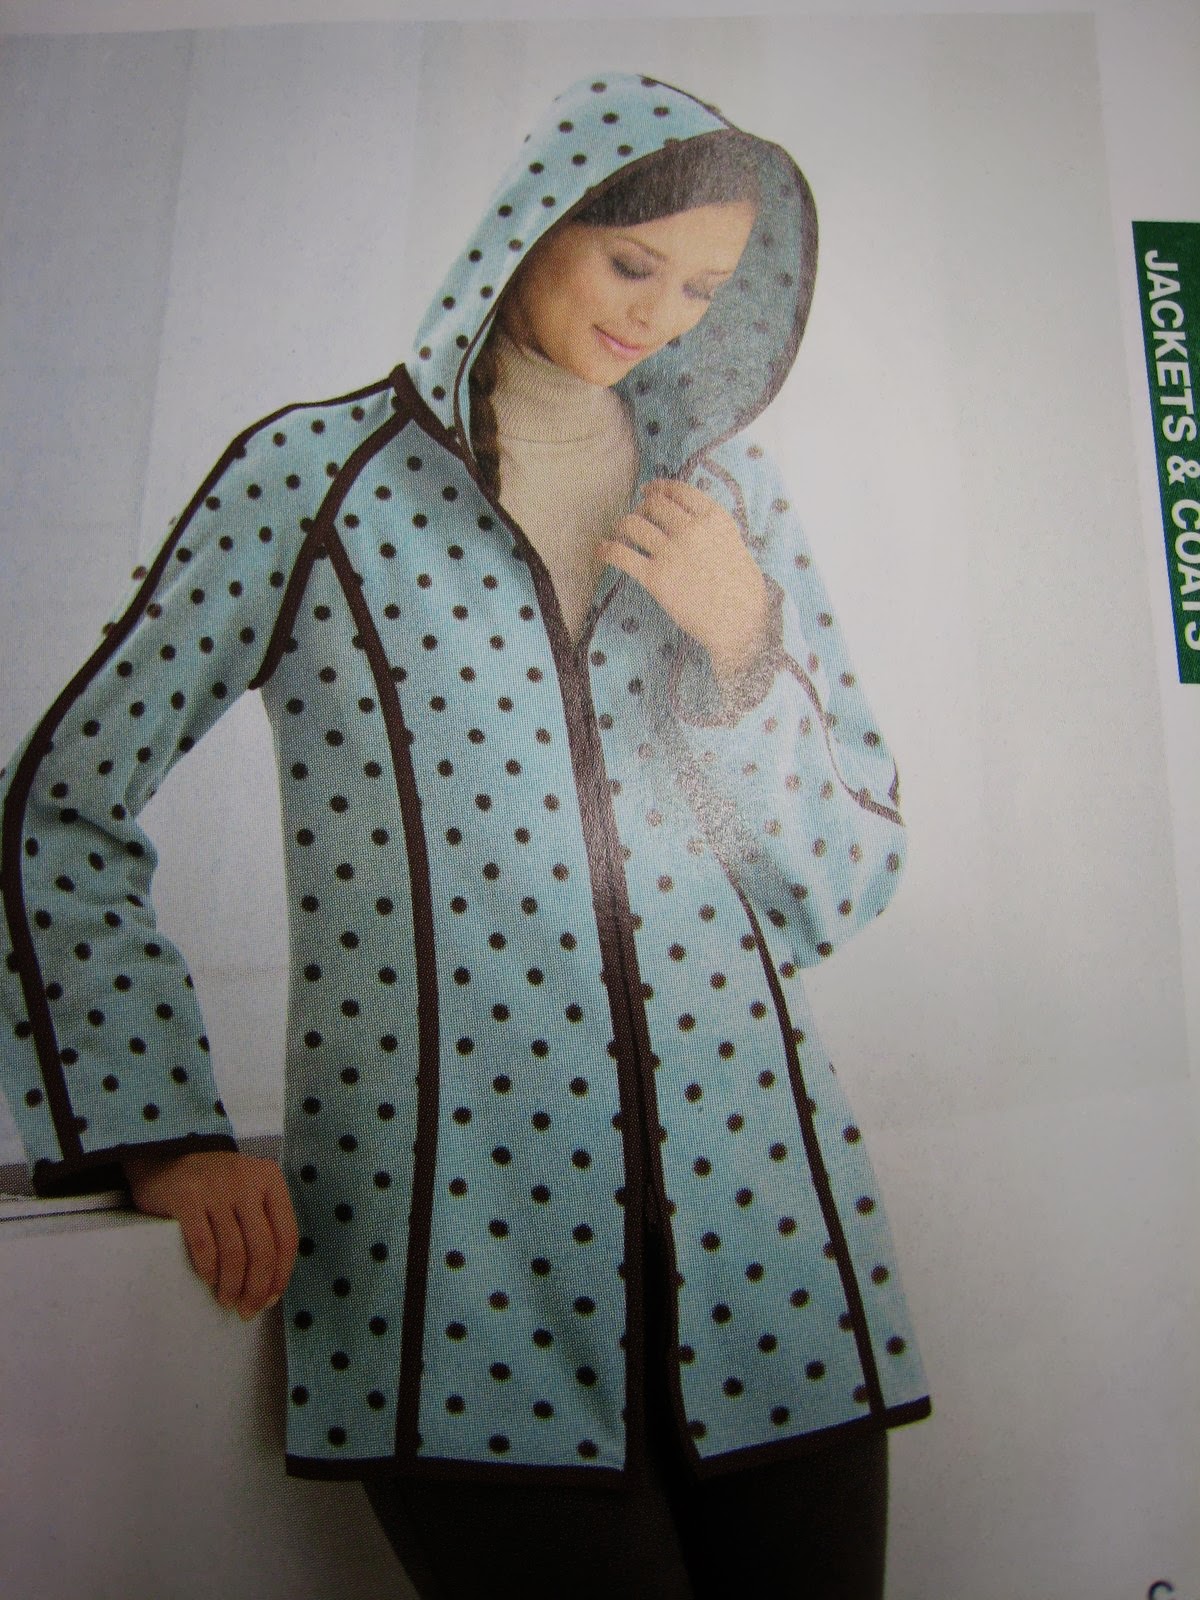
Length: Yes
Hood: Yes
Hourglass: No
Easy: Yes
Autumn/Winter: Yes

Length: Yes
Hood: No
Hourglass: No
Easy: Can’t tell
Autumn/Winter: Yes
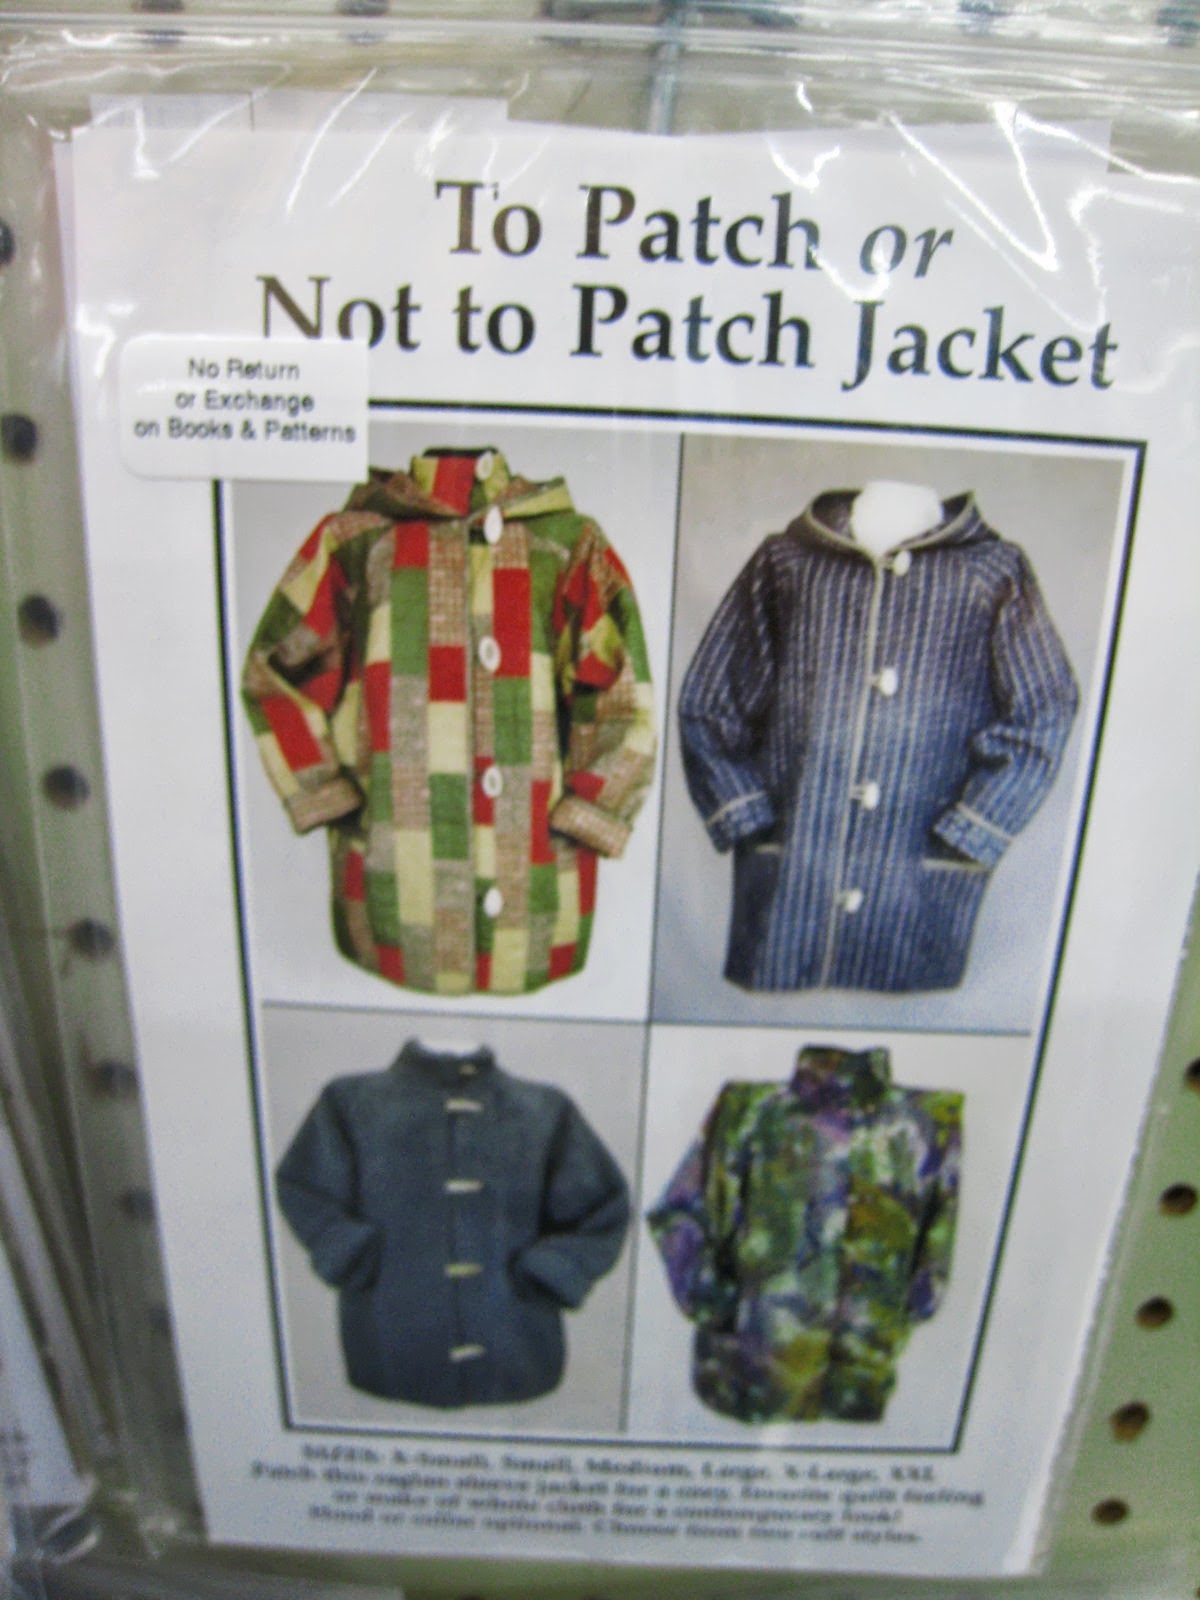
Length: No
Hood: Yes
Hourglass: No
Easy: Yes
Autumn/Winter: No

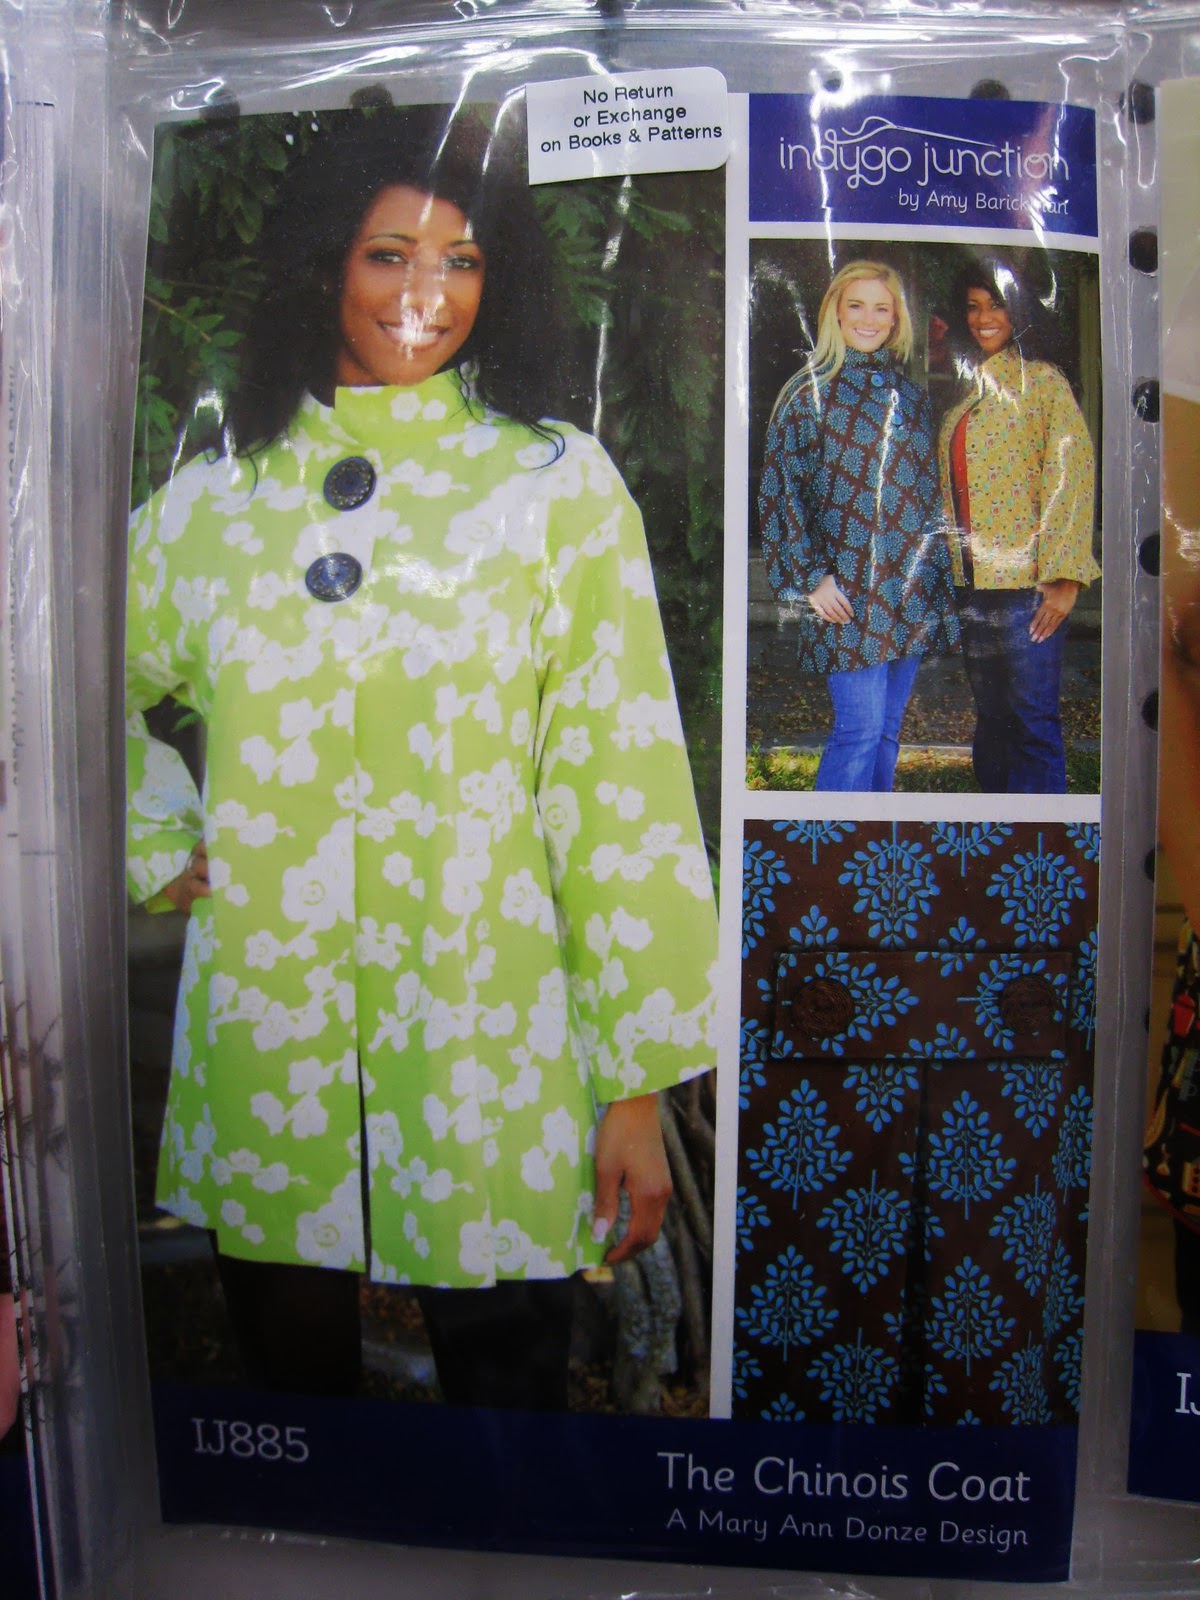
Length: Yes
Hood: No, wait, yes!
Hourglass: Yes
Easy: Can’t tell
Autumn/Winter: No, more of a winter.

Length: Yes (a bit long)
Hood: Yes
Hourglass: No
Easy: Perhaps?
Autumn/Winter: More winter.
This also looks exactly like a coat I had my senior year of high school. I haven’t decided if this is a plus or minus.

Length: Yes
Hood: Yes
Hourglass: No, but fun princess seams in contrast color
Easy: Perhaps
Autumn/Winter: Yes
Length: Yes, though long
Hood: No
Hourglass: No
Easy: Probably not.
Autumn/Winter: More winter.

Length: No
Hood: No
Hourglass: No
Easy: No
Autumn/Winter: No
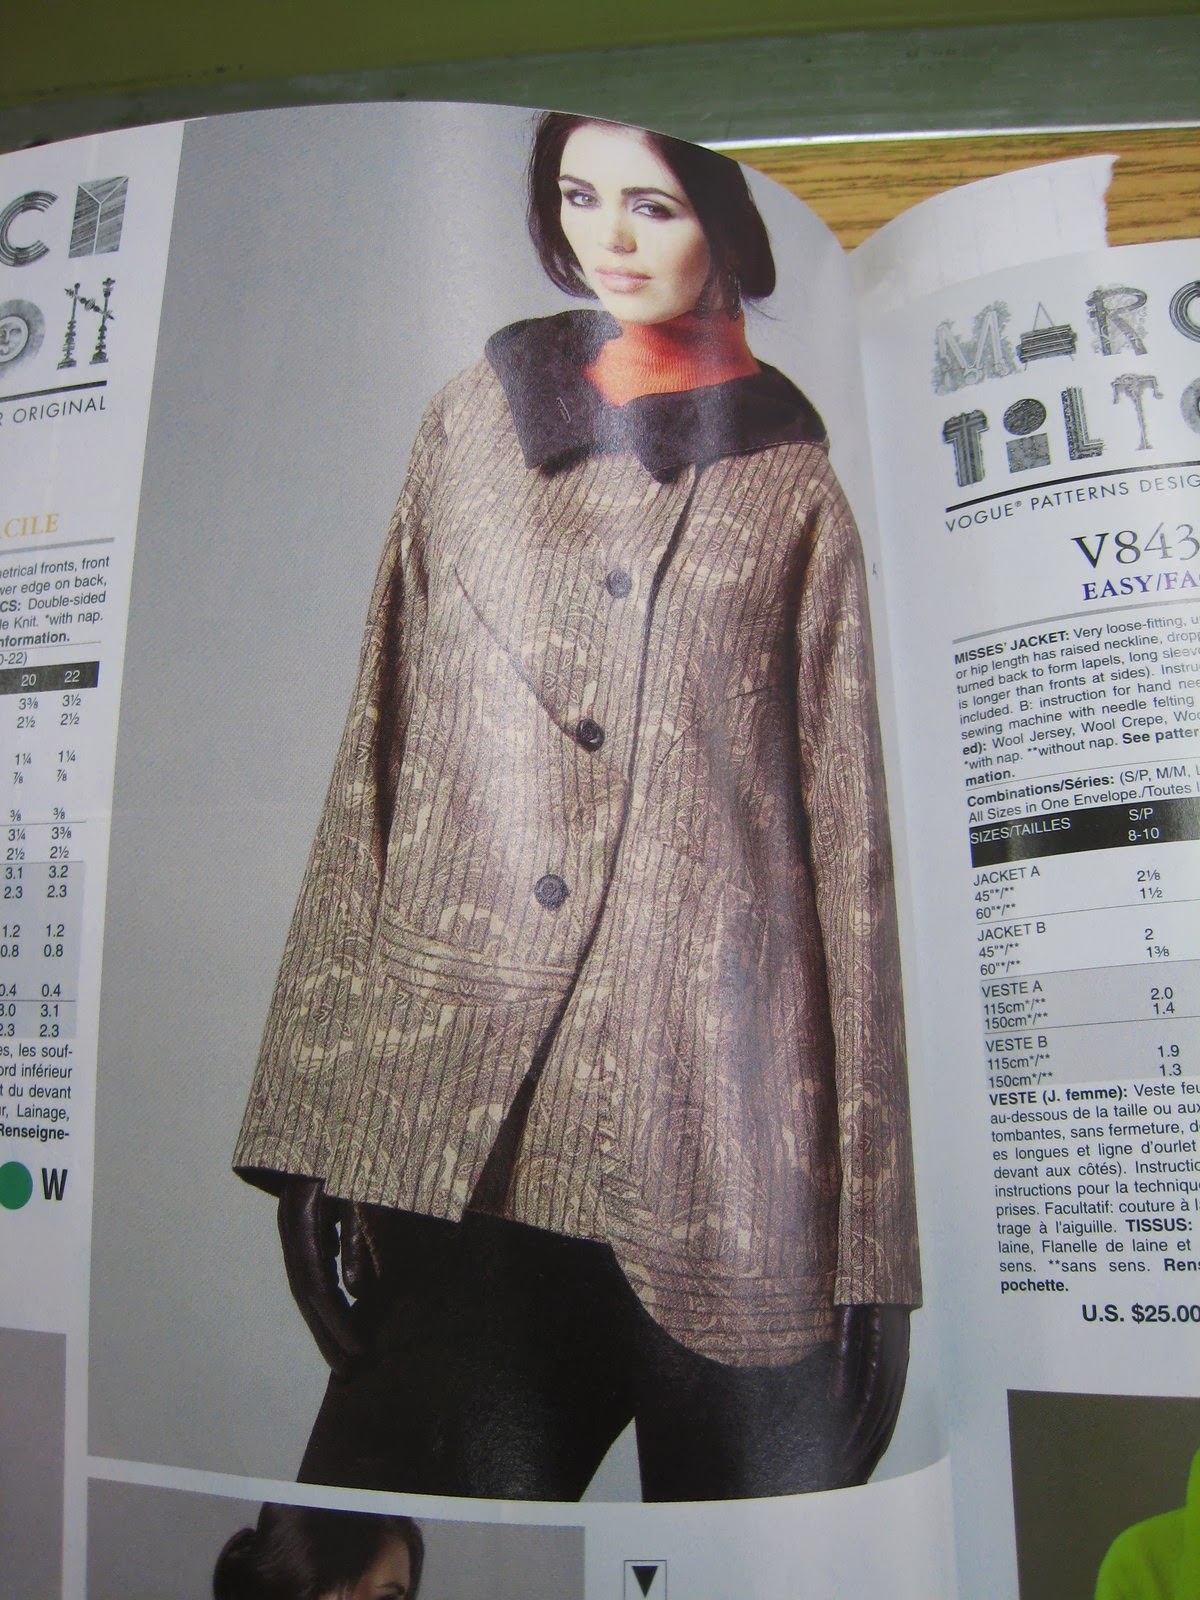
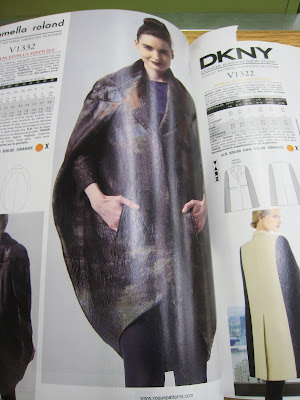
I only include this because Fabric Depot had a sample garment on display last winter. It is a fabulously weird coat–it kind of has an insect vibe going on. It’s also rated “advanced” in Vogue which means “super professionals only” in layman’s terms. I loved the strange arm/cloak aspect of it.
Length: Yes
Hood: Yes
Hourglass: No
Easy: No
Autumn/Winter: Yes

Length: Yes
Hood: No
Hourglass: Sort of.
Easy: Yes
Autumn/Winter: Yes
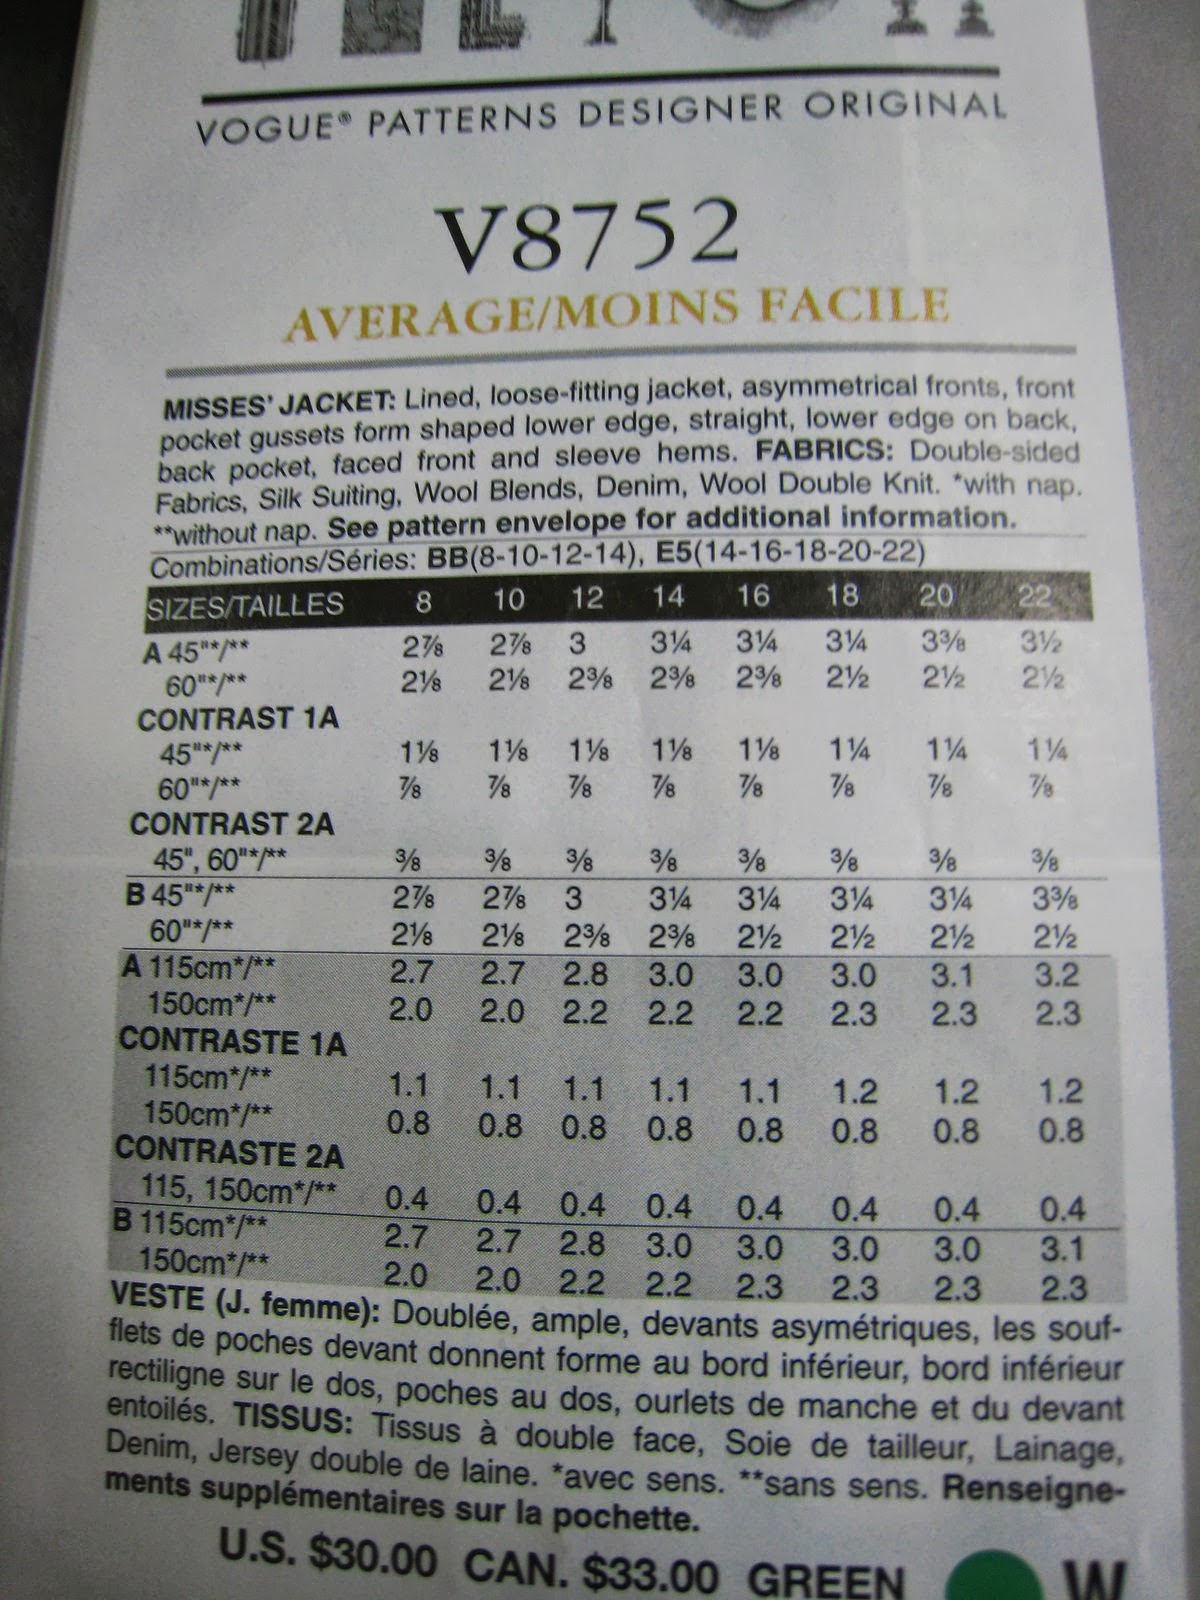
I’m including this one because it is another “unique” coat from Vogue. Its lack of closures would not hold up to the Portland rains.
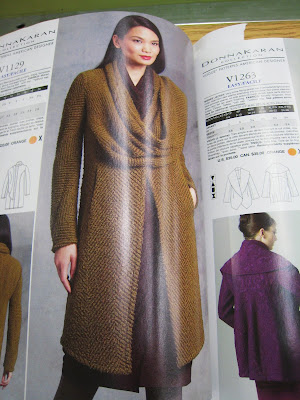
Length: Yes
Hood: No
Hourglass: Yes
Easy: Maybe?
Autumn/Winter: Yes
Length: Yes
Hood: Yes
Hourglass: No
Easy: Probably not.
Autumn/Winter: Yes
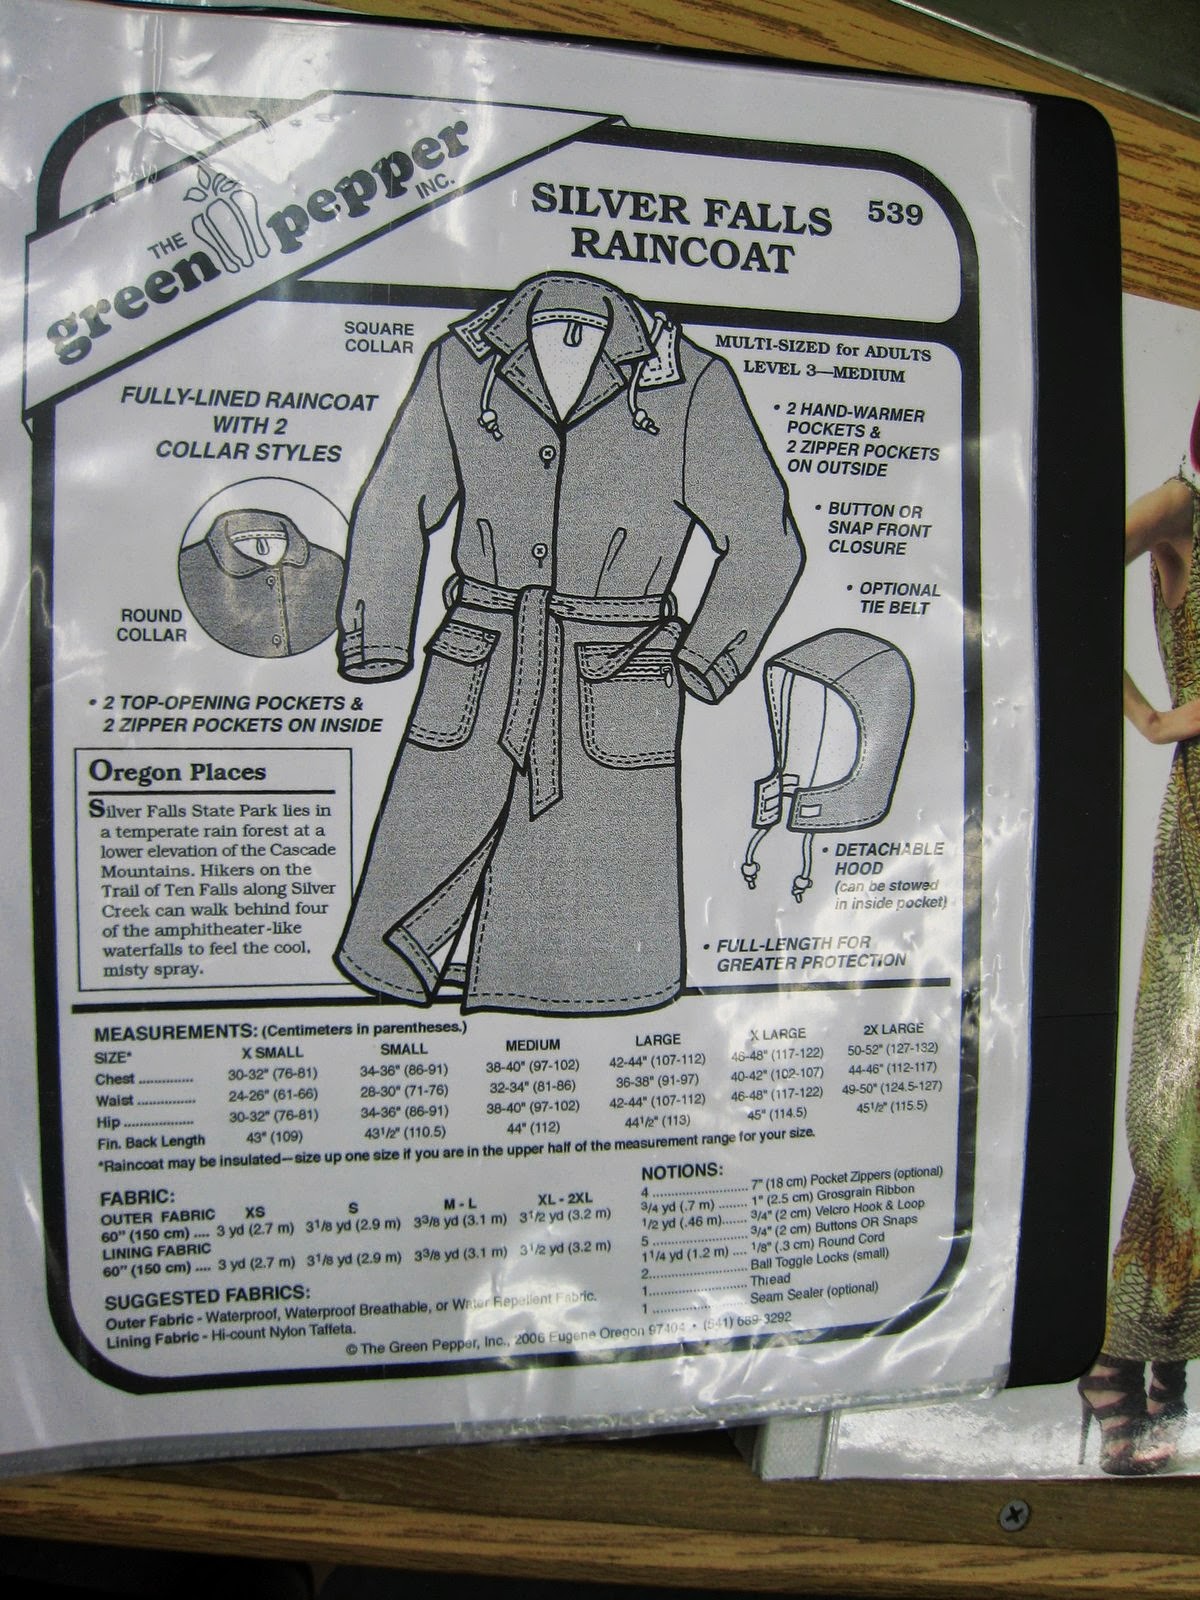
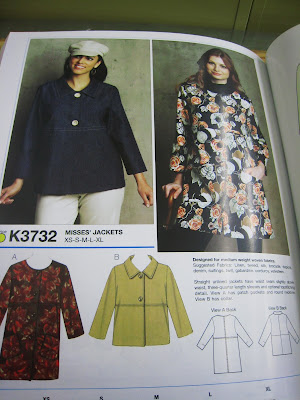
This is a regional pattern company and I think this would be a fun coat to make in a fun fabric. Silver Falls State Park is near Salem.

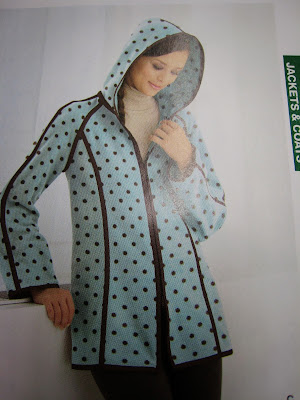
Length: Yes
Hood: Yes
Hourglass: No
Easy: Eh.
Autumn/Winter: Possibly, depending on fabric.
I am including this because I think there could be a belt added here that might make this more palatable.
Length: A little long.
Hood: No
Hourglass: No
Easy: Probably not.
Autumn/Winter: Yes
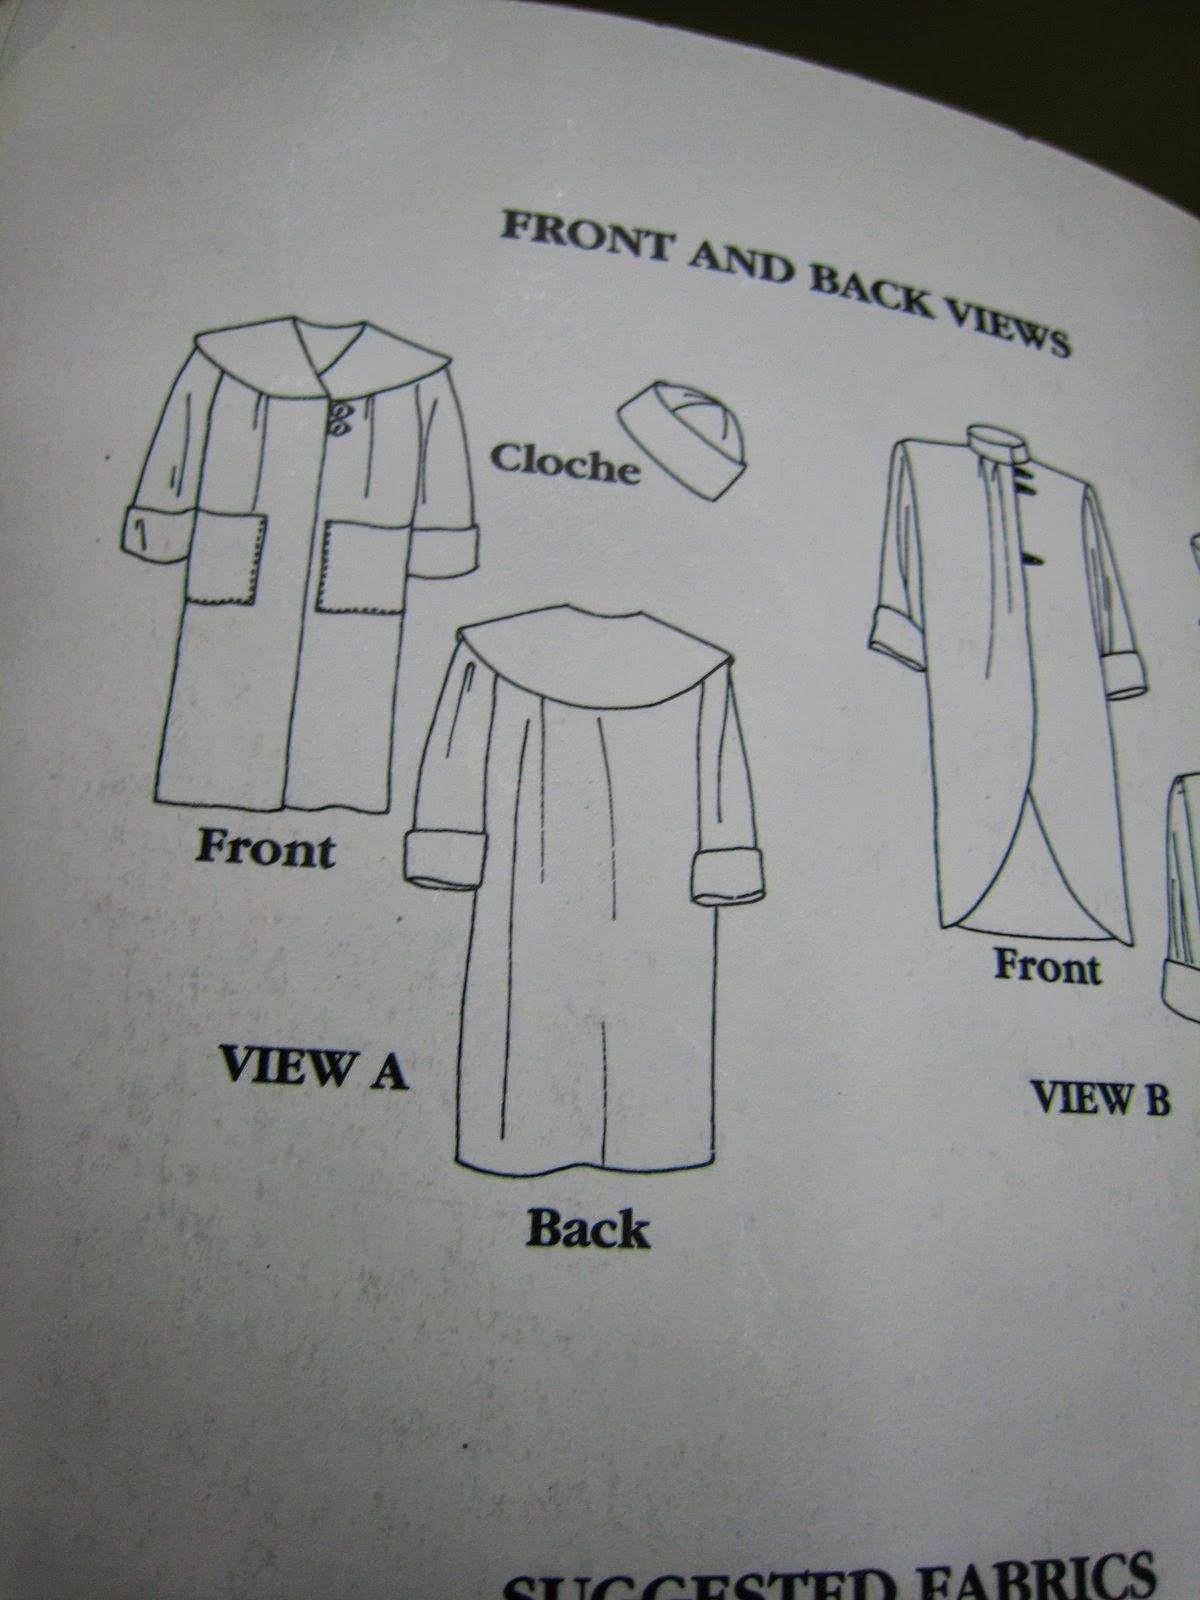
It’s so cute! I will never make this, though.

Length: Yes
Hood: No
Hourglass: Yes
Easy: Nope
Autumn/Winter: Not really.
So let’s sum up.
24 total coats.
10 with hoods.
2 with hoods that are hourglass-shaped.
1 with hood that is marked “easy”
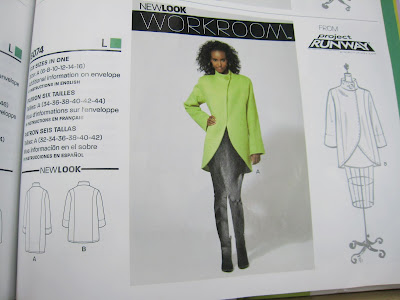
Which means we have a winner. And that winner is:
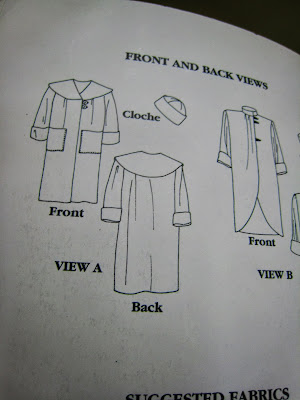
Simplicity 2208.
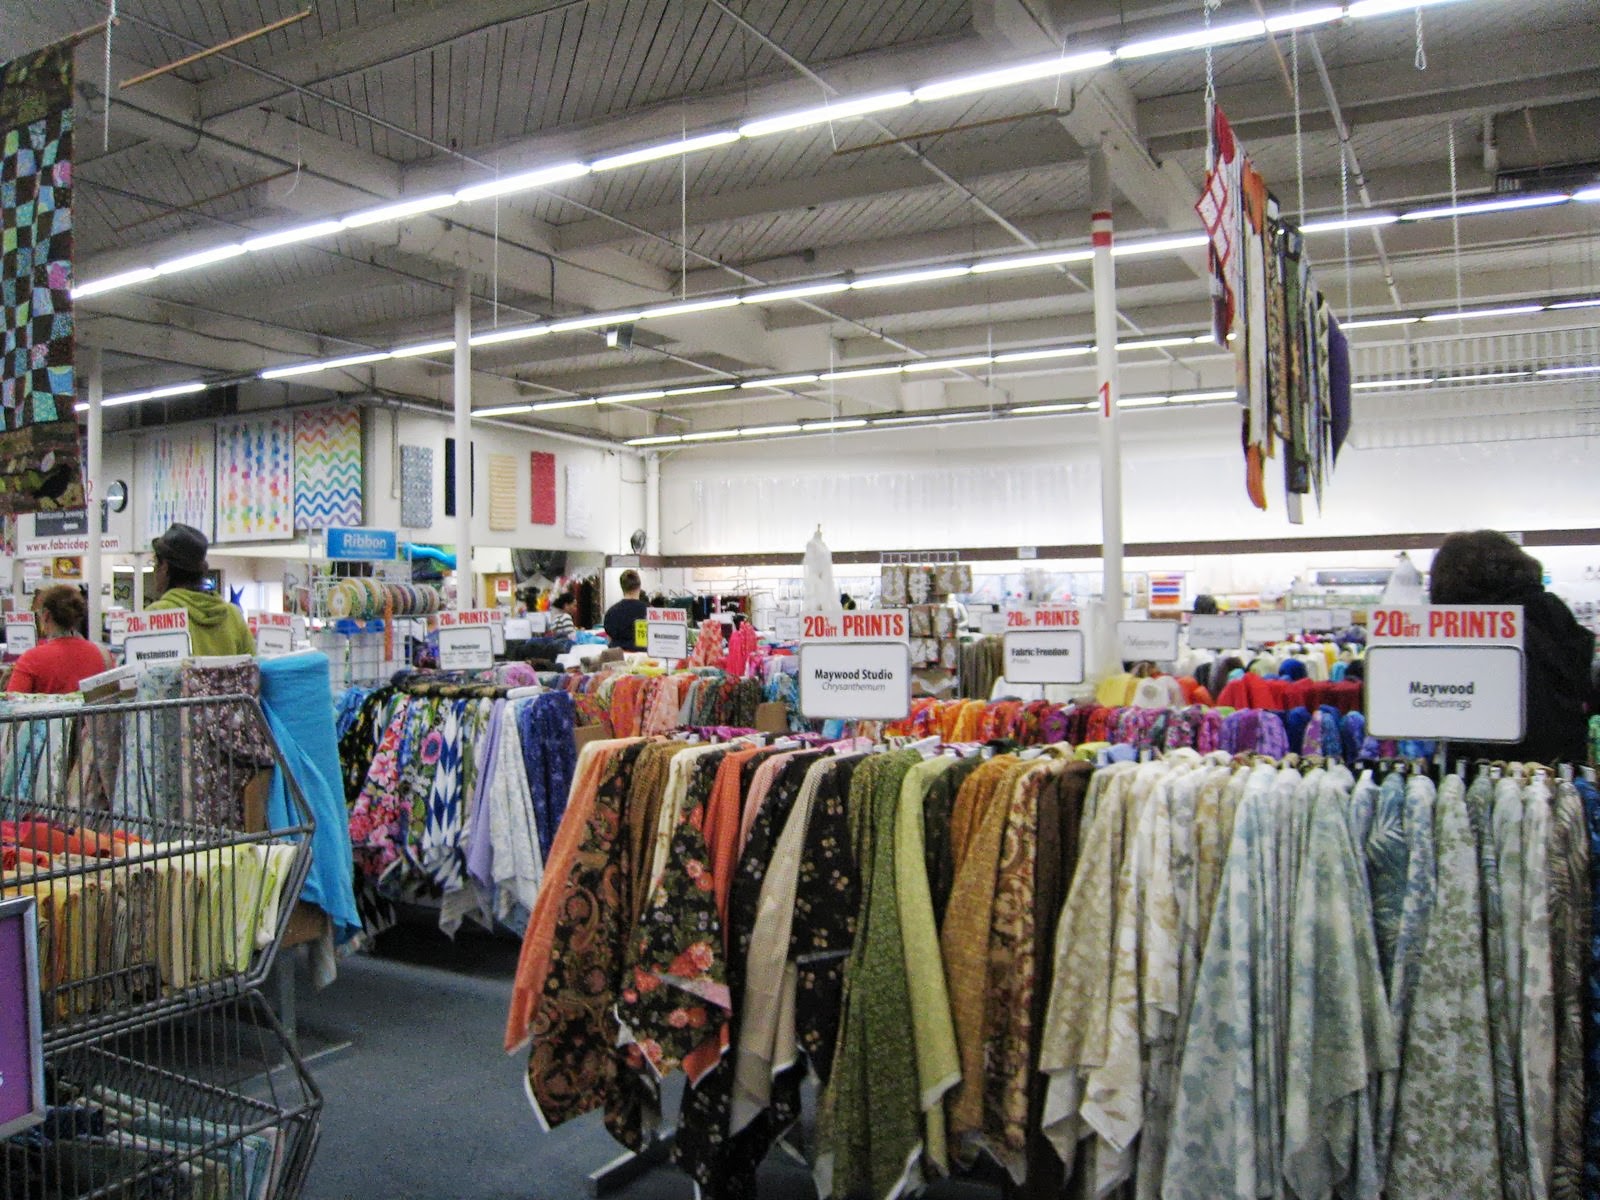
I was interested in what kind of polar fleece type selection might be available to me. It turns out I could make this coat in many different sports team’s logos. But Fabric Depot did have a goodly selection of material that would make this look a bit more classy than some polar fleece suggests.
As a bonus assignment, check out
View B of Simplicity 2208. Is it incredibly cool, or incredibly not cool?
What do all y’all think?