U-Lock Bag


I keep my bike secure by using two U-locks, which I store in my bike basket.  Unfortunately, the metal U-locks combined with the metal bike basket produces a metallic rattle that takes away from the calm and silent nature of biking.  For years (YEARS!) I’ve dreamed of putting together a simple bag for my U-locks. 
Thanks to HabitRPG’s Seamstress Guild I have!  The challenge this month is to Make Something Simple. (a.k.a. the MSS Challenge). The thing I loved about this project is we had to make a Project Log, which could be something as simple as a piece of paper.  Then, you just write down daily what you did, even if the answer is nothing.  I found this to be tremendously motivating.  I don’t sew on weekdays (unless on vacation) because I don’t like having the sewing stuff on the dining room table all the time.  But by logging that on a Tuesday I “thought about bike bag” it seemed like I was working on my project all week long, which motivated me to drag out all the sewing stuff on the weekend.  Genius.
Here is my pattern.

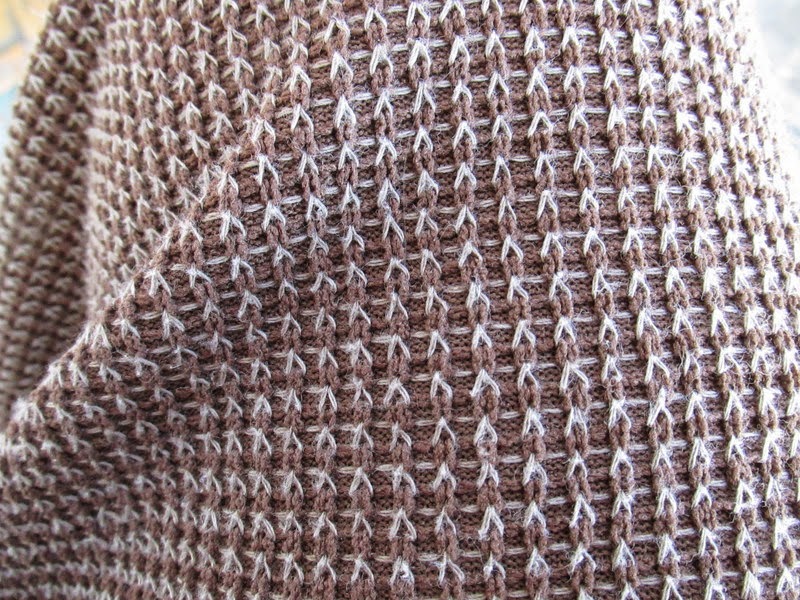
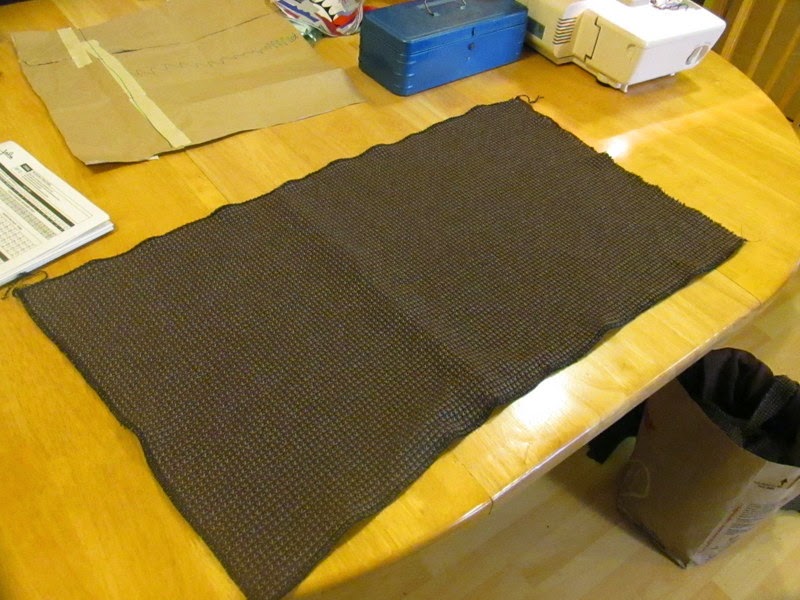
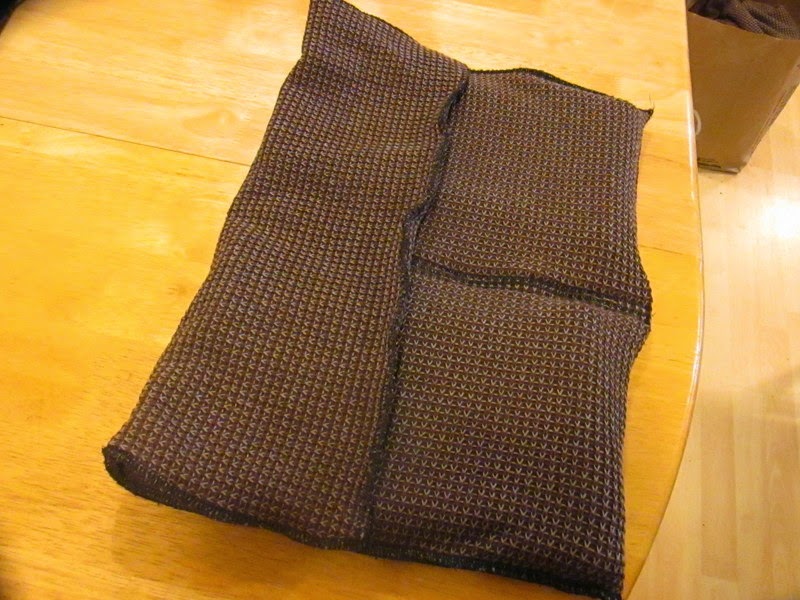
I had some scrap dress material which I serged to finish the edges.  There are two layers here.

Pinning up the middle.

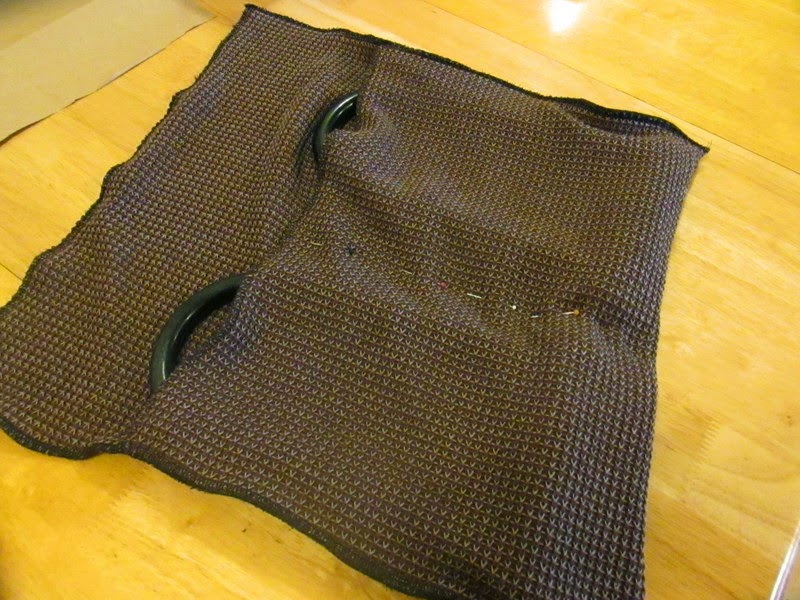
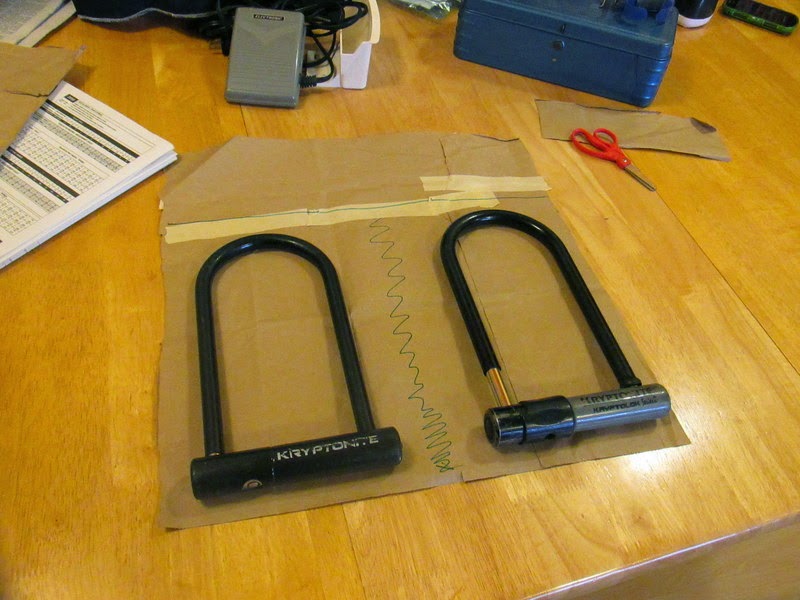
A visual of how the bag will hold the locks.

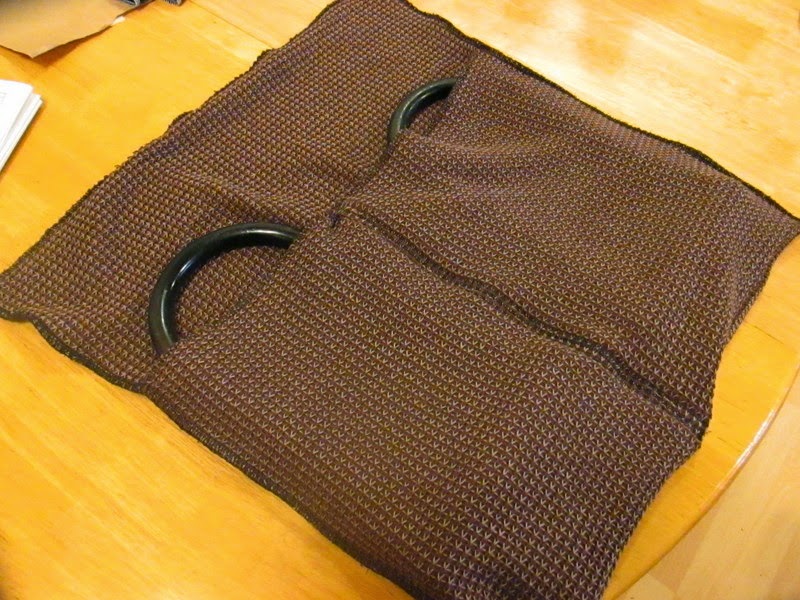
Locks in completed bag.
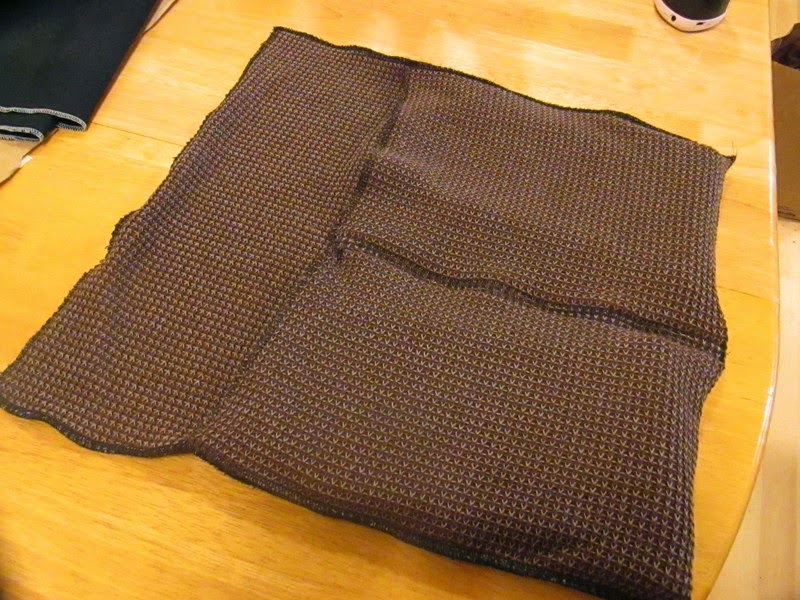
Tucked away.
Flap folded over.

And bag folded once more.

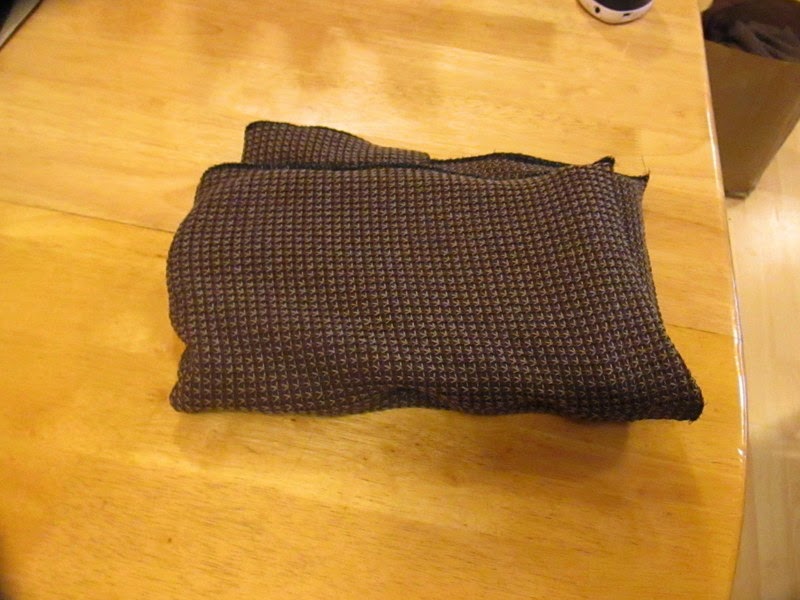
So it can nestle quite nicely in my bike basket.  And my ride is quiet once again.

Shrug Pattern

It’s grown cold and my work dress is short sleeved.  What to do with my cold arms?  Make three more dresses in a long-sleeved pattern?  Possibly, if I had more money and more time.  Instead, I purchased a pattern for a shrug from Jalie Patterns.

This is the first pattern I’ve bought from this pattern company, which is Canadian and has a lot of active wear. I will likely buy more because I liked that the pattern paper was high quality and the shrug was easy to assemble.  Process photos coming soon.

Progress on apron.

Sure it took me taking a personal day of vacation to finally get back to work on my apron.  But I did it.  I scheduled in “sewing” from 8-Noon and sewed for that entire time.  There was some seam-ripping (or “unsewing” as I’ve rechristened it.) and also I seem to have purchased half-inch bias tape rather than the quarter-inch the pattern called for, but I’m rolling with it.
Here’s where I ended up.

Moneta Work Uniform finished.

Here it is!  One of the three.  They sewed up very quickly and look great.  I’m very happy with them.

I dropped the bodice 1/2 inch in the front (this was on top of the half inch added to the other dress) and could have gone another half inch.  If I make this again I will knock an inch off the back.  Apparently there’s more front to me than back.  

I also made the sleeves about an inch longer.  There’s a point in on my arm that I feel more comfortable when it is covered.  And the front neckline is lowered about an inch too.  
You can’t really see the texture in the full body pictures, so here’s a close-up.  The fabric is a really great weight for this dress, it makes the skirt sway attractively when I walk.  But man does it snag.  I’m currently discovering the many opportunities for snags throughout my day.
In a random note, I don’t think my brother and I look very much alike, maybe a little through the eyes.  But there were about 10 photos in this series (I edited them down to two) and boy howdy did I have the same expression on my face as my brother.  It was weird.

Pop Up Project Finished. Capes

I’m visiting Heather in Kansas and she is the mother of two girls.  So I used those blue satin sheets from Goodwill and made capes.  (Don’t worry, I laundered the material before I got to sewing).
The pattern (found online)was a circle skirt, essentially. You cut two circles (four in my case) drafted a Peter Pan collar, sandwiched everything together, sewed, turned, and then stitched around the outside.

I bought buttons you could cover so they had matching closures and embroidered a monogram in each one.  I’m really happy with how these turned out.

Guess who wants to monogram everything she owns now?  Me! I see where Laverne had the right idea about that particular topic.

Here are my templates. I found a font I liked, blew up the letters in Word to the right large size, and then printed and sliced out the black part.  
And guess who still has an entire blue satin sheet left?  Did you guess me again?  You are correct.  I have notions of a circle skirt with a monogram.

Moneta Dress. Finito!

Man, this was a sewing win.  Big time.

I’m 39 years old with a BMI that puts me in the obese range.  I dress nicely when I am out and about because I think we should all dress nicely when out and about.  Still, after a certain age/weight, a female is pretty much invisible.
Not in this dress. The first day I wore it I got seven compliments.  SEVEN COMPLIMENTS!  From people I encountered along the way, from random passers-by in the street, seven people told me how much they loved this dress.  And I love it too.  The cut and the colors.  And the compliments.

Moneta Work Uniforms. Tricks with the clear elastic, attaching it to the skirt.

I found it helpful to mark the stitching line on the top of the skirt where the elastic will be sewn. It was too hard for me to try and manage stretching elastic and keeping track of where the elastic should be sewn on the fabric.  Drawing in that stitching line gave me a guide for this.
In the Moneta sew along, the instructions are to divide the elastic into five parts.  I think that is fine if you have a relatively small waist, but mine is not and so I had to stretch the elastic over very long distances, which resulted in some uneven elastic attachment in the first dress I made.  So I did the five marks and then found the middle of each of the five segments and marked them.  I found the middle of the official anchoring points and marked them. 

So here we see I have less length to stretch the elastic.  This was quite successful.

I also found it easier to not sew the elastic in a circle before pinning it to the skirt.  Here’s one end here.

Then I just pinned the other end over the first, matching my ending places.  This way I could start at that point and do some firm back stitching to join the circle of elastic right to the skirt.

I have no idea if this is a correct technique, but I found it easiest to stretch my segment out so the elastic pulled tight against the fabric and then plop my fingers down on the sewing machine, keeping the elastic taut.  I then sew until my fingers hit the presser foot and repeated the stretching process.  Because I have more than five points of contact between elastic and skirt, this worked well.

Moneta Work Uniforms. Tricks

Oh, Wonder Tape. I love you so.  My days of fabric slipping around when I try to hem are over!  I used Wonder Tape on all hems in this project: neck, sleeves, skirt.  It’s one of those supplies I might have eschewed back in the day (why do you need this when you can use pins and do without it) but now that I’m an old, jaded sewist, I’ll take anything that makes some regular task easier.

Moneta Work Uniforms. Tricks.

I liked the tip in the Mabel sew along, to mark your pieces with tape while you are sewing, so I did so with this project.  This is telling me this is the front (or possibly back) bodice.  I also marked my center front and center back as it is easier to do that now rather than after the pieces are joined.  Those other lines are just drawing attention to the tabs I’ve cut into the fabric.

The instructions have your join the front and back bodices and the edges of the sleeves and then finish the edges.  I find it so much easier to do BEFORE joining.  This way I’m not serging in the round.