Closet renovation.

I forgot to take a “before” the before picture, but it’s time to change up my closet.  For years I’ve been looking at the space above the shelf in my closet and thinking that it is wasted.  Plus, I’ve been reading the Life-Changing Magic of Tidying Up by Marie Kondo, and she says you should throw away all your old letters and journals.  Marie Kondo and I disagree heartily about this, so I need a place to properly store such things. A place that is not a Rubbermaid Container that sits on the bottom of my closet, overflowing and taking up space.  Today, we utilize!

Here’s me flat on the floor so I can take the before picture.

IMG_3233

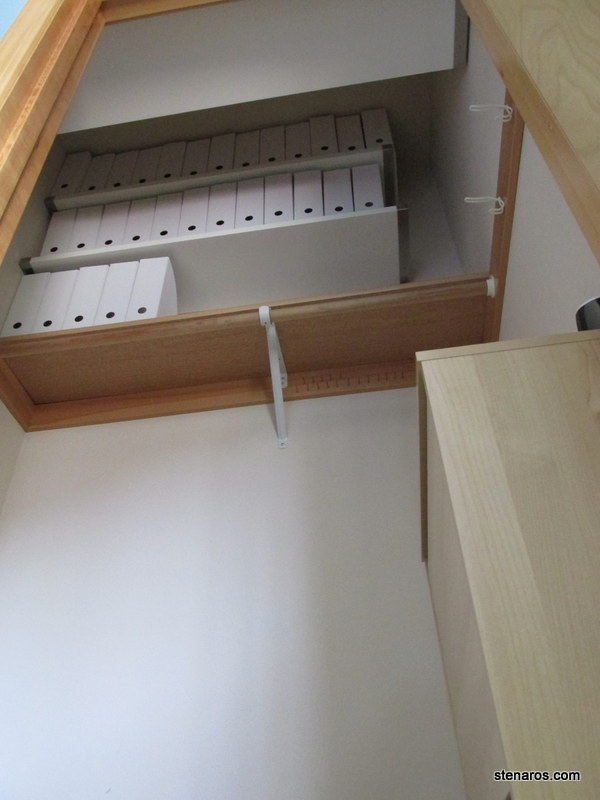
Above the door to the closet too!  That space can be used.IMG_3234

One trip to Ikea, 30 minutes of precarious balancing and drilling et voila!  Three shelves are now installed, bring the closet shelf total to four.

IMG_3236

IMG_3235

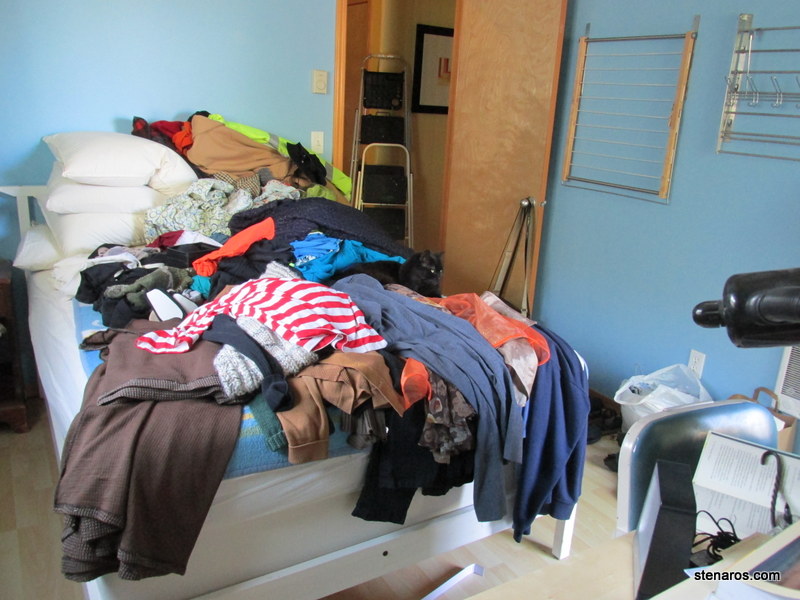
Then it was time for the purge, KonMarie style.  I put all of my clothing on the bed (she says the floor, but I ignored) and checked each item to see if I loved it.
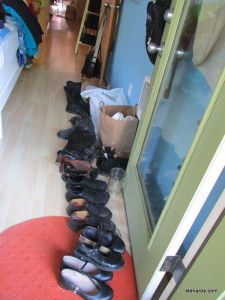
IMG_3237

Shoes too.

IMG_3238

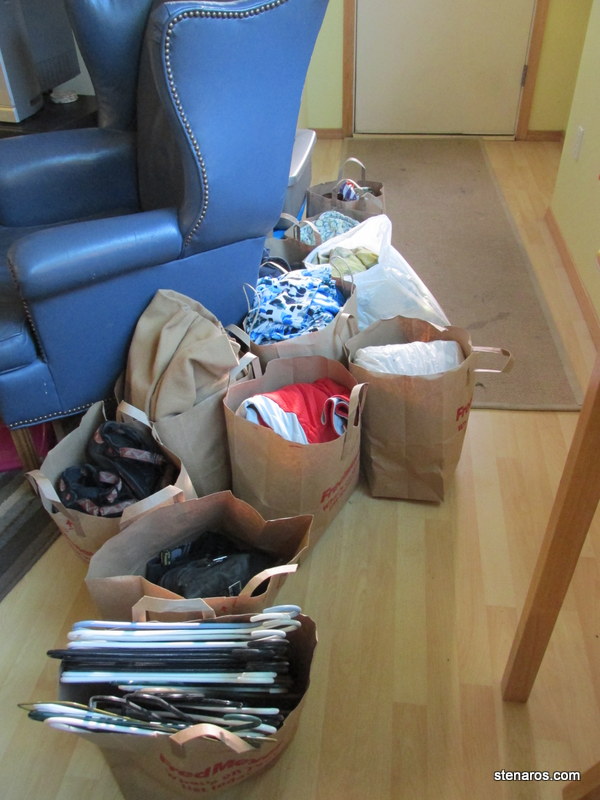
It turned out I did not love very many things in my closet and so bags were filled for Goodwill.

IMG_3245

Here’s the stack of things I’m coming for soon.IMG_3246
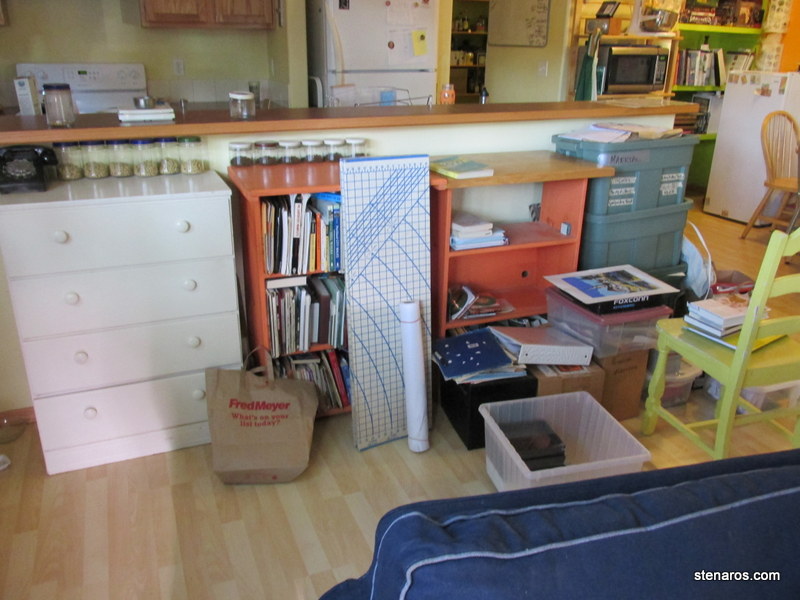
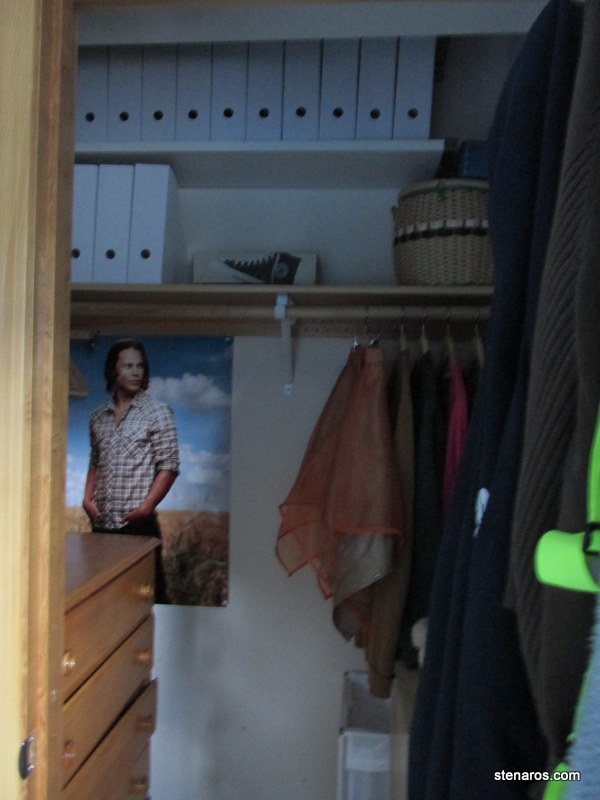
And here’s the partially finished project.  I now have room for 30 magazine files, and my sewing machines are tucked away above the door.  The meager amount of clothing I have left has been carefully hung in the closet, or folded and put away.  And Tim Riggins has been restored to his place in the closet.
IMG_3242

And look! The side of my bed is no longer taken up by a dresser, a laundry hamper, a yellow chair serving as a secondary nightstand.  Now there’s a bed (awaiting clean sheets) and a nightstand.  It feels much more spacious, and now I don’t have to sidle out of bed every day.IMG_3243

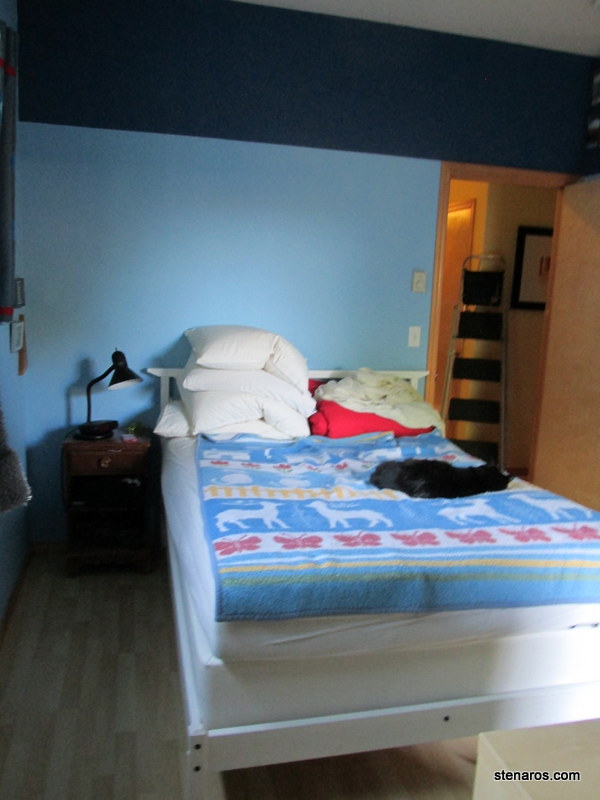
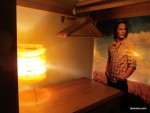
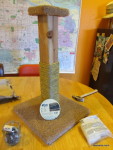
Even better? I realized that the awesome bottle brush lamp that sits on the top of my desk can easily sit on the dresser and now I have light in the closet!
IMG_3247

Project Rejuvinate Cat Tree

The cats have done a good job sharpening their claws on this cat tree.  It’s time to spiff it up.IMG_3215

First I remove the old, by pulling out the staples.IMG_3216

Then it’s time for the sisal rope.  I nailed it in at the bottom and attached the first row with the glue gun.IMG_3217

Sadly, 50 feet only covers half the post.  So I pounded in another nail when I got to the end of my rope and will have to finish this project another day.IMG_3218

Hunger Games Sweater Completed

Here I am modeling the Hunger Games Sweater.IMG_3170

It took knitting it to nearly the end, trying it on, realizing it was too small, then ripping out and starting over, but I have completed this project!  I can now stop obsessing about the Hunger Games Sweater, seen on Katniss at the beginning of the second movie.  This is not exactly the same thing, but it’s in the style of .

 You can see the back view too:

IMG_3171


The thing about the Hunger Games Sweater?  It’s great for shooting a bow and arrow as I demonstrate here.

IMG_3172


The problem is, I don’t shoot bow and arrows at all.  I most walk around and, because I’m short, reach up for things, as demonstrated here.

IMG_3173

Sadly, what happens when I do that?  The sweater rides up over a certain protrusion and I have to pull it down.  So I don’t know how long this Hunger Games Sweater will be in my wardrobe.IMG_3174


Here’s the yarn I used.  I had 30% off that price listed. I spent $39.37 on yarn and $9.99 on the pattern. The pattern called for too much yarn.  I still had a skein and a half left, even with making the pattern bigger than the biggest size.IMG_3176IMG_3177

It’s properly called District 12 Cowl.  Copyright by Kristina Morrissey.  The pattern was pretty easy for me to follow (I consider myself an early-intermediate knitter) and knit up quite quickly, which is why I didn’t mind ripping everything out and starting all over again.  With a 42″ bust I found the largest size in the pattern was still too small for me, so larger women will have to make the pattern bigger, but I did that with few problems.

Media consumed while knitting:
Treme, Season 2
Downton Abbey Season 5
Austenland
What’s Up Doc?
The Art of Getting By
Agent Carter Season 1
Something Wild
Winter’s Tale
Fast Five
12 Years a Slave

Seamwork Florence bralette. Part I cutting

Here you see the bones of the Florence, which is one of the patterns that came with the subscription to February’s Seamwork Issue.  I ordered all the materials to make the bralette (sort of a lightweight bra) and for the Geneva, which is the companion underwear pattern.  Here, you can see that I did not need two full yards of lace.  This makes me rather grumpy.

Also, the total yardage for both patterns called for 1.25 yards of stretch satin.  But here, with some creative laying out, I can get four pairs of underwear and material for two bras.  Had I known that, I would have ordered a bit more lace.

See how nicely this pattern piece fits into the bits of space for the underwear?

At that point, I had to leave, so this project went on hold.

Camisole part II (big fail) pattern weights and two napkins.

When we last saw the camisole, I was waiting for the arrival of the stretch lace.  It arrived, and last weekend, I attempted to sew it together as was called for in the instructions.  The machine kept jamming and I decided I was not in the space for sewing, and put away the project for the week. 

My brain kept things on the back burner though, and I remembered reading that backing the lace/unstable item with tissue paper might help.  I did this and voila!  It worked!

I then sewed the lace to the camisole.  Note.  This was not the right way to do this.  We’ll talk more about this later.

Straps were attached (wrong, ripped out and reattached) and I noticed the lace sagged instead of standing up and meeting the strap.  So tacked them.

When I tried on the camisole, I found some problems.  First of all, the lace folded up together.  That wasn’t right.

Also, by the time I had adjusted everything to proper height,  the sliders on the straps were all the way to the front of the camisole.  So I ripped out the straps again, shortened them and reattached.

I tacked down the lace on the bottom to encourage it not to roll together and that sort of worked.  But the top stuff flopped over.  So that wasn’t good.

Overall, neither of the camisoles turned out to work for me.  The gapped a bit at the underarms and my bra is so full coverage, I had to wear them really high. And my bra straps still showed, which I have a problem with.  So they’ve been reassigned to the role of pajama tops when the weather gets warmer.  Rather disappointing, but all part of the game.

I hung up the instructions with the camisoles and a few hours later noticed that I put the lace on wrong.  I attached at the mid-point of the lace, but I should have attached at the bottom of the lace.  Sigh.

I did have success in my quest to use up bigger “bits” of leftover material.  I now have three pattern weights.

And two napkins.  So there’s that.

Savannah Camisole Part I (also favorite pattern and my cat is cute)

Before we get to the camisole, Julie and I went to Fabric Depot to purchase material for said camisole.  We always enjoy looking at the sample garments and this one was a winner. The peplum shirt version was on display and, aside from the ruffles around the neckline which both of us wouldn’t bother to add in the first place, we loved this!  I forgot my camera, so this is a blurry cell phone photo. 

Also, before Julie and I went to Fabric Depot (this is a poorly arranged post) I cleaned the house.  After vacuuming my doormat, I needed to mop the floor, so I set the doormat on my bed.  Sentinel decided it was a good place to sit.

The Savannah camisole is one of two patterns available to subscribers of Seamwork magazine’s January issue.  The other one was a pair of leggings with a cute tulip detail.  I just made leggings, so I’m skipping that pattern now.  I do need tops/shirts/etc so I’m making the camisole.  This will be my first project sewing on the bias.

Here, I’ve taped and cut the pattern.

See that diagonal grain-line?  Usually it would be parallel to the center fold.  That’s how you know this is a bias cut.  I also learned that one should cut fronts and backs of bias cut garments so the bias runs in opposite direction.  This keeps the garment from twisting around the body.

Sentinel came to help with the cutting.  The other thing I learned with this project was that one should cut out pieces on a single layer.

This project was advertised as taking two hours and I’m nearly at that mark.  I’m also nearly done.  I just need to attach the stretch lace and the straps.  I did not finish this project because I’d never used stretch lace before, so I did some online research before we went to the fabric store.  This was both good and bad.  Good because I knew how much stretch lace cost online.  Bad because the stretch lace at Fabric Depot was four times the price of the lace online.  I needed two yards, which would have cost $12.00 or more at the store.  So I came home and ordered five yards from a seller on Etsy (who lives in Boise, Idaho) for $6.00 including shipping.

I’m really liking this fabric and pattern so far.  I look forward to finishing this project.

Baby blanket (finally) finished!

The baby in question, MaryAnn’s Henry, is now two months old.  This is the same pattern I used for the other three baby blankets I made.  One for Ariel’s Charlie and Matt’s niece Mya.  I’ve also made it for a friend whose child is now in elementary school.  That was the pre-digital-camera era though, so I don’t have a picture of that one. 

I’m such a slow knitter I usually start these before the couple knows the sex of the child, so green is the default color. I would be fine with giving more girly colors to boys and vice versa, but not everyone feels that way and so gender-neutral green it is.

I’ve also got a PDF of the pattern I can send you if you are interested.  Just let me know. It’s very easy, 3 knits 3 pearls in a repeating pattern of 14 rows. 

Starting with this blanket, I kept track of what I was watching while knitting.  Here’s the list:

  • Wolverine
  • Persuasion (BBC)
  • Midsummer Night’s Dream (Portland Actor’s Ensemble)
  • Revenge of the Nerds
  • In a World
  • Repo Man
  • Ruby Sparks
  • Mad Men Season 7 part I
  • Ladies and Gentlemen, the Fabulous Stains
  • Frozen
  • Sherlock Season 1
  • House of Cards Season 1 (episodes 1-3)
  • Stuck in Love
  • Treme Season 1 (episodes 1-3)
  • Downton Abbey, Season 5 (episodes 1-3)

Circle Skirt part I

Gertie’s New Book for Better Sewing has a schematic to make a circle skirt. I had material left over from the capes I made last summer, so here I go.

I had very little pattern paper, so I made my right angle in one corner.

And then raided the wrapping paper for the rest of the pattern.

Here are my two pattern pieces, the waistband and the skirt.

I moved the chairs out of the way to clean and then left them while I was working on the skirt.  Sentinel found a new seat to sit on.

Sadly, while I had thread and the material, I did not have a zipper, so this is as far as the circle skirt has gotten.

Seamwork Oslo Sweater Part II

Julie came over for a day of sewing and she helped me lay out the material.  So it was speedy, taking us only 10 minutes.  She also got to see first-hand how lazy a sewist I am.  “Aren’t you going to line up that grainline?” she asked at one point.  I shrugged and she adjusted it.

Here we are 90 minutes in and it’s looking like a robe.  The material is this great fabric I got from Rose City Textiles in their bargain room.

This was also the point in which the directions and I became estranged.  The way I was reading the instructions for the cuff ended up not making much sense, so I finally just added the cuff the way I thought it would work.

And done!  I really like it! It’s very soft and cozy and is the perfect length for a robe.

And here is the final tally. Although you have to add the hour I spent taping the pattern.  But I still consider four hours “an afternoon.” Color me happy,  Seamwork.  I also added snaps to the front to keep it closed. Worked great.

Seamwork Oslo Sweater part I

I’ve subscribed to Seamwork, a digital sewing magazine.  The magazine is free, and if you subscribe ($6.00  per month) you receive two patterns each month.  Each pattern is designed so it can be completed “in an afternoon”.  I aim to make the Oslo Cardigan, although I’m going to use it as a robe.  Let’s see if indeed this pattern can be completed in a timely fashion.

Below, Sentinel observes the detritus from too many projects.

The pattern comes in two forms.  A digital file that can be printed at a copy shop, or a file that can be taped together.  I didn’t make it to the copy shop, so taping and cutting I am.  I did this the night before I set to sewing, and forgot to start the timer, but I think the taping and cutting took about an hour.