Thanksgiving Project

When I took up embroidery in 2020, one of the books I read suggested using up bits of thread by doing some straight stitches until the thread was gone. I thought this was brilliant and set up some material with initials of family members and marked where the squares would be cut up once I was done. Then I set to using up the bits of thread. Two years later: done!

I’m quite happy at how they turned out. I especially love the heavy metal font I used for all but one. The other one was the tattoo font—I wasn’t pleased with it and abandoned it for the font of the music of my youth. This is a Thanksgiving project because the backing is a fun surprise. It’s made from the shirt Matt wore when we got married. The shirt ripped while he was at a family reunion this summer. He brought it home and I washed it and tucked it away until he left for Thanksgiving in North Carolina and I could finish this project. I’m very excited to give these coasters to my family at Christmas.

Three squares of doodle stitching also are being sent as Christmas presents. For this one, I traced the bird from a book by Little Dear and then freestyled the rest.

This was a straight ripoff of a cozyblue embroidery pattern (sorry!) though I did eyeball it and not trace it from the picture. (I do buy things from that store.) It’s this one, if you want to be a better person than me and purchase.

This is another one where I traced the goldfish from Little Dear and freehanded the lily pads and reeds. The colors are from Stitch Palettes.

These also got the backing from Matt’s shirt.

I’m quite please to have finished these projects.

Napkins Finished

When I blocked the last napkin, I noticed a small tear in the side that was going to upend the creation of the napkins. I left it blocked for many weeks while I puzzled over how to solve the problem.

In the end, I realized if I used the same wash away sticky thing I used to transfer the pattern to the material, I could stick the tear together and then straight stitch over it in a tight weave. That would shore up the torn area so I could stitch it to the napkin backing. And that’s what I did.

For people who are fans of looking at the back of emboridery:

And the final product. I’m hoping that how not-great the blue of the napkins was a function of the light. The downside of reusing bedsheets, I guess.

These will be sent off to friends Julie and Graham in thanks for the couch hauling.

#YearofStitch Sampler No. 7

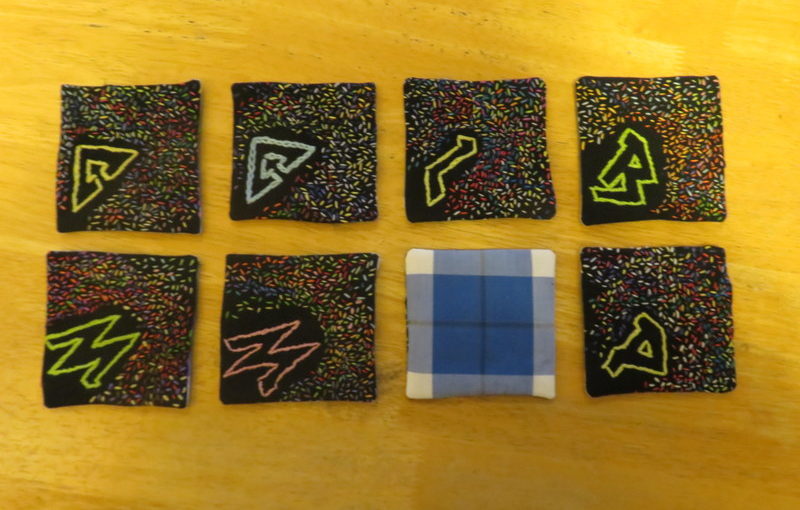
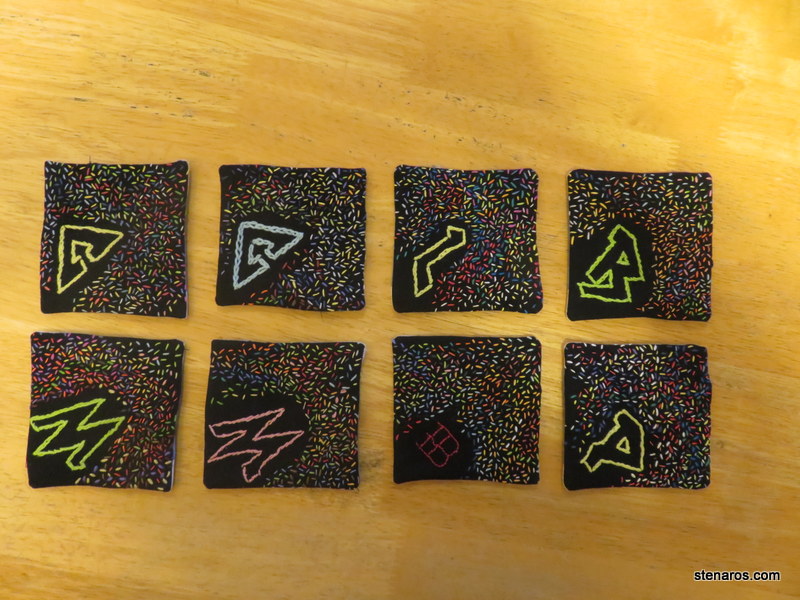
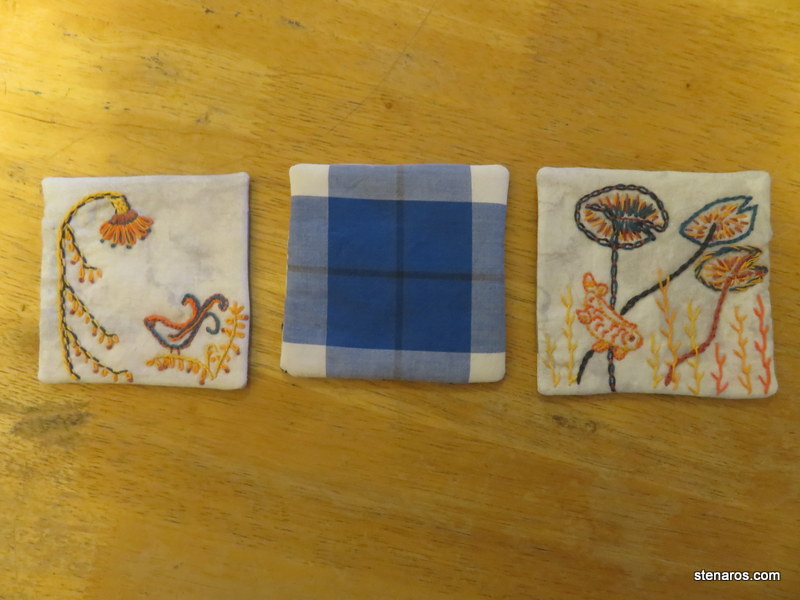
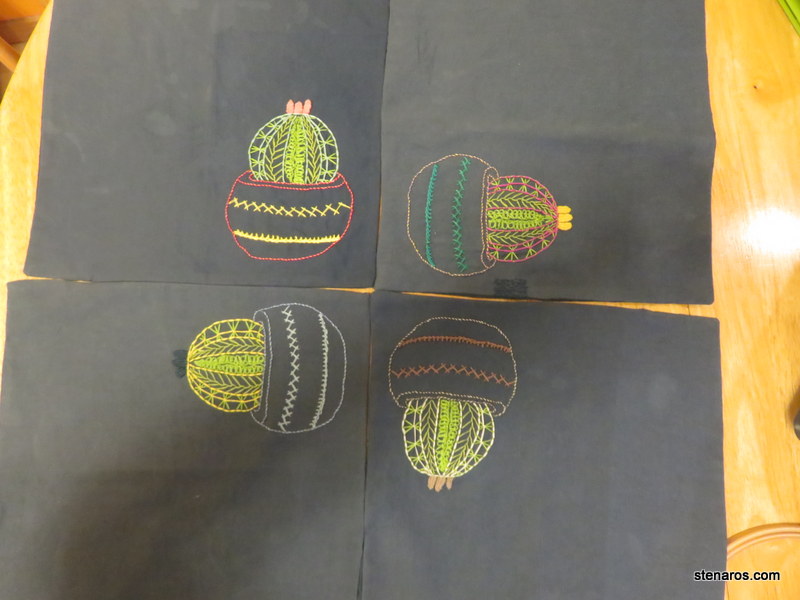
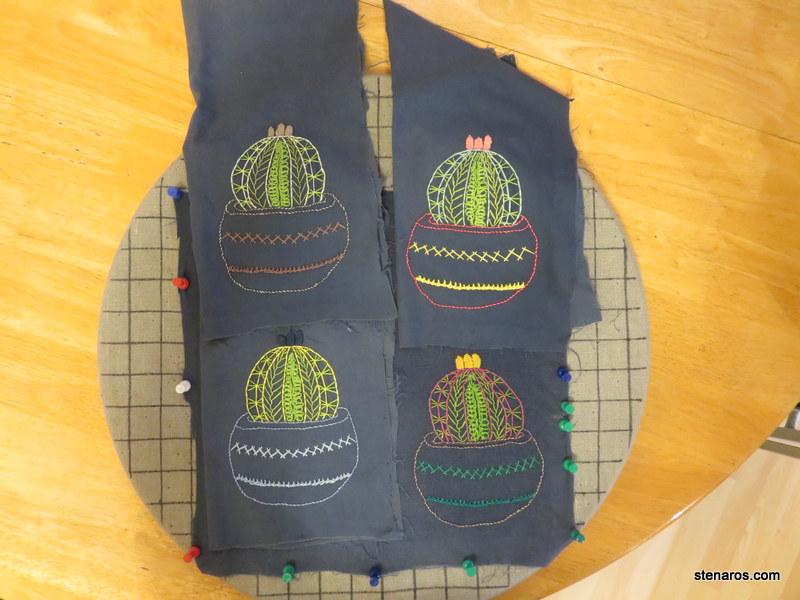
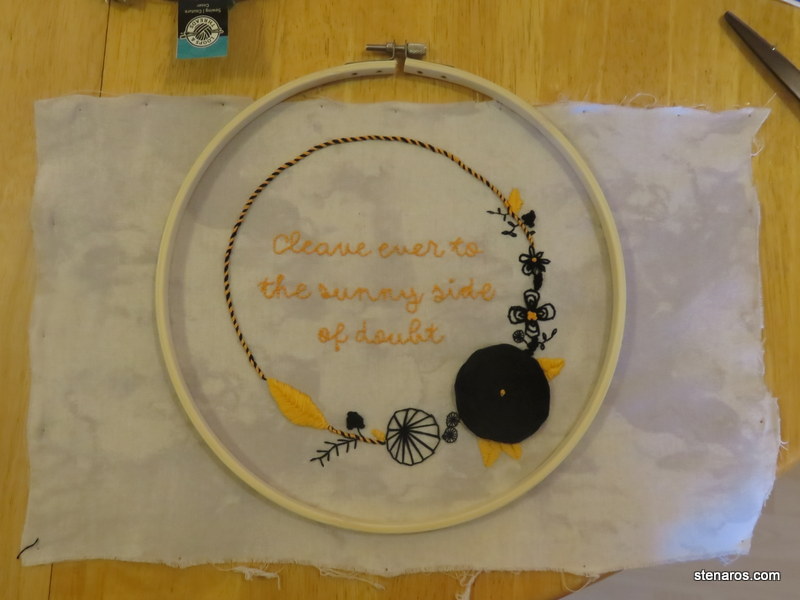
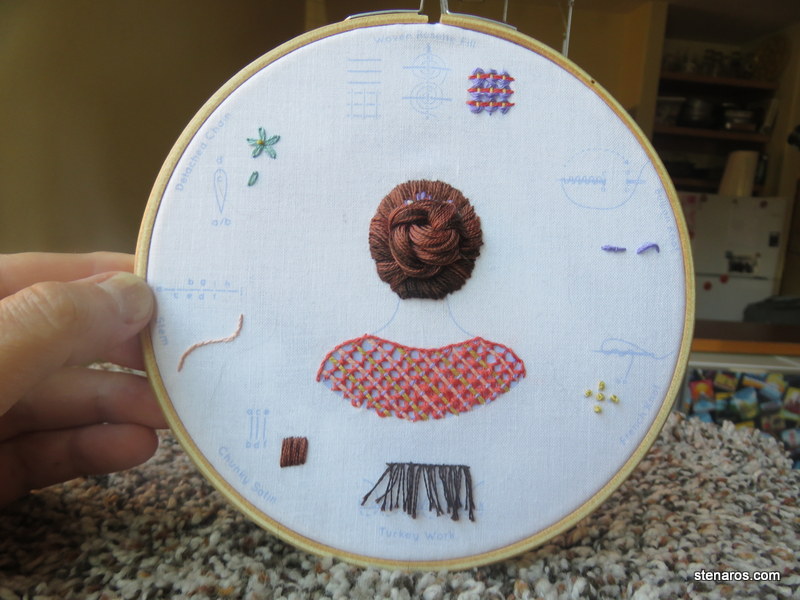
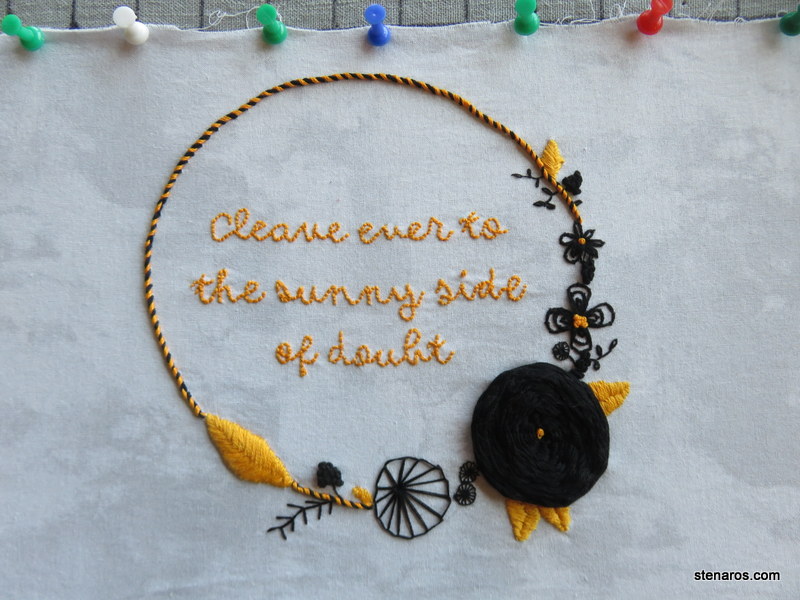
I looked at the seventh sampler and thought, “There isn’t much to this one, maybe I should do four.” And so I did. (And that’s why I’m always behind.) The plan is to make them into napkins.

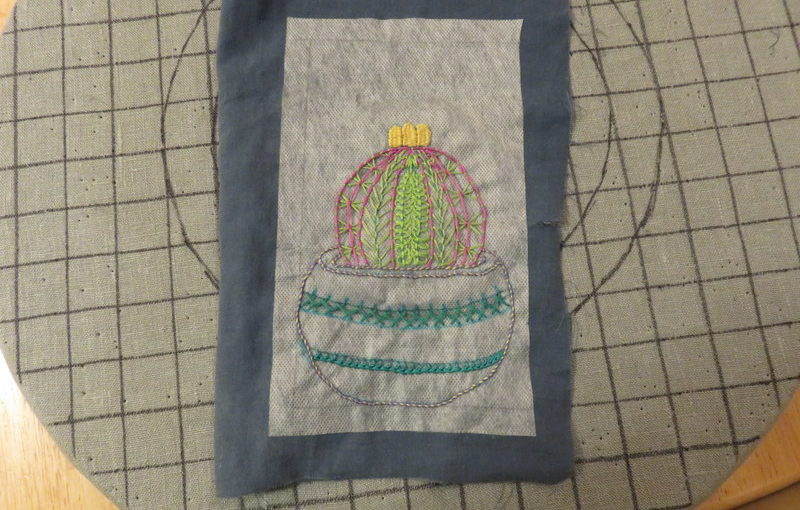
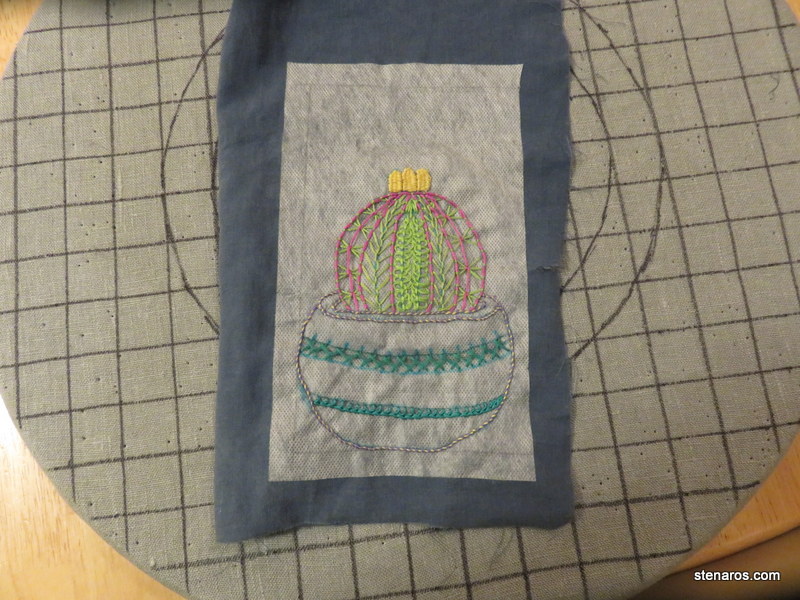
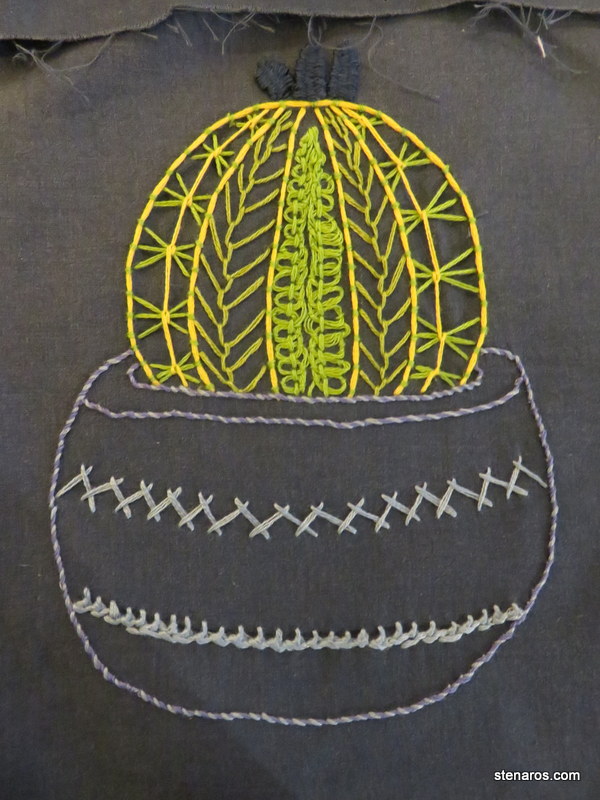
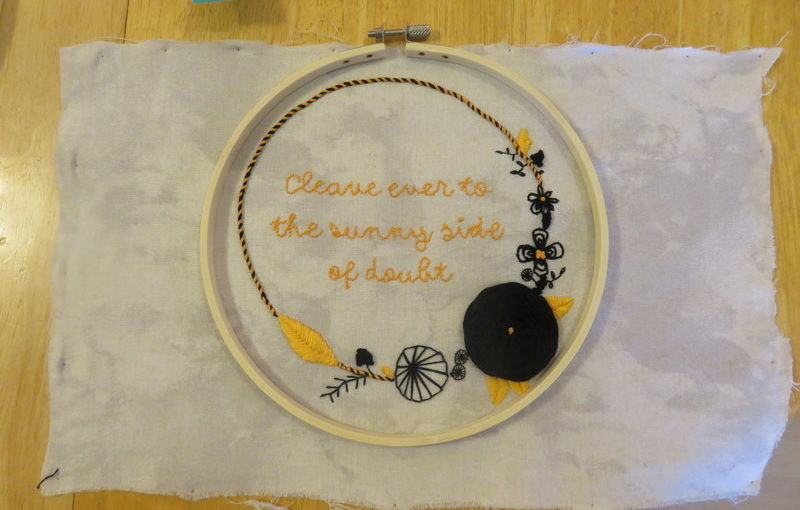
This was my first time using wash-away stabilizer that sticks to the fabric. That stuff is a wonder for working on dark fabrics. I traced the outline (four times) and got to work. It is hard to see how the colors actually look on the dark fabric, so fastidious people would probably want to do a test swatch.

It doesn’t feel as great as soft fabric does, but it does add a lot of sturdiness to the sewing experience.

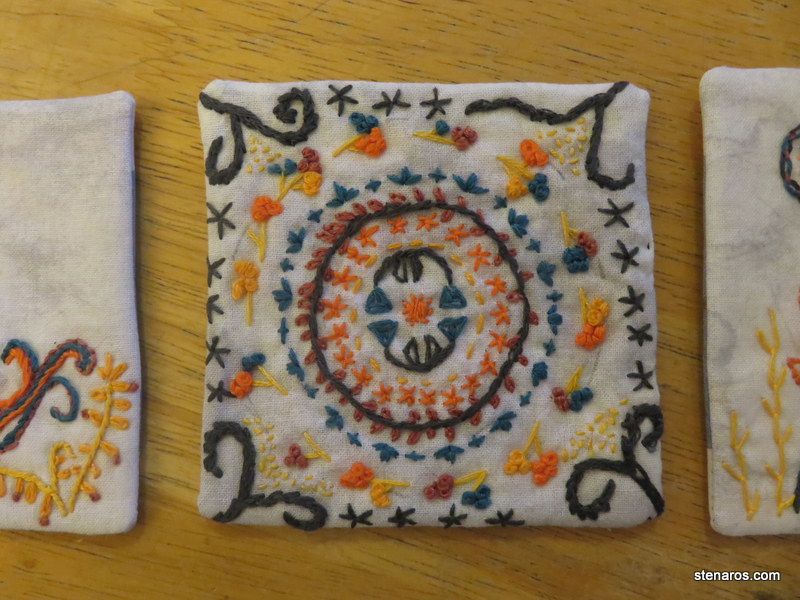
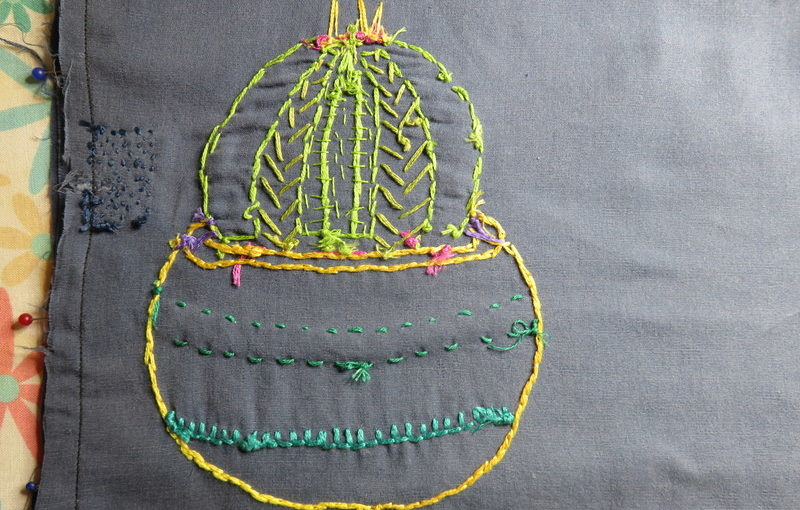
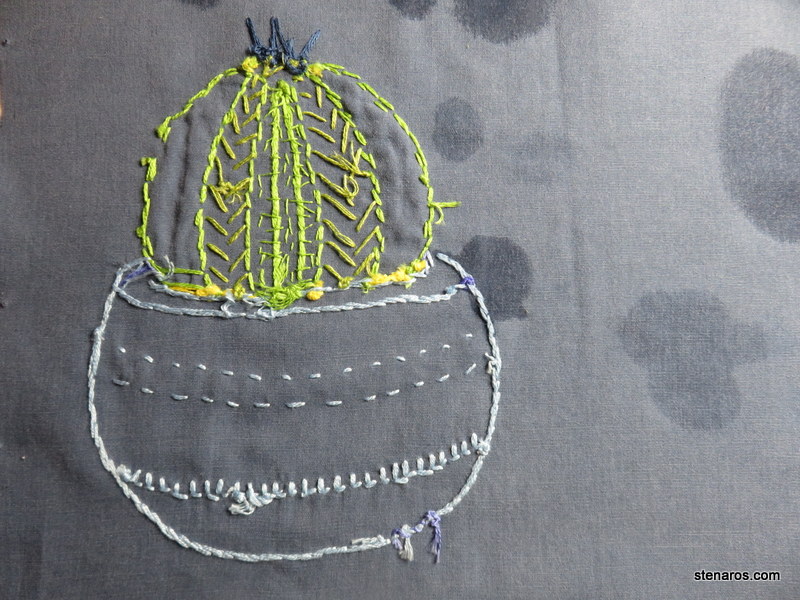
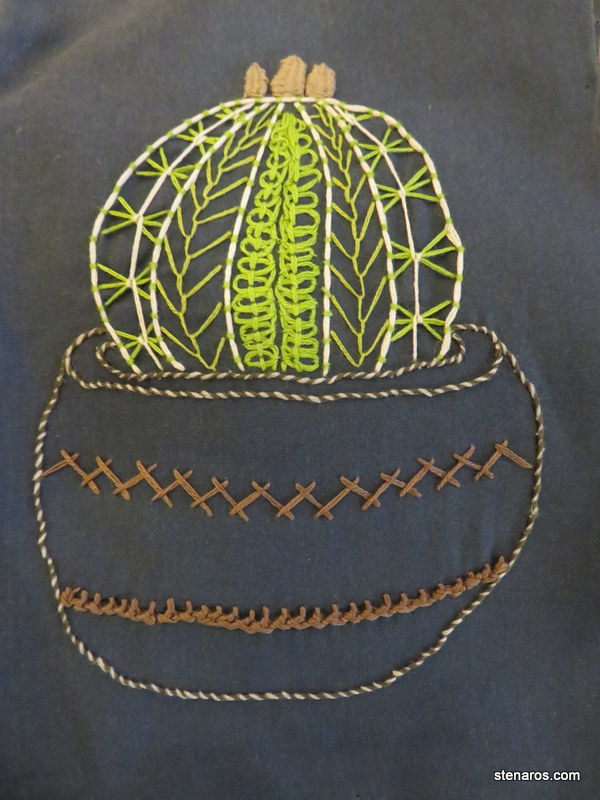
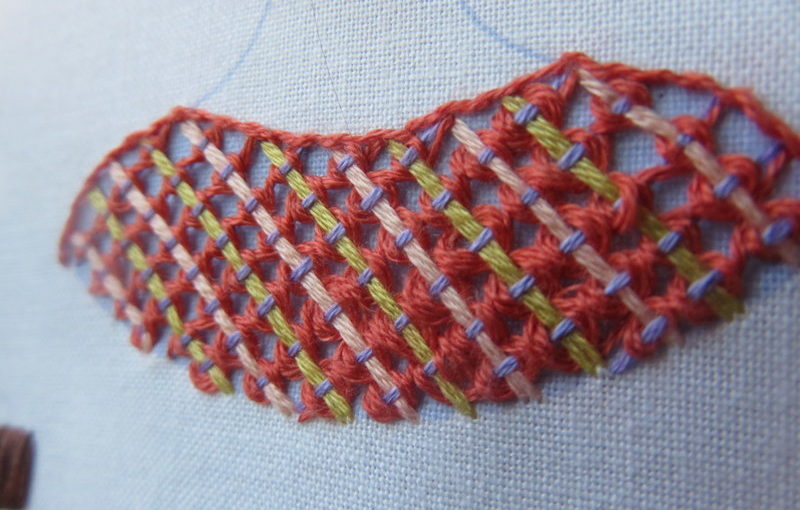
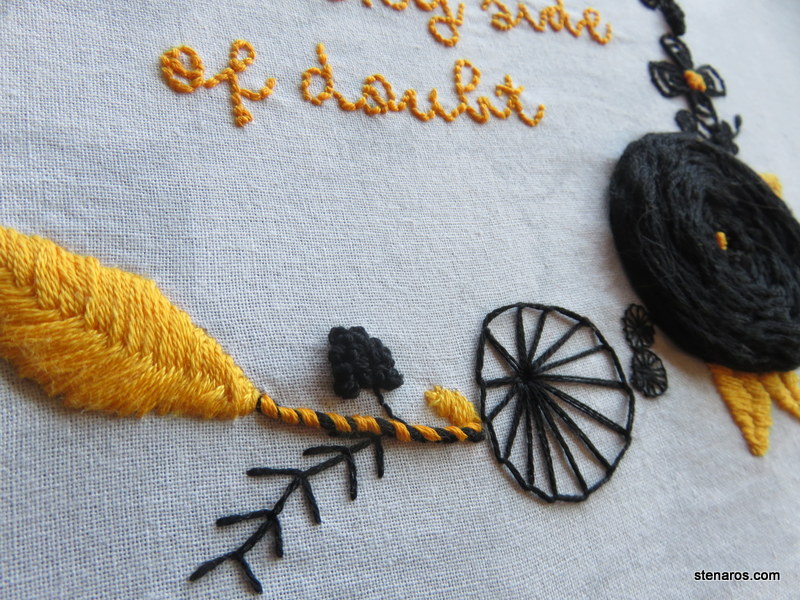
The stitches this time are:

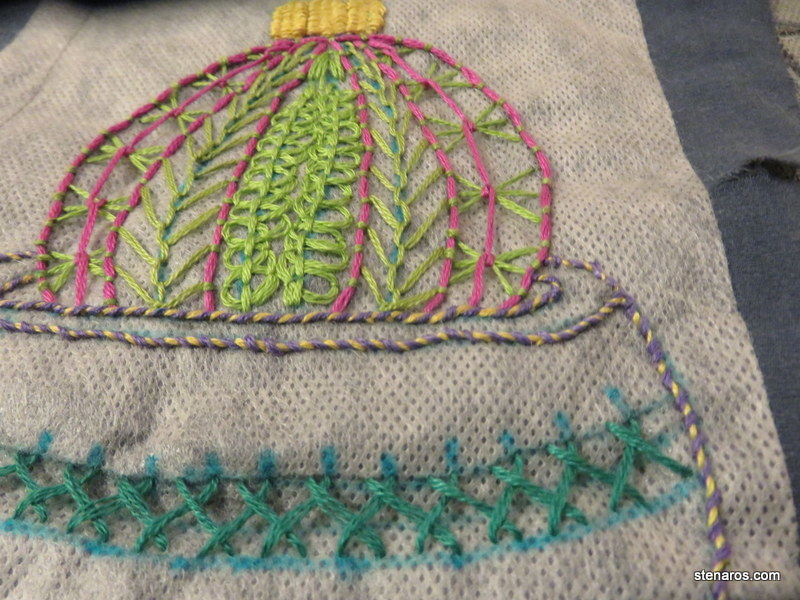
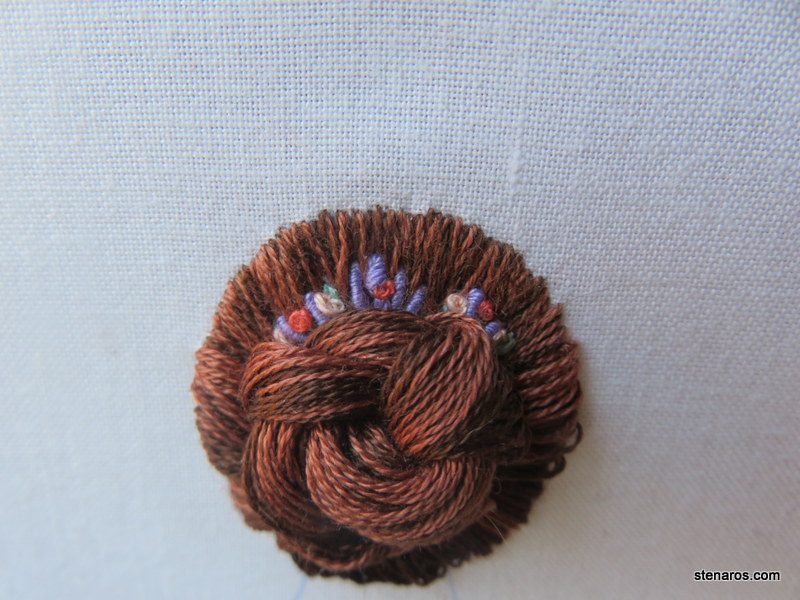
  • Sheaf stitch (Outermost sections of the cacti)
  • Pekinese stitch (Middle section of the cacti. Because this was going to be a napkin, I tacked them down)
  • Feather stitch (The other section of the cacti)
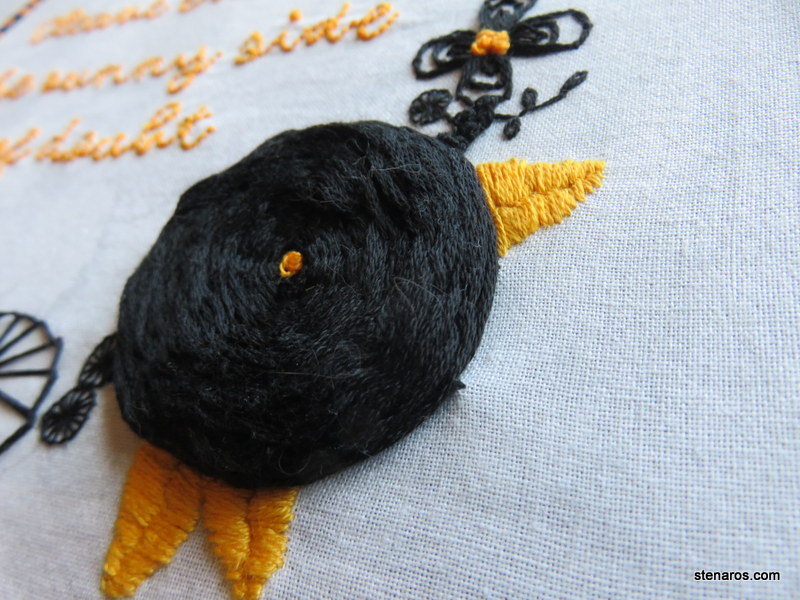
  • Woven picot (The cacti flowers, which were also tacked down.)
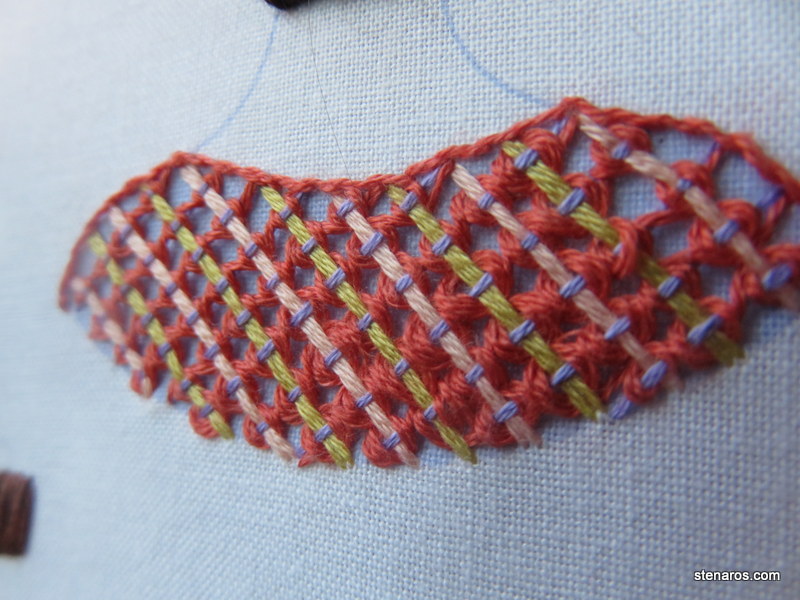
  • Herringbone stitch (The upper vase decoration)
  • Mountmellick stitch (The lower vase decoration.)

In addition, I outlined the cacti using couching, and the vase with whipped backstitch.

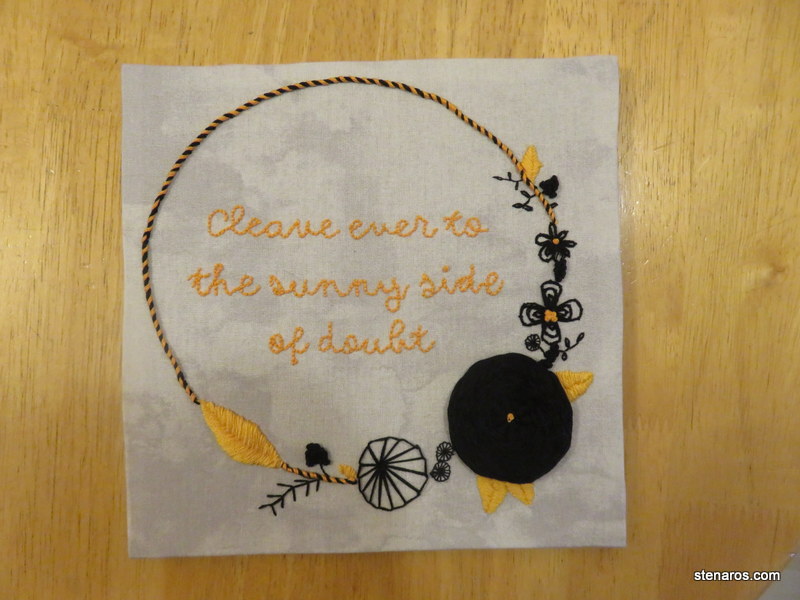
Whipped backstitch. Redeeming backstitch since January 2022, when I learned it. Uneven stitches become a swirly rope!

Overall, I loved mastering woven picot. I’m a fan of things that free stitching from the fabric. Because they were napkins, I tacked those flower petals down, but the could fly free. I found mountmellick to be a bit fussy.

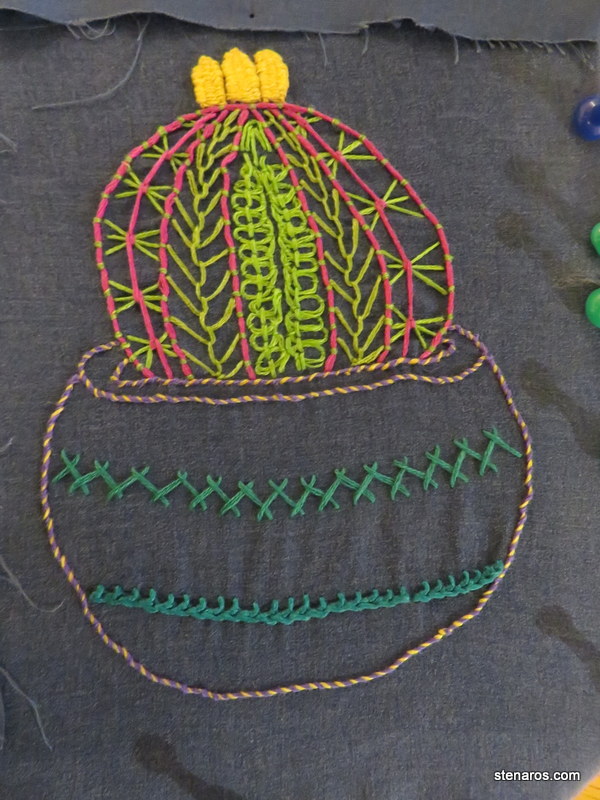
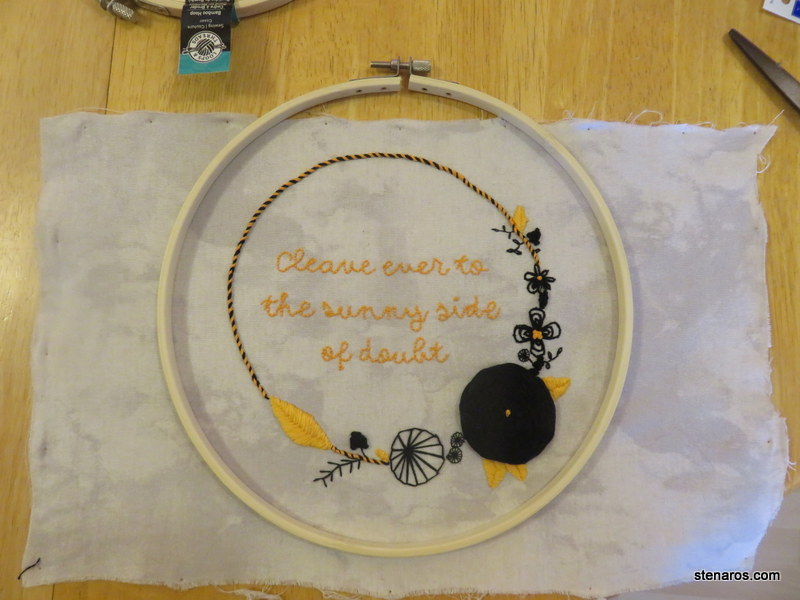
For colors, I used the same two greens for the cacti and then picked colors from four different color palettes I keep on hand. The above is Stop in Santa Fe from Stitch Palettes. The one below is from the mix of colors that I got from Little Dear when I ordered my first embroidery kit. It was the summer blend. And since that blend was supplying the two greens to all four napkins, I was short on colors and added in the red and the yellow. I’m pretty sure those are two different yellows.

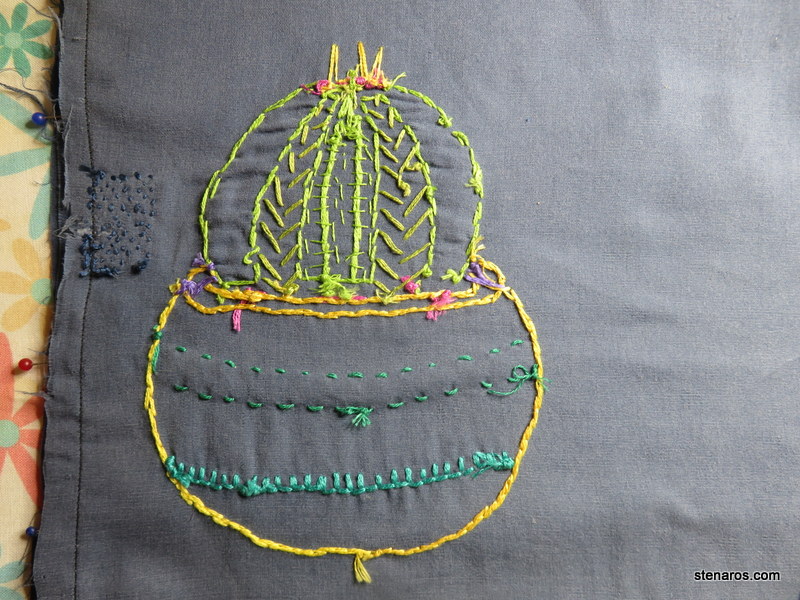
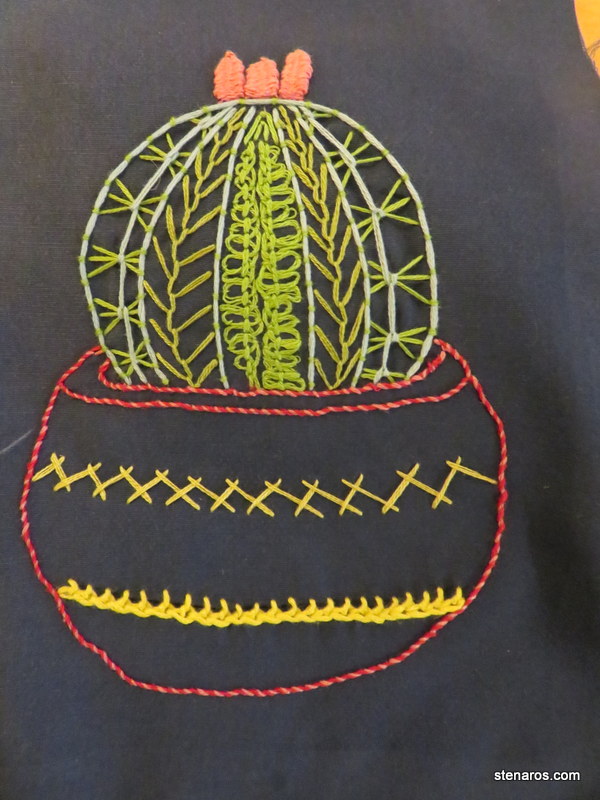
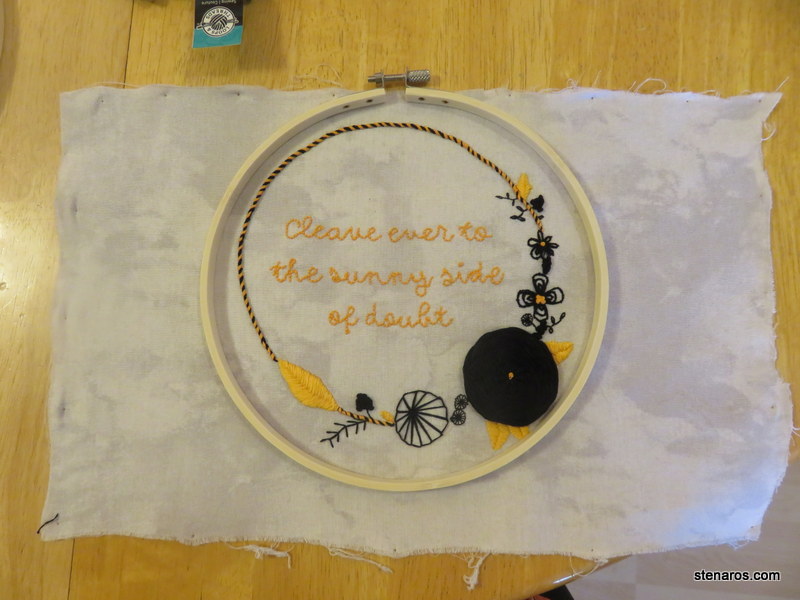
This is Chocolate Chip from Stitch Palettes.

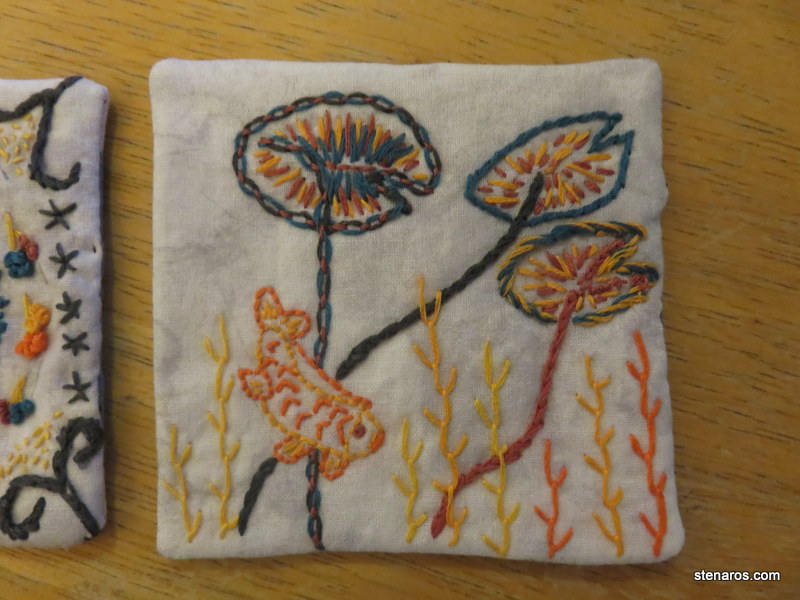
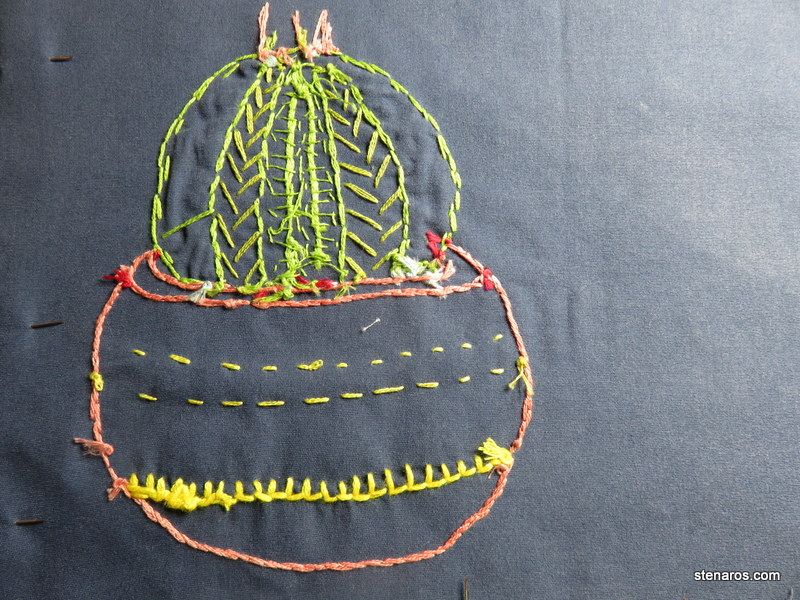
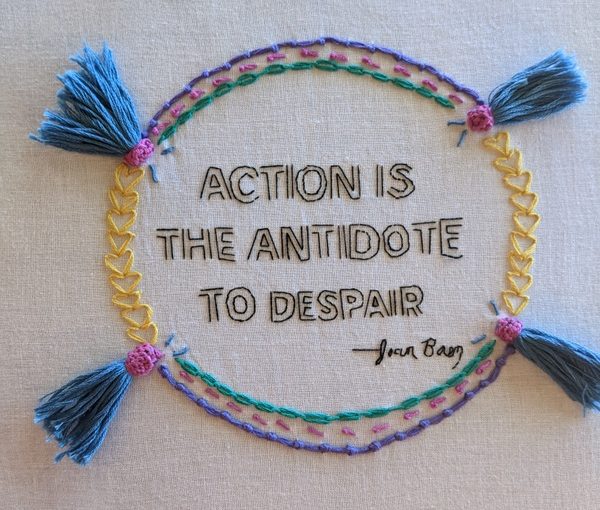
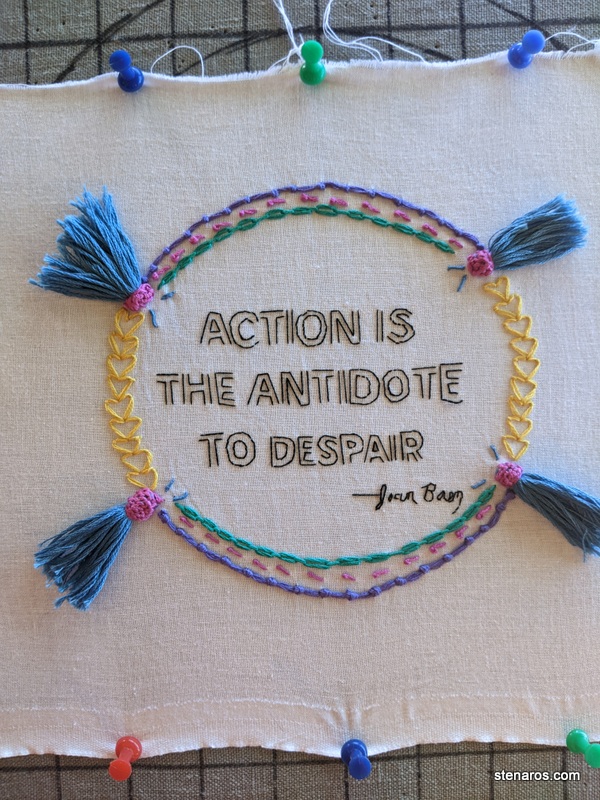
This is Stitch Palettes’s Downtown Dubai.

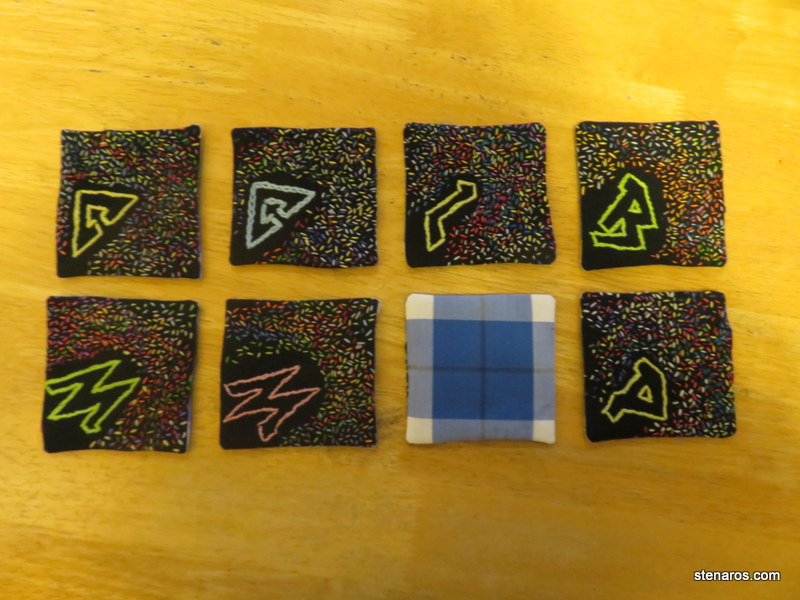
As I was blocking the one with the bright colors, I noticed an unfortunate tear on the side that was going to make the napkin not very easy to stitch up. So that napkin stayed on the blocking device four about three weeks until I figured out the solution. Stay tuned!

Badass Cross Stitch Sampler No. 6

Tassels! So fun! I’d not done them before.

The stitches this time were:

  • Knotted ladder (purple)
  • Pistil (pink)
  • Cable chain (teal)
  • Love chain (yellow)
  • Tassels (blue) with needle weaving cap (pink)
  • Bullion (blue, small near the tassels)

This was one where I finished and was glad that most of these just get rolled up in a “Done!” tube.

I didn’t love the color choices I made. It’s one of Stich Palettes color combos. I like the individual colors, but I don’t like how it all hung together for this.

Of the stiches I only really loved the cable chain. The knotted ladder I ended up cutting out and redoing and I still didn’t love it. The pistil stitch will come in handy in the future though.

For the needle weaving with the tassels, I watched the video and then let three days go by before I attempted. I think the result speaks for itself.

Also, I don’t love how my lettering turned out.

It’s all an experiment though, so good lessons learned. And it seems I’m better a bullion stitch (the one stitch I’d done before) than Shannon is. So that’s fun.

Cleave Ever Framed. Or “Framed”

As putting this embroidery in a hoop is a no-go, I went in a different direction.

A while ago I read Badass Cross Stitch’s post about framing your embroidery in a square frame and I vaguely remembered the instructions, so I cut out a square of cardboard from an empty box of laundry detergent and then decided to cut out a second square from the same box and tape them together with masking tape so they wouldn’t curl. I got started pinning the embroidery to the cardboard. Then I went back and looked at the instructions, and I discovered she was using foam board.

Having no foam board and not wanting to get any, I proceeded as if I did have foam board. I also used safety pins instead of straight pins to anchor the fabric around the edges of the cardboard because I was too lazy to go in the other room to get my straight pins.

It all worked out just fine, as you can see above. I’ve got a strong square of cardboard, the material anchored down, and even a slightly off-kilter felt backing and a string to hang it.

Yay for vacation time that allowed me to get this done. I’m quite pleased with the result.

The Importance of Centering When Transferring

Why? Why did I make the top of the circle so close to the top of the material, especially when I had so much more room below? Because this sampler isn’t really a circle—the big wagon wheel flower knocks this into more of a square—the size of hoop that fits the design leaves a gap at the top. This size hoop would have worked, if only I’d paid more attention when centering the design on the material..

This one would have worked too, but again, gap.

This one does fit all the way around, but it makes everything look too squished.

Well, time to switch shapes. And now I have three sizes of hoops waiting in the wings.

Kiriki Press Sampler: Floral Bun

This one was a big win from the Kiriki Pess sampler club. When it came in the mail, I thought, “If this one looks good when I’m done, it’s going on the wall. And thanks to the excellent instructions, it did turn out and it is going on the wall.

I think Kiriki Press’s talent is teaching cool skills with her samplers. In this one, I learned about blending strands to show different shades of hair. Plus I learned Turkey Work stitch. I’m not going to lie. I had to set aside the half-done Turkey Work for a few weeks because I was scared. But I eventually picked it back up and finished making all those strands into a tidy bun. Matt had to hold sections while I worked.

I also liked this section. This is actually much simper than it looks. Two diagonal crossed strands (purple going to the right and alternating pink and green going to the left) and then the circle part is woven around the grid.

Here’s the back, for people who like to look at backs.

I wish the lettering and outlines were in a darker color, but I think she must have had to choose one color and needed the light purple for the shawl background. Overall, still a big win.

Year of Stitch Sampler No. 5: Cleave Ever

I loved this #Yearofstitch sampler. The stitches this time: raised fishbone, lazy daisy, triple lazy daisy, figure eight knot, buttonhole wheel, woven wheel. Figure eight knots and fishbone stitch were new to me. I’m quite pleased at how things turned out. This one is getting framed!

I chose to use a quote from my stack of 3×5 cards of quotes I’ve collected over the years. When I went to write up an Instagram post, I googled to find out who said it and found that I had written it down wrong. Alfred, Lord Tennyson actually said, Cleave every to the sunnIER side of doubt. I was so very close.

I was glad the padded fishbone stitch worked. Shannon had a few tips that kept me on track. And I love figure eight knots. I think they look better than French knots.

This wasn’t my first woven wheel, but it was the biggest. That’s two skiens of black floss you are looking at there, just in that woven wheel. And I stopped a little earlier than I should have. I added one of those leaves to cover up that a few bits of the woven wheel framework that was still showing.

As with the other four #Yearofstitch samplers from Badass Cross stitch, this was incredibly fun.

Prepping for #YearofStitch Sampler No. 5

I’m excited about this one. I’m looking forward to experimenting with two kinds of strands.

Shannon’s suggested text said “Bodily autonomy for all” and while that was a fine sentiment, I wanted to use the quote that was in the running for sampler No. 3 but didn’t make the cut.

And you can see that I learned from last time that I should first transfer the design then reposition the material and transfer the lettering.

#YearofStitch Sampler No. 4: Do No Harm Take No Shit

We did sampler no. 4 on Aida fabric, a fabric I’d not stitched on since Regan was president. I don’t love it, because it reminds me of my cross stitching past, but it was very handy for gridding out all these filling stitches.

Unlike the last sampler, I’m quite pleased at the colors I chose.

Here we have Hungarian stitch and cushion stitch. Hungarian stitch, the first one, turned out to be my favorite. I used twelve strands, not liking how it looked with six strands, and it was a thumb killer, but look how great it looks! Unfortunately, cushion stitch came early on and I wasn’t sure what to do if the pattern didn’t perfectly repeat, so some letters are a little short.

Next are raised stem band stitch and fern stitch. Raised stem band stitch was quick, but I didn’t like how it was a bit wavy in places. Fern stitch was my second favorite, looks-wise.

The last two are tied gobelin stitch and French stitch. I liked the complexity of tied gobelin stitch and how firm it was, plus it had such good coverage. Shannon pointed out that French stitch should be called vulva stitch, and that made me laugh. With the number of strands I was using it wasn’t quite so obvious, but it for sure looked like it in her example stitches.

I outlined everything in backstitch and that took forever and used a lot of thread, but was worth it in the end, I think.

And here is the back, because it’s fun to look at the backs of things. Aside from raised stem band stitch (the red and pink one) being wavy, it also had those long runners on the back I didn’t like.

The next sampler will not be as intensive. This did take a bit of time. But was well worth it.