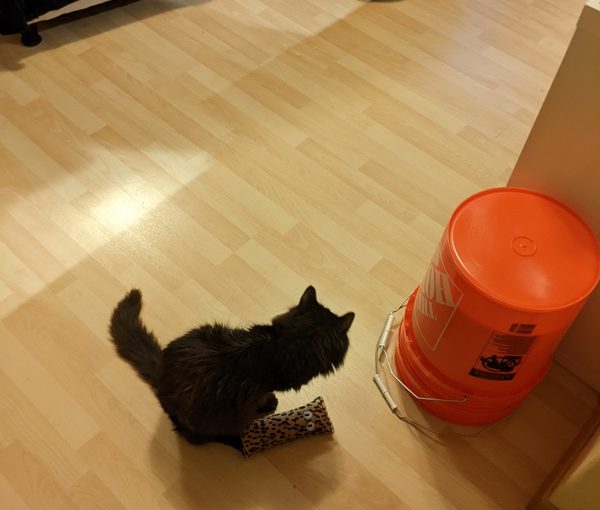
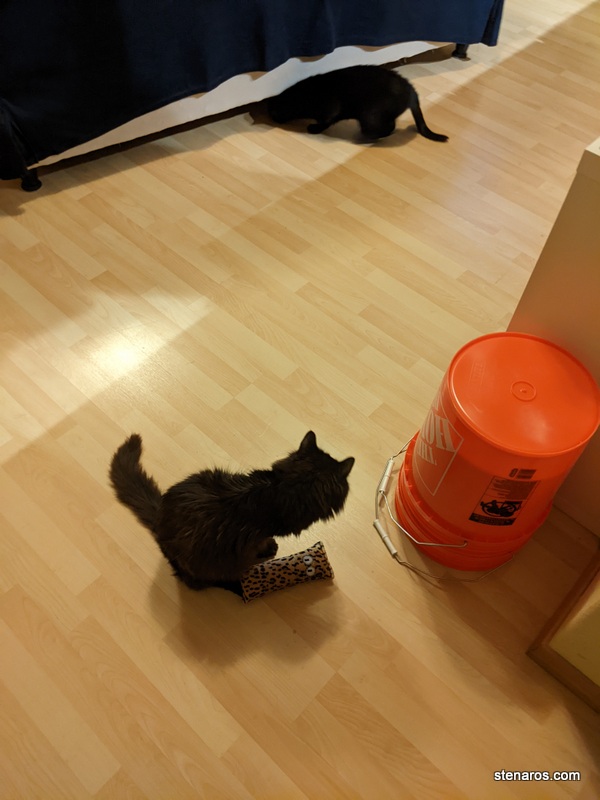
While I was waiting to meet up with a friend tonight, I purchased two catnip toys for Sentinel and Antares.
They were interested, as you can tell by Antares searching under the couch for his, but the toys were a bit too short for them to really dig into them. Alas!
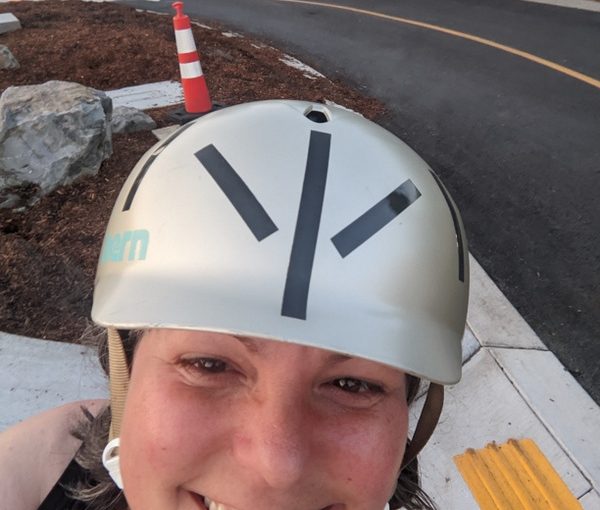
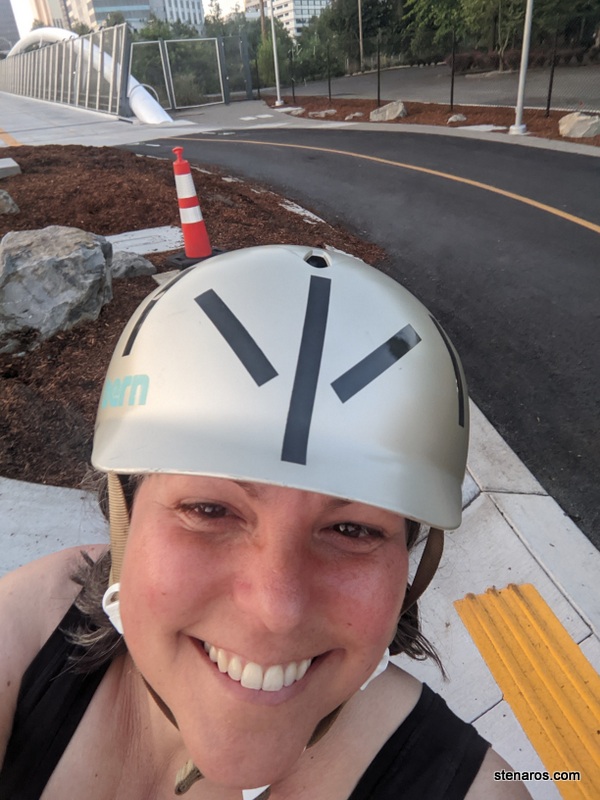
As we’ve been driving back and forth to Wednesday square dance lessons, I’ve been watching this bridge’s construction. Tonight, I ride!
But first, a photo!
I took no photos on the way over, but midway there is a gorgeous view of downtown Portland. And it kicks you out close to the convention center and makes for a quick ride home. I’m going to enjoy this new connection to SE Portland.
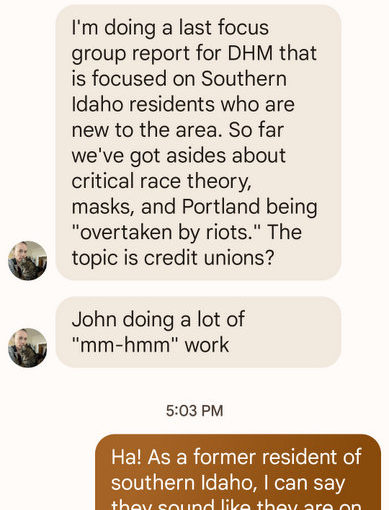
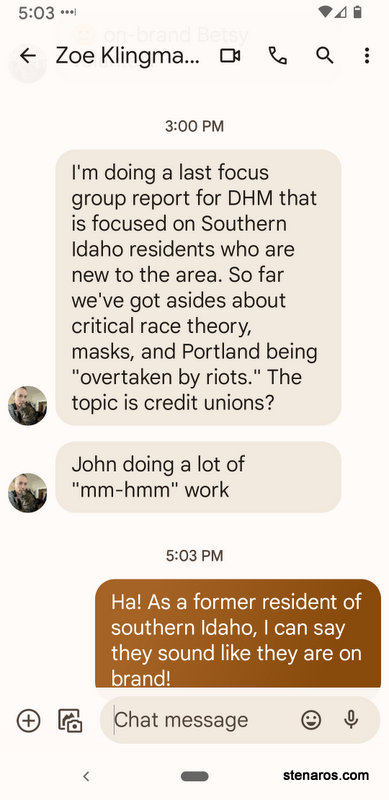
My former coworker Zoe is off to graduate school this fall, but she had time to write one last report for DHM. And that meant she had one more time to make me laugh via text about focus groups.
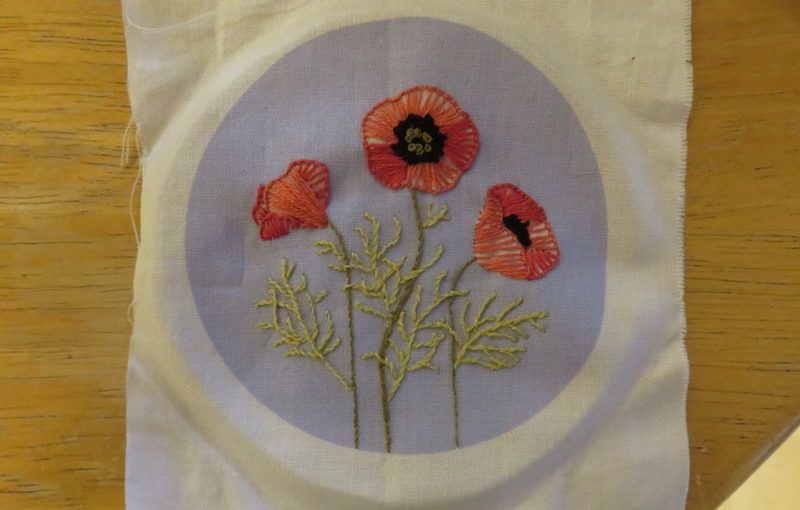
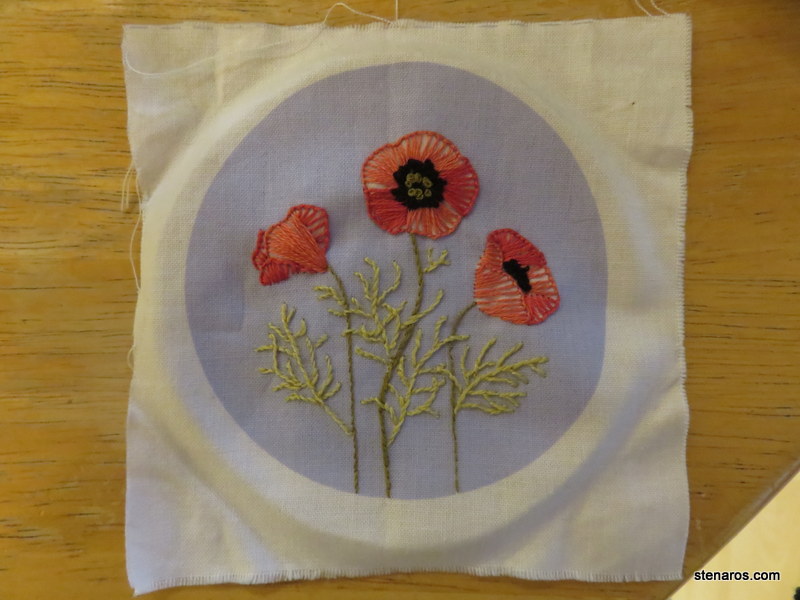
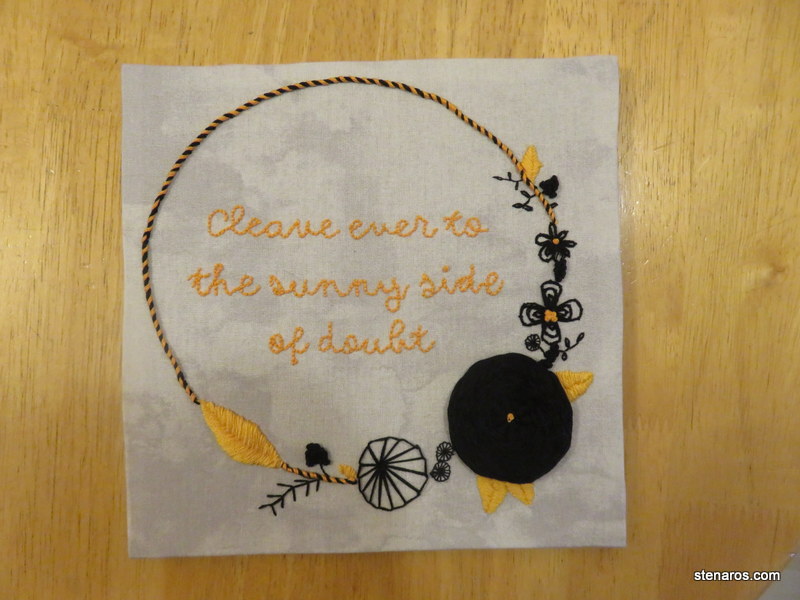
Because I’m a Kiriki Press sampler club member, I get a small bonus. Aside from the floral bun, I also got to stitch up these pretty poppies. I do love poppies.
I got to learn pistil stitch, and I chose to do figure-eight knots rather than French knots. Figure-eight knots are more reliable than French knots.
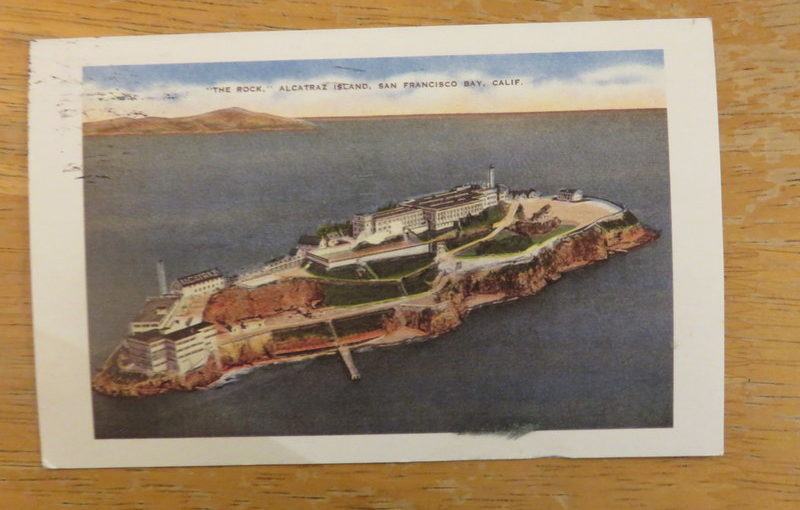
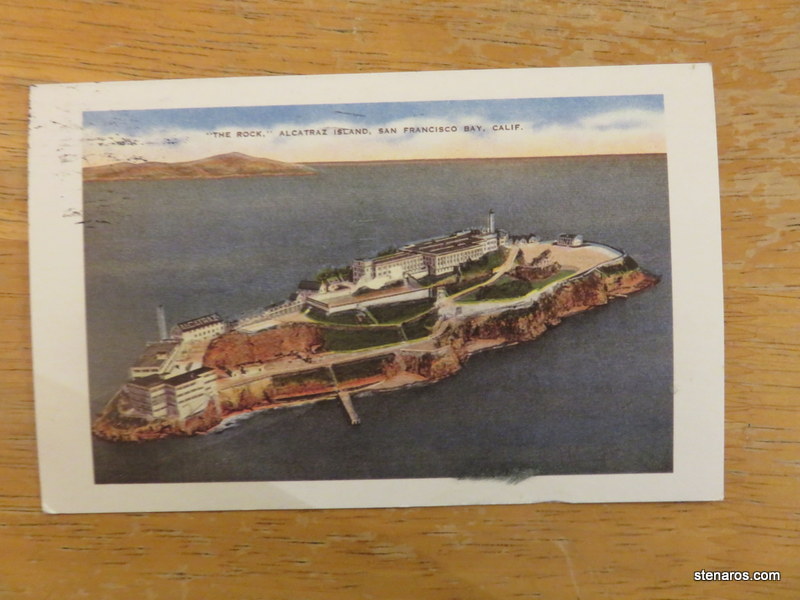
This is from Zoe. She opens with the news that she’s never toured Alcatraz but this was that best postcard on offer.
Zoe tells me that it’s been in the 70s every day. This is in contrast to the Portland weather which has been Very Hot. She also reports that her new neighborhood has an amazing local grocery store, “but also the most deranged Whole Foods I’ve ever experienced. Overall hippie levels somewhere between Eugene and PDX.”
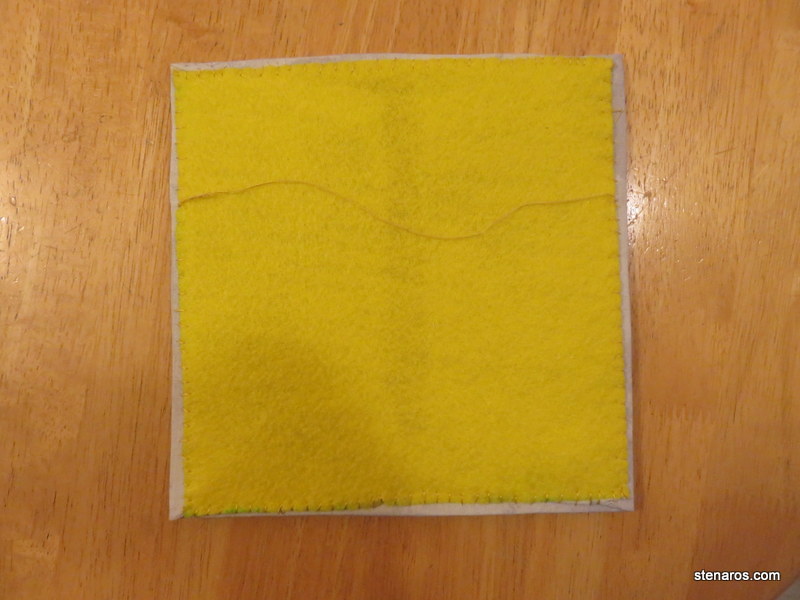
As putting this embroidery in a hoop is a no-go, I went in a different direction.
A while ago I read Badass Cross Stitch’s post about framing your embroidery in a square frame and I vaguely remembered the instructions, so I cut out a square of cardboard from an empty box of laundry detergent and then decided to cut out a second square from the same box and tape them together with masking tape so they wouldn’t curl. I got started pinning the embroidery to the cardboard. Then I went back and looked at the instructions, and I discovered she was using foam board.
Having no foam board and not wanting to get any, I proceeded as if I did have foam board. I also used safety pins instead of straight pins to anchor the fabric around the edges of the cardboard because I was too lazy to go in the other room to get my straight pins.
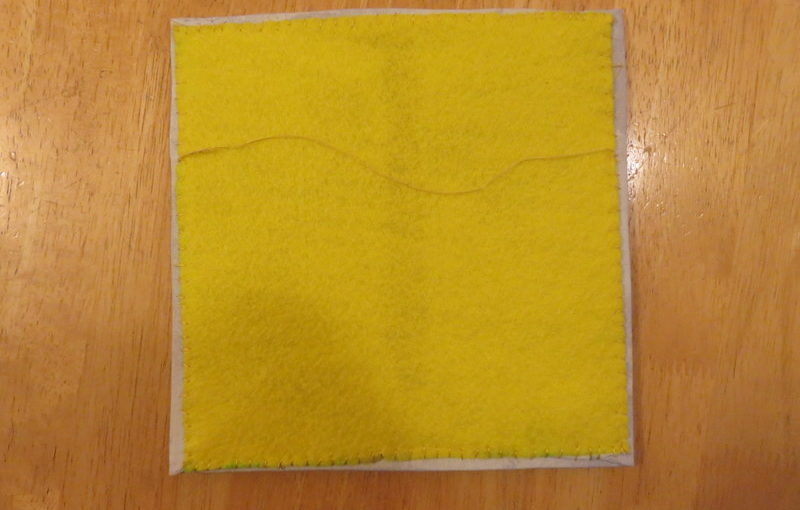
It all worked out just fine, as you can see above. I’ve got a strong square of cardboard, the material anchored down, and even a slightly off-kilter felt backing and a string to hang it.
Yay for vacation time that allowed me to get this done. I’m quite pleased with the result.
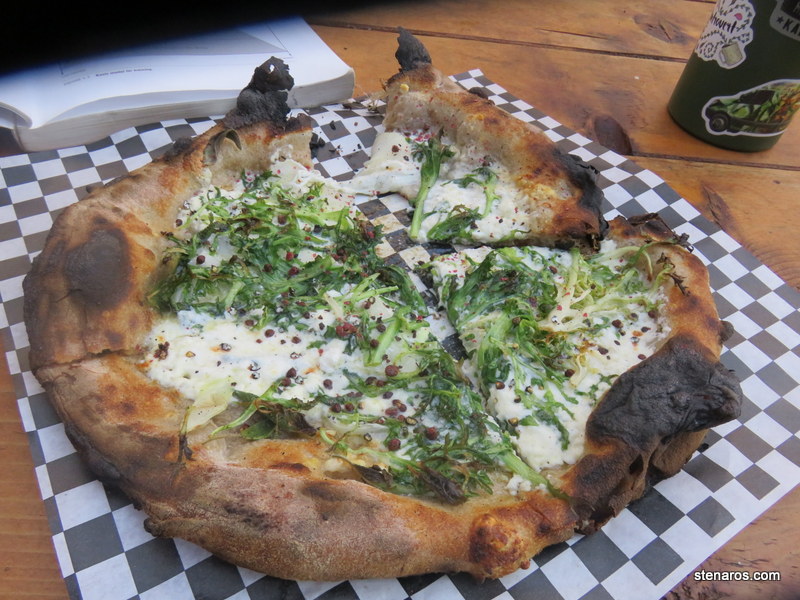
I heard about this place while editing a blog post for my job. At Gracie’s Apizza, Craig Melillo makes 70 pies per night and when they are gone, he’s done. There are no more pies to be had.
This has always struck me as a very sane business model. Figure out what makes you enough money and just do that. Then stop.
I got the ricotta pie. Ricotta, provolone, mozz, young onions, heavy on the black pepper. Plus I opted into the greens. It was a little too heavy on the black pepper for me, but I’m willing to overlook that because the crust was so very good.
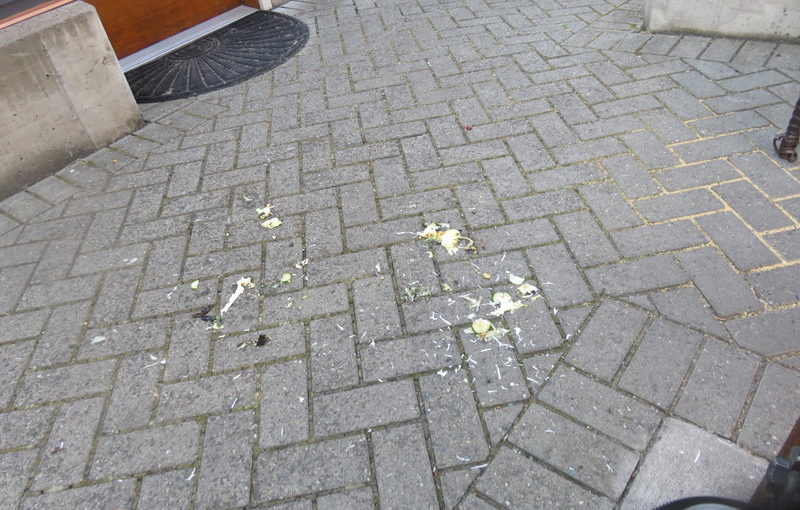
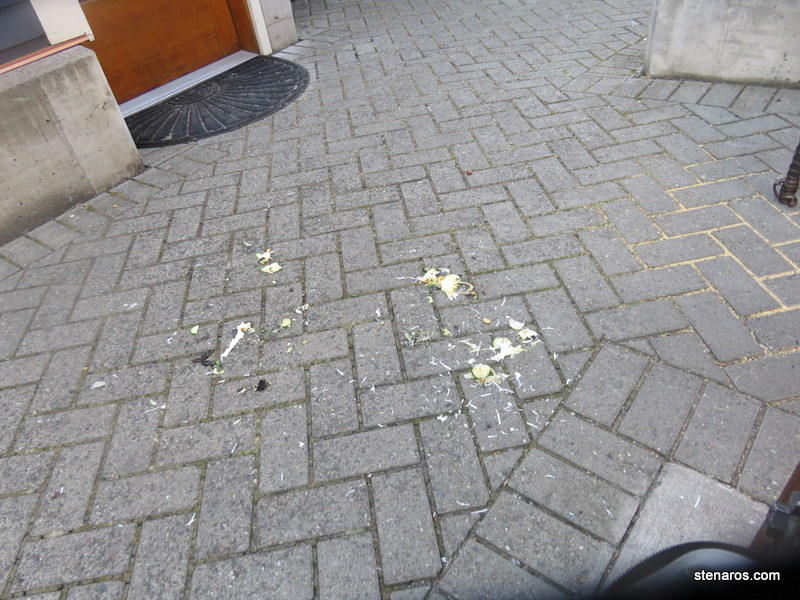
Sadly, one of the 70 pizzas fell on the ground as Craig was delivering mine. Poor pizza.
It took a bit to figure out the trick to actually getting to eat one of the pizzas. If you order on Wednesday, that’s when the orders open for the entire week. Choose your date and time, but be sure to show up because if you don’t show, you don’t get your money back.
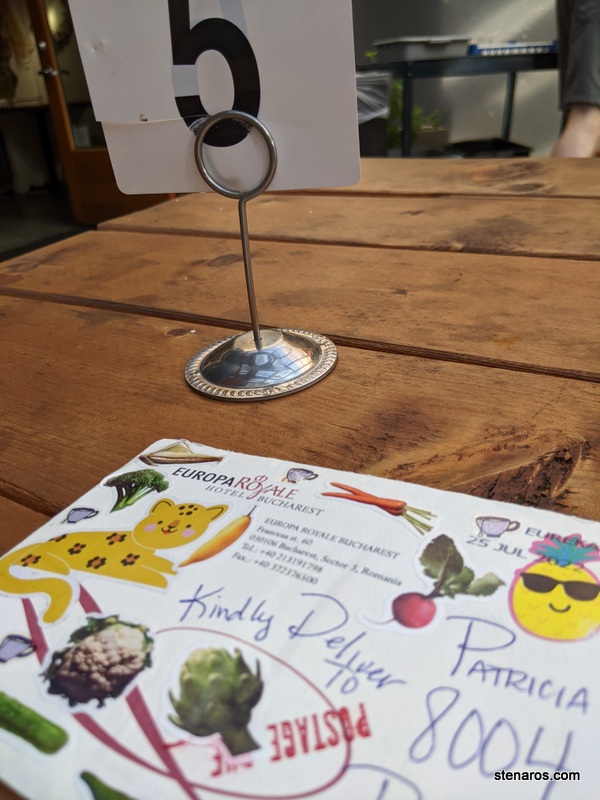
In the category of what I did while waiting for my pizza, I read my newest letter from Sara, and texted her the good news that while the letter was marked postage due, no one made me pay any extra postage.
Sara pointed out that she weighed the letter and put on an extra stamp. There did seem to be enough postage. Perhaps they stamped it in errors and that’s why I didn’t have to pay.
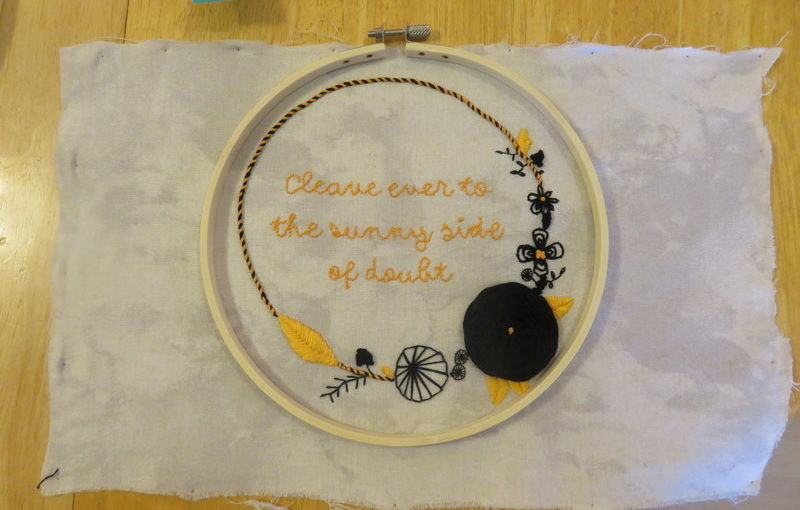
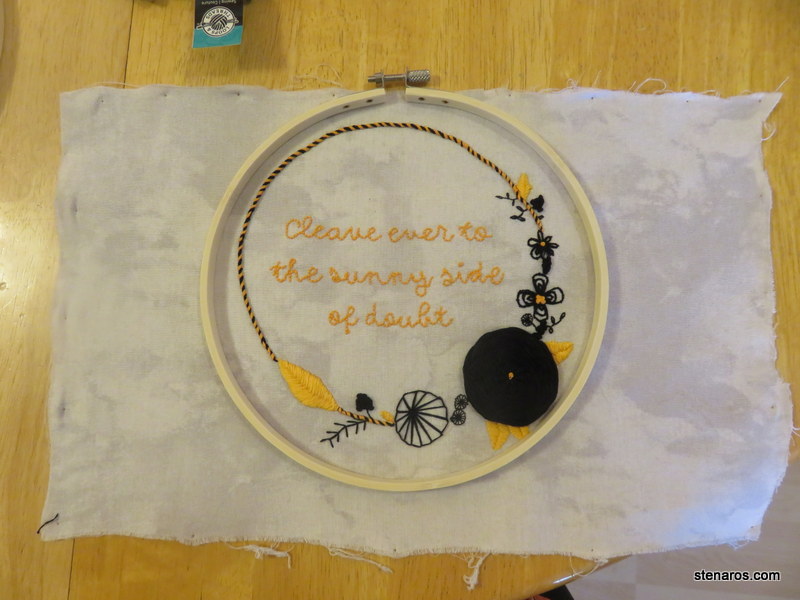
Why? Why did I make the top of the circle so close to the top of the material, especially when I had so much more room below? Because this sampler isn’t really a circle—the big wagon wheel flower knocks this into more of a square—the size of hoop that fits the design leaves a gap at the top. This size hoop would have worked, if only I’d paid more attention when centering the design on the material..
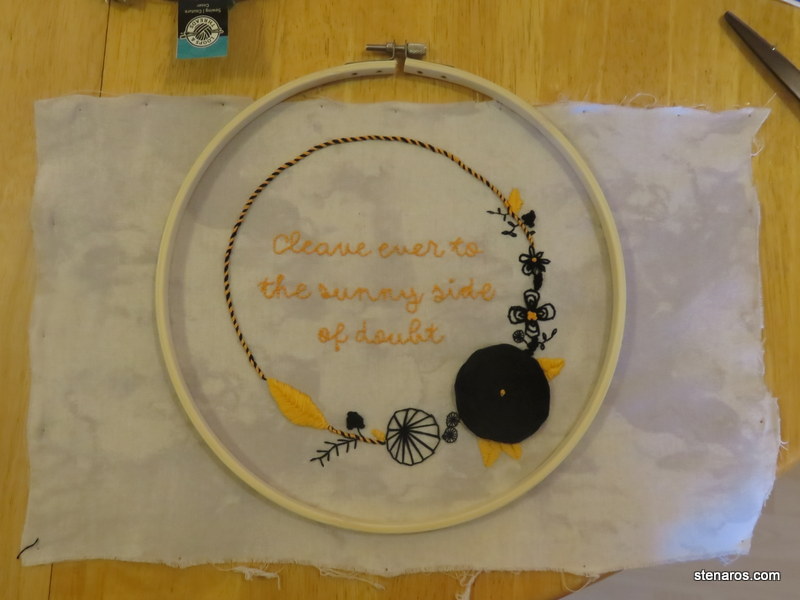
This one would have worked too, but again, gap.
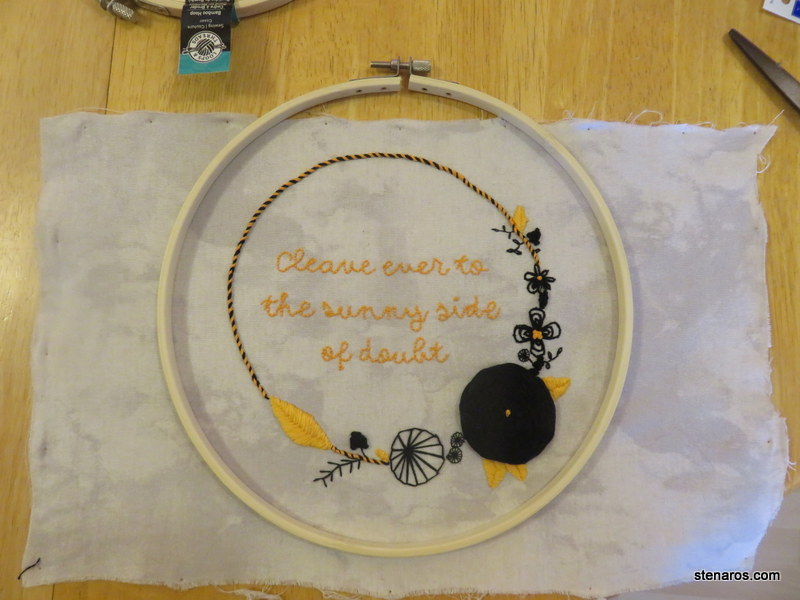
This one does fit all the way around, but it makes everything look too squished.
Well, time to switch shapes. And now I have three sizes of hoops waiting in the wings.
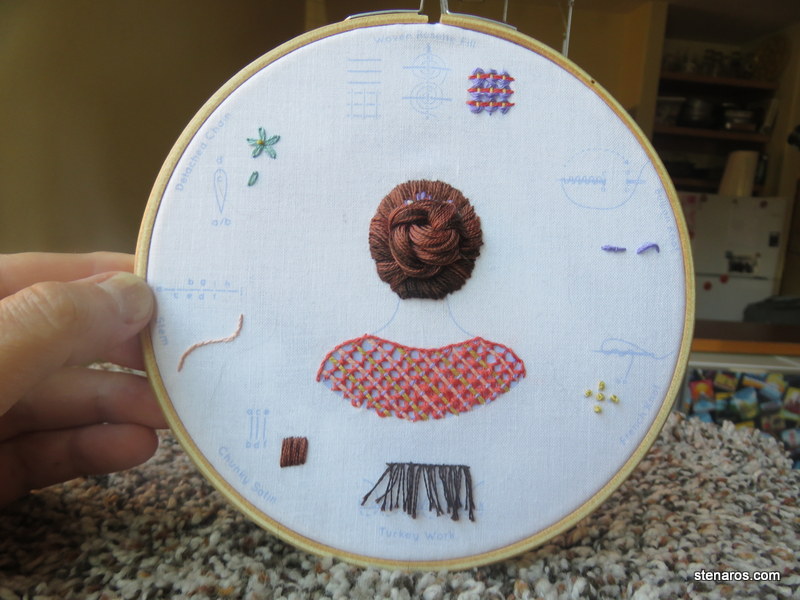
This one was a big win from the Kiriki Pess sampler club. When it came in the mail, I thought, “If this one looks good when I’m done, it’s going on the wall. And thanks to the excellent instructions, it did turn out and it is going on the wall.
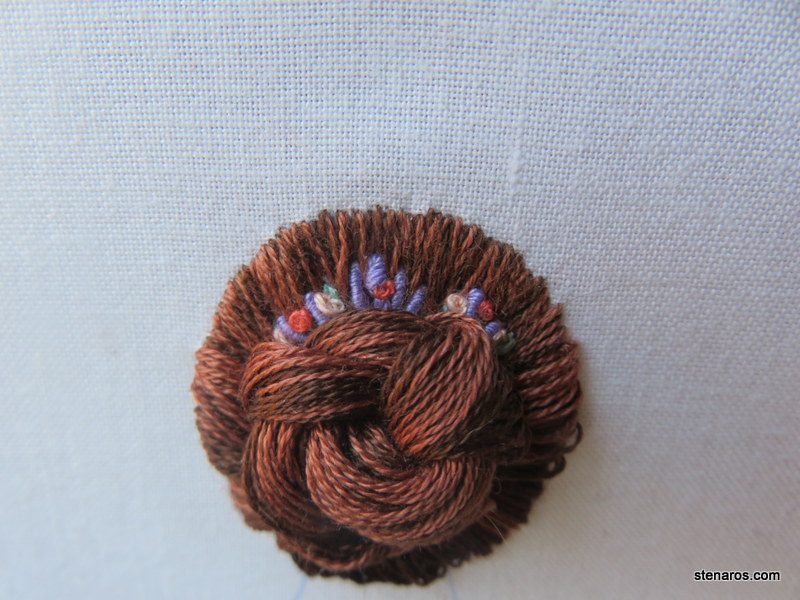
I think Kiriki Press’s talent is teaching cool skills with her samplers. In this one, I learned about blending strands to show different shades of hair. Plus I learned Turkey Work stitch. I’m not going to lie. I had to set aside the half-done Turkey Work for a few weeks because I was scared. But I eventually picked it back up and finished making all those strands into a tidy bun. Matt had to hold sections while I worked.
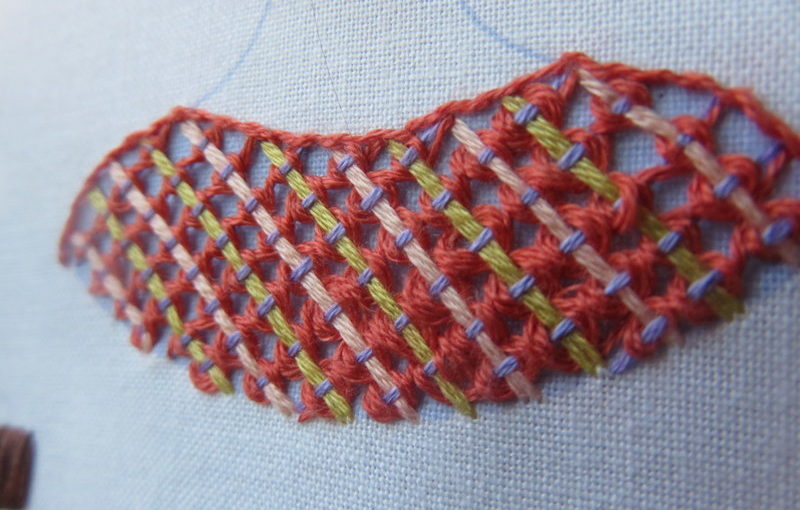
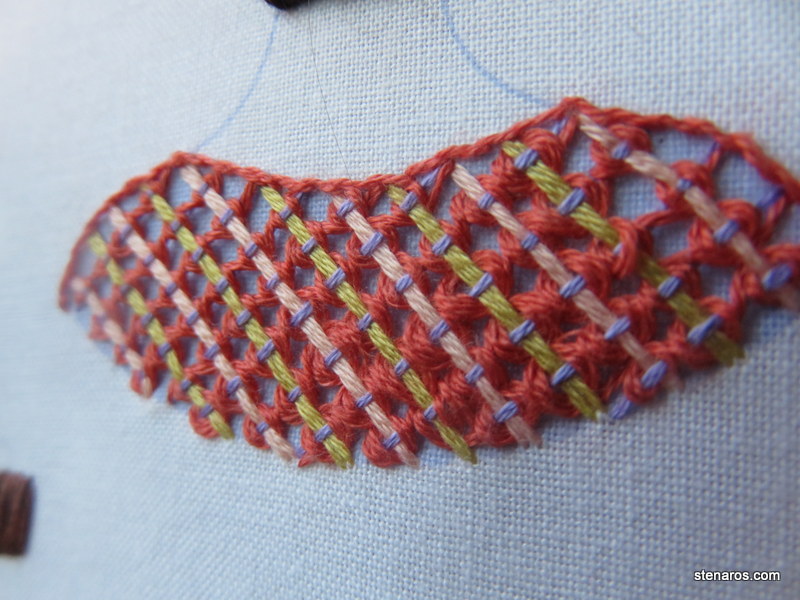
I also liked this section. This is actually much simper than it looks. Two diagonal crossed strands (purple going to the right and alternating pink and green going to the left) and then the circle part is woven around the grid.
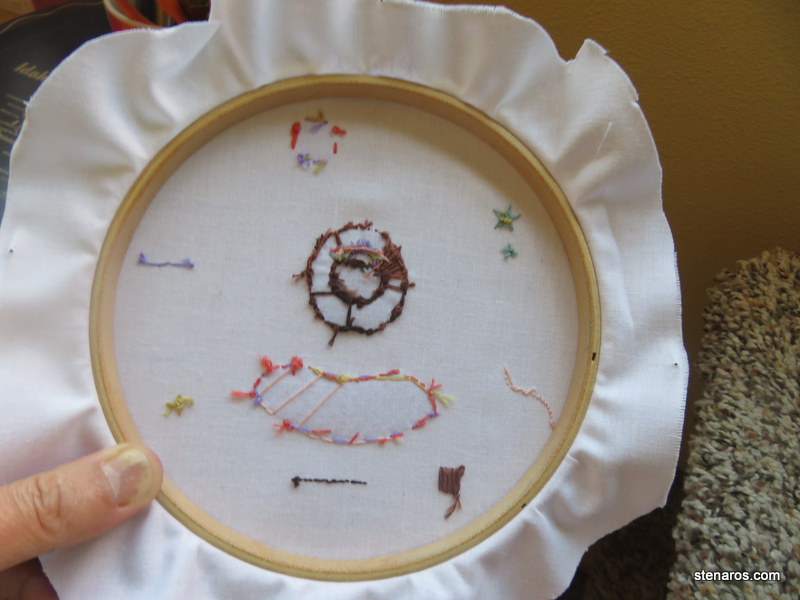
Here’s the back, for people who like to look at backs.
I wish the lettering and outlines were in a darker color, but I think she must have had to choose one color and needed the light purple for the shawl background. Overall, still a big win.
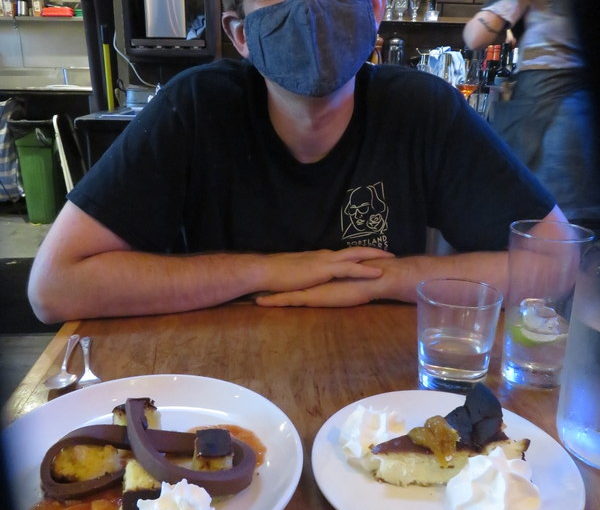
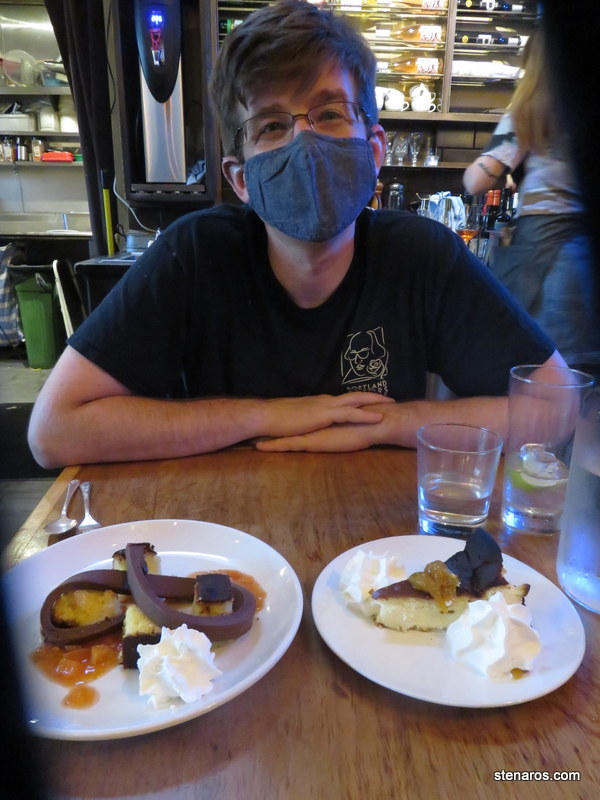
We only have the picture of dessert, but we had a delicious dinner at Urdaneta!
This isn’t our first time eating this delicious food. We also ordered from this restaurant to celebrate my new job. It was during the quarantine part of the pandemic and so this is the first time we’ve sat down in the restaurant.