I make cakes. From scratch. With homemade frosting. It’s what I do. I’ve been changing people’s mind about cake for years now. (I think most people think they don’t like cake because they’ve only experienced grocery store cakes. A real cake from scratch is an entirely different thing.)
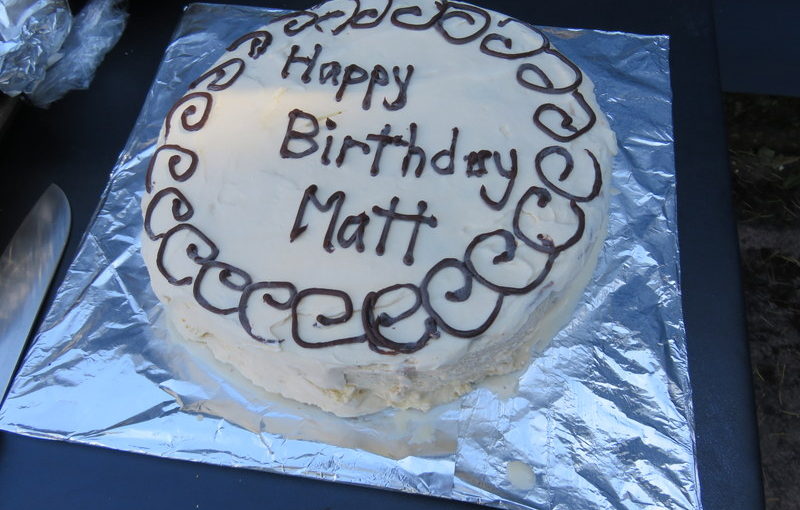
But the boyfriend likes ice cream cakes. And it was his birthday. And so I did some research (thank you internet) and made him a Baskin-Robbins-style ice cream cake. Here’s how I did it.
I found a recipe for cake in my America’s Test Kitchen Family Baking Book. The recipe I used was for Pantry Chocolate Cake and was designed to be baked in an 8×8 pan. I baked it in a cheesecake pan (I think that’s a 10-inch pan? It might be 12-inch.) and watched it carefully so it didn’t burn. Then I froze it. I happened to freeze it for a week, but a few hours would probably be fine. If I do this again, I will cut the cake down a bit. Maybe to an inch in height? I feel like a smaller layer of cake would not be so solid.
When I was ready for the ice cream layer, I set out the ice cream to soften for about 30 minutes. While it softened, I prepped my tray, which was some cardboard with aluminum foil taped to it.
I removed the cake from the cheesecake pan bottom and set it directly on top of the tray. Then I replaced the cheesecake ring around the cake as if the bottom was still there.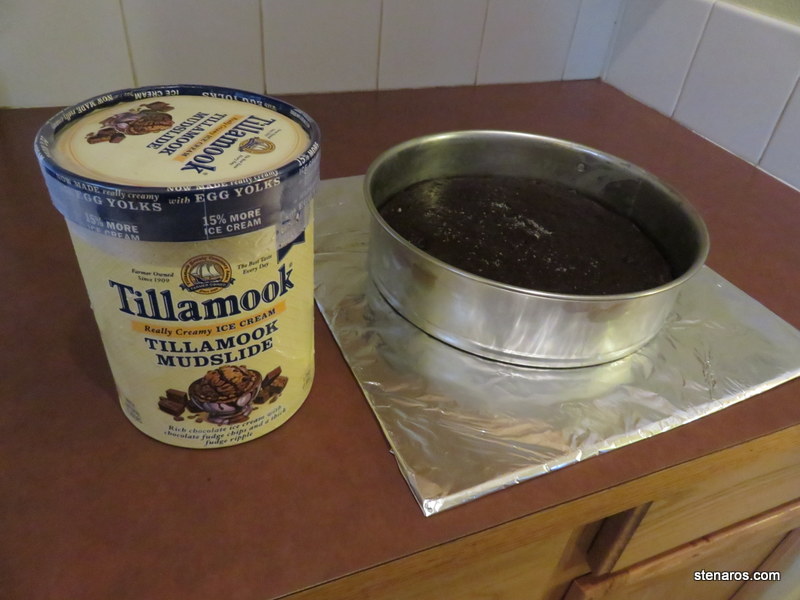
In went the ice cream. I smooshed it out so it was even, and even got out my dough scraper to level the top. That was an unnecessary thing as there will be icing to even things out, but I wanted a totally flat surface. At this point everything went back in the freezer for several hours. Like maybe eight.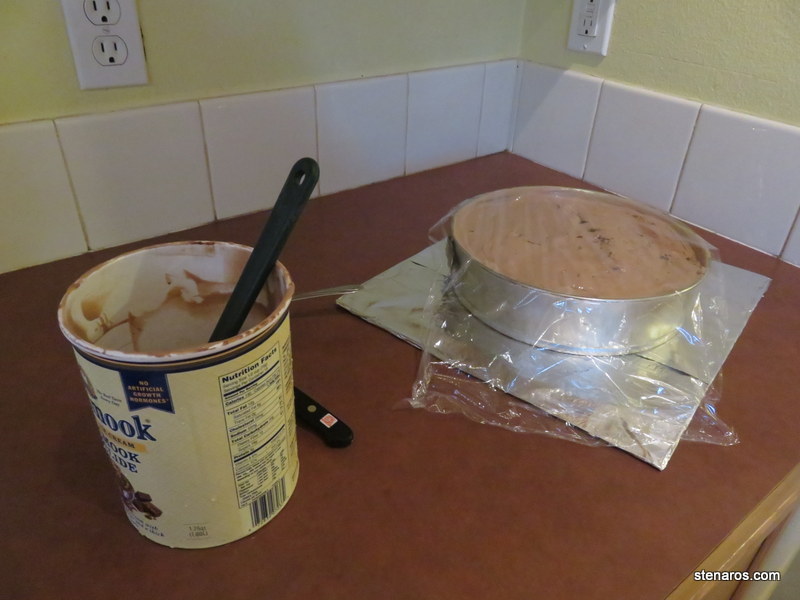
What the internet research turned up was that the “icing” on Baskin-Robbins cakes is just softened vanilla ice cream. A-ha! So I set out vanilla to soften for about 20 minutes and then removed the cake from the freezer and the cheesecake ring from the ice cream. (A hot knife helped with this.)
The frosting part was difficult. I found that I had to work very quickly and a thicker layer was better than a thinner one. Like normal icing, I did the sides first and then the top. It was not as smooth as I wanted it to be, but it was also getting melt-y, so I put everything back in the freezer where it stayed overnight.
Once the icing was rock-solid, I made a ganche (I use multi-purpose chocolate truffle sauce which was from the early-to-mid 2000s Oregonian Food Day section and which does not seem to be in their recipe archive. Boo!) and put it in the refrigerator until it was solid. Then I got out my decorating tools and did my best to decorate. (I’m more of a baker than a decorator.) I found myself wishing I could work IN a freezer, so the icing wouldn’t melt as I was attempting to garnish. It ended up messier than I wanted, but I knew no one would really care.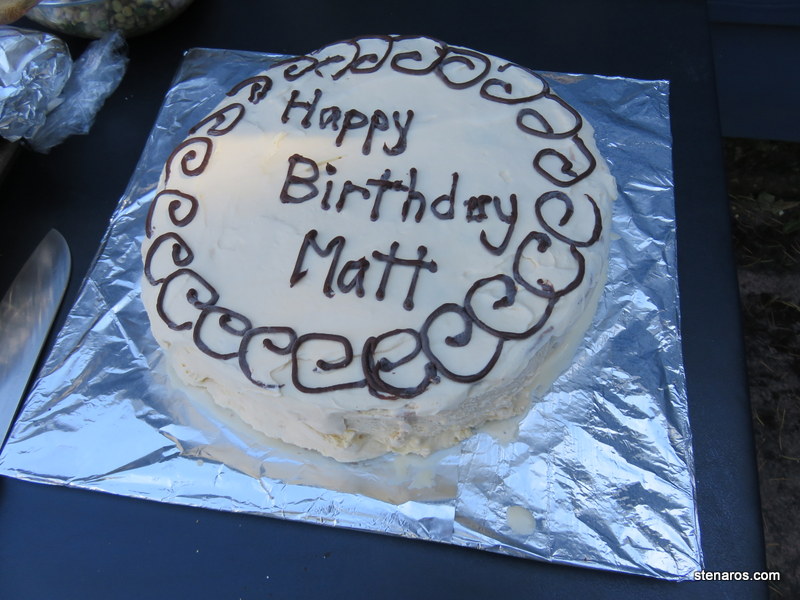
The finished product was happily consumed by many. This is not a cake you can whip up in an afternoon, but if you plan out the time, it’s several short steps over several days and isn’t too taxing.
