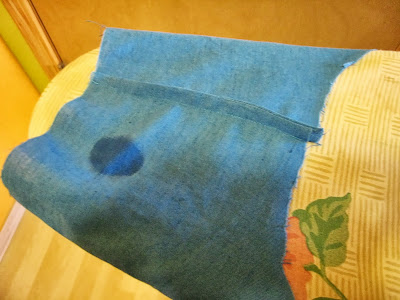
French seams are awesome. They neatly encase the raw edge of your fabric in a tube that is part of the fabric and would otherwise just be hanging out, needing finishing. To make them you sew the seam with the wrong sides together (it feels so wrong, but it’s right), trim said seam, press open (and then over, if you are anal like me) and then pin the right sides together and sew the same seam again, then press again. Here is a tutorial if you are interested.
If you followed all that, you have just realized that each seam of my three shirts needs to be stitched twice, trimmed once, and pressed twice. There are seven seams per shirt (two neck, one back, two sides, and two sleeves) and three shirts so that makes 21 seams total which means 42 seams, 21 trims, and 42 pressing sessions. All that is to say that all I did today was sew french seams until my eyes crossed. Holy cow.
And the sleeve. Still, they look pretty, don’t they? And they are strong too, which is good for a work shirt.
